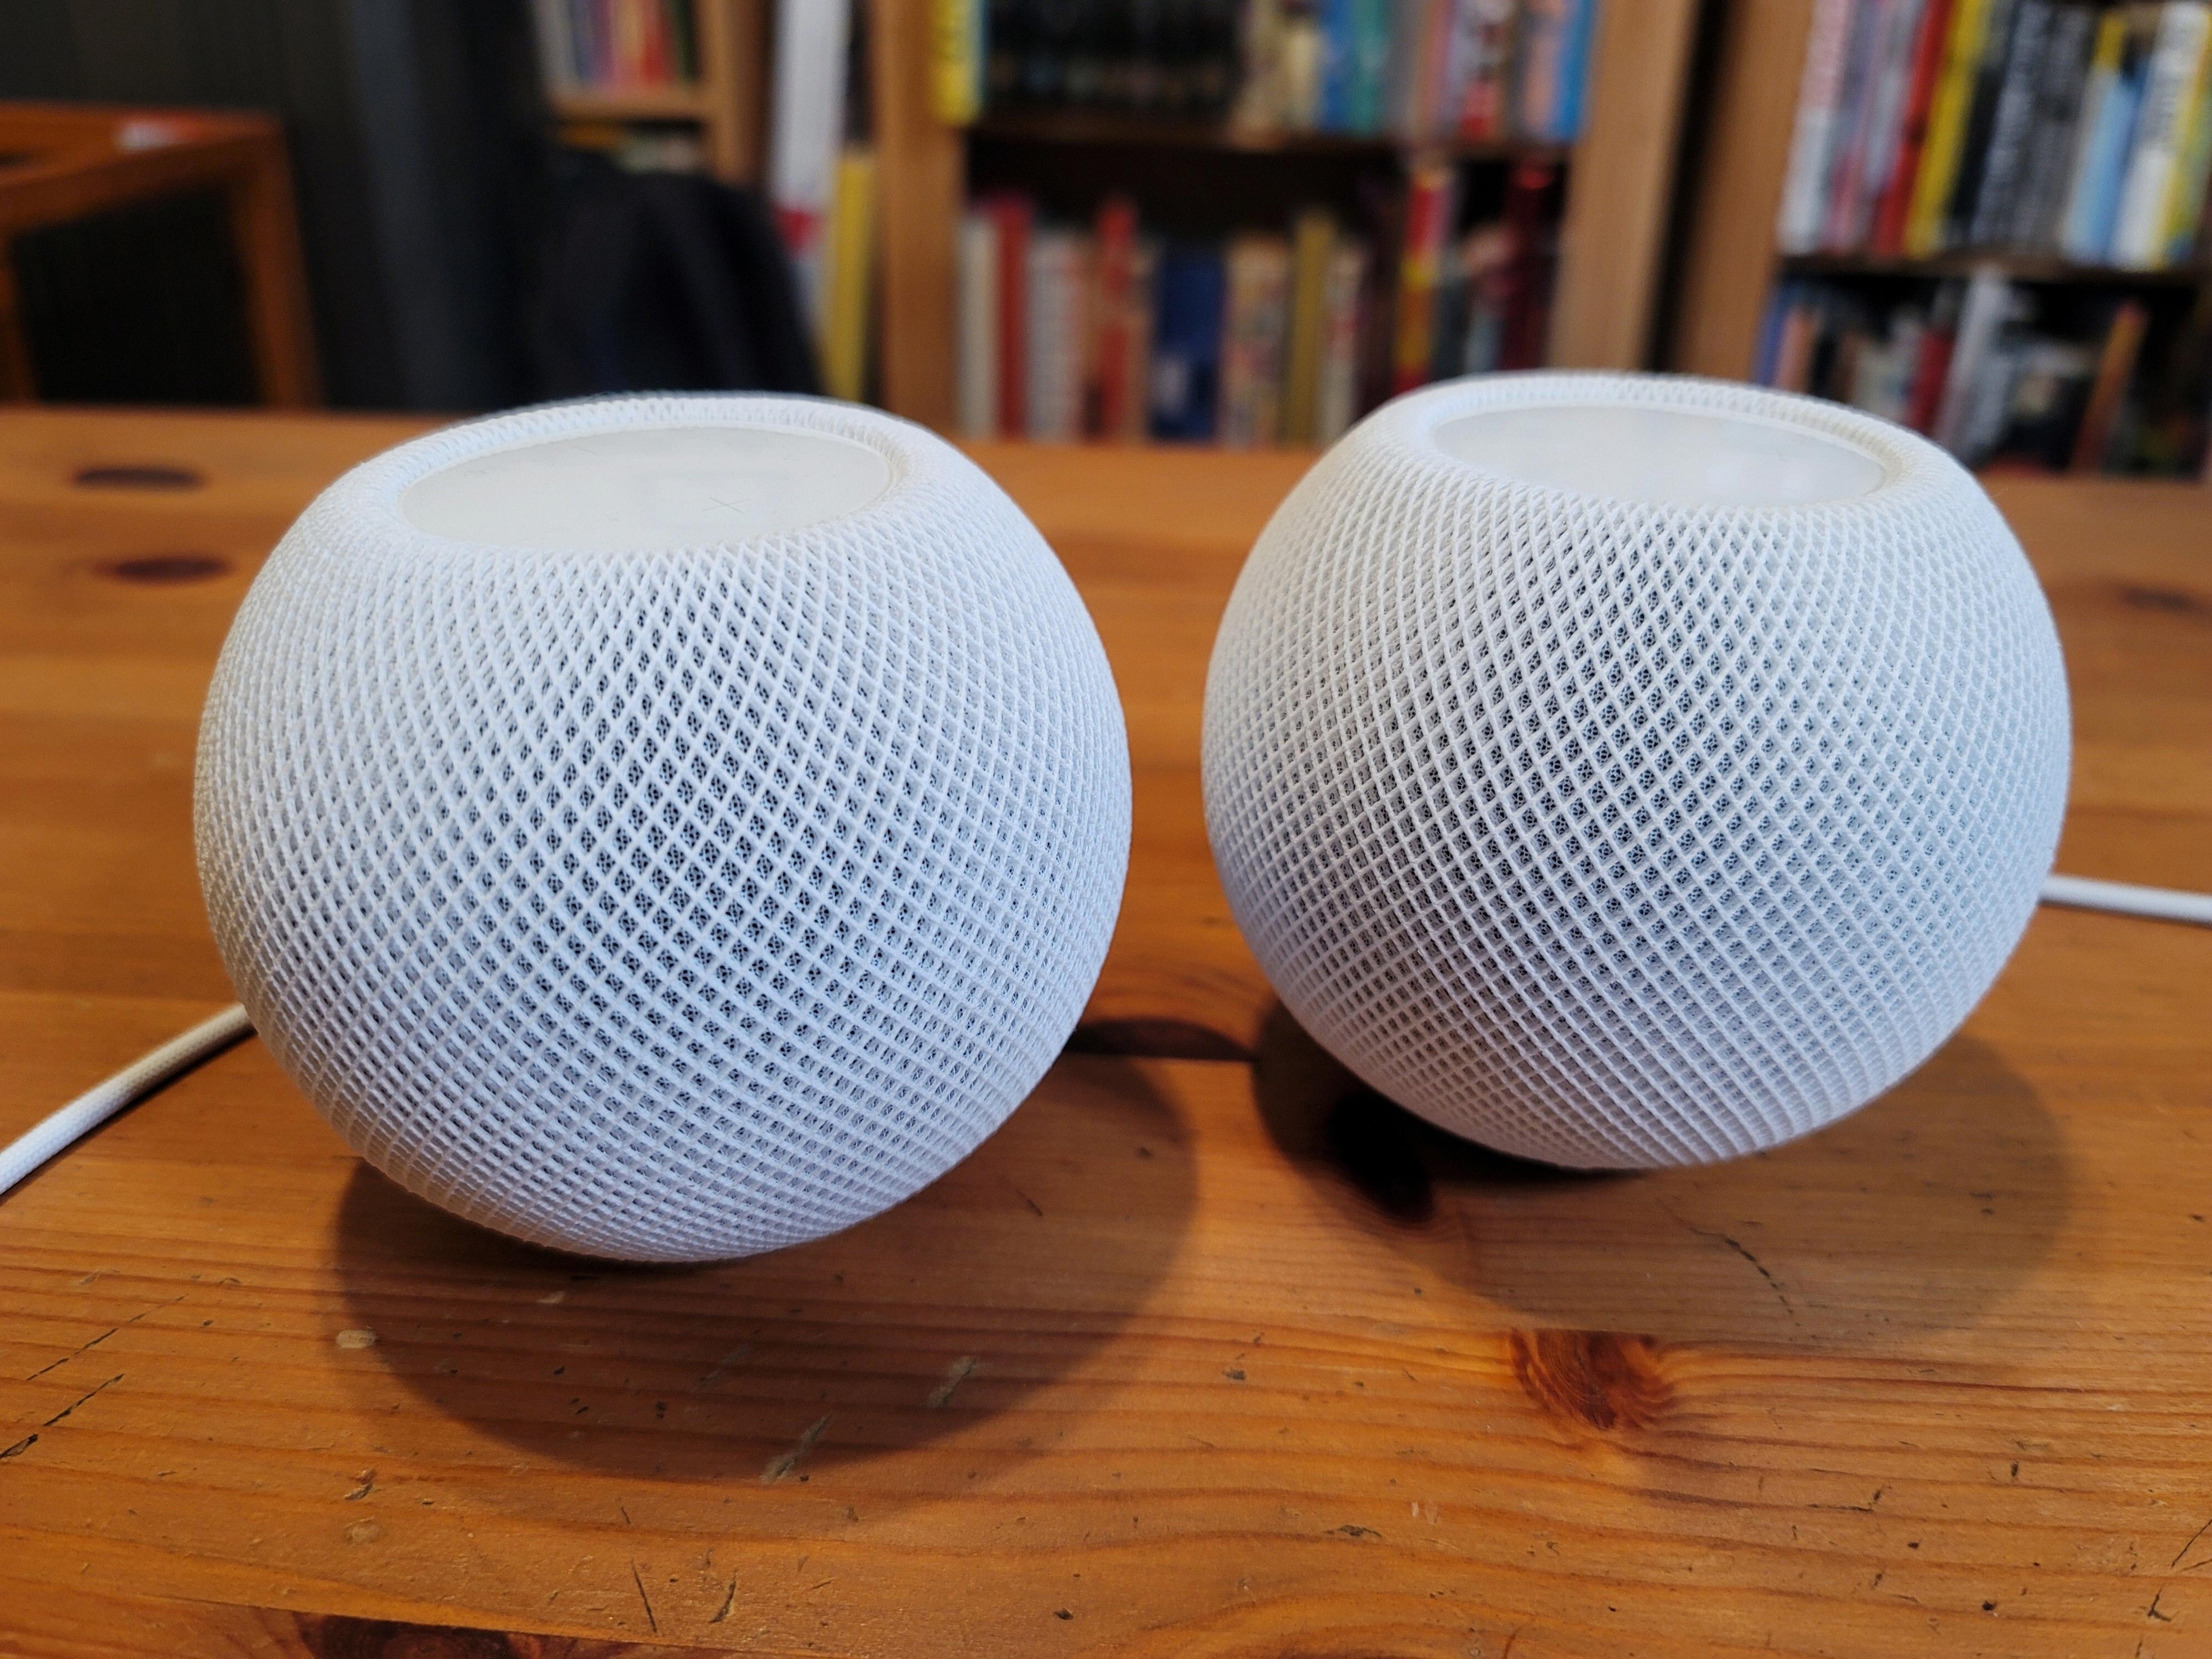
Welcome to our blog post about HomePod and how to reconnect it to your WiFi network. HomePod is an intelligent home speaker developed by Apple that uses Siri voice recognition technology to control various functions of your home. It can be used for playing music, making phone calls, sending messages, setting reminders, controlling compatible appliances, and more.
If you’ve recently moved or changed your WiFi network, it’s important to make sure your HomePod is connected to the new network. Fortunately, reconnecting HomePod to a new WiFi network is a simple process. Here are the steps:
1. Open the Home App on your iPhone, iPad, or Mac signed in with the same Apple ID you used when setting up HomePod. Tap or click on HomePod in the list of devices.
2. Select the Settings icon or scroll down to HomePod settings and select “Reset HomePod”.
3. Using the iPhone, iPad, or iPod that you originally set up your HomePod with, go to Settings > General > Reset and tap “Reset Network Settings”.
4. Enter your new WiFi passcode again and then tap or click “View Details” under the alert message that appears. Scroll down and then tap or click “Move HomePod to [Wi-Fi Network]”
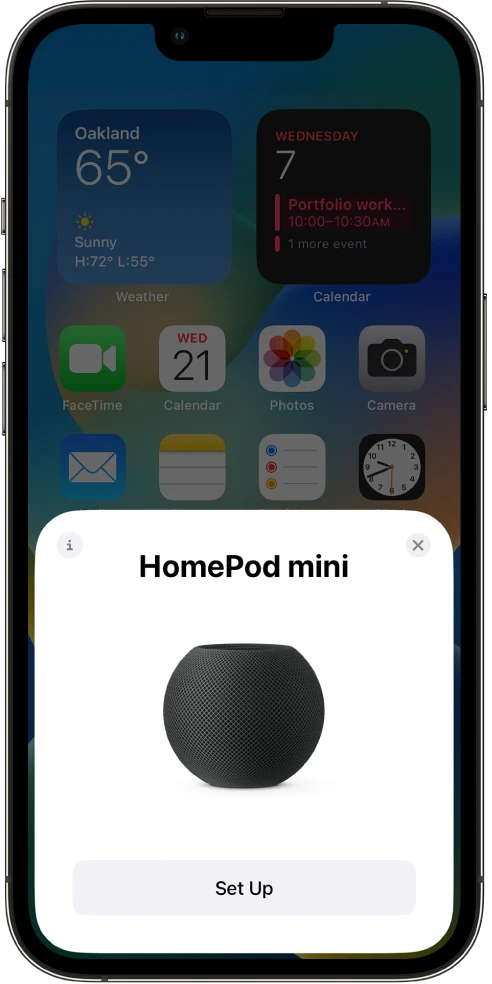
5. If a network mismatch alert doesn’t appear, reset your HomePod and make sure that your iPhone or iPad is connected to the Wi-Fi network you want your HomePod to connect to before setting it up again.
And you’re done! Your new Wi-Fi connection should now be live on your device after following these steps – allowing you to access all of its amazing features without interruption once more!
We hope this blog post was helpful in guiding you through how to successfully reconnect your HomePod device back to a new WiFi connection!

Reconnecting a HomePod
To reconnect your HomePod, you’ll need to reset it first. Here’s how:
1. Open the Home app on your iPhone, iPad, or Mac that’s signed in with the Apple ID that you used to set up HomePod.
2. Tap or click HomePod.
3. Select the Settings icon or scroll down to HomePod settings.
4. Select Reset HomePod and confirm the reset by tapping Reset again when prompted.
5. Wait for your HomePod to restart and then follow the instructions on-screen to reconnect it to your Wi-Fi network and Apple Music account (if applicable).
Troubleshooting HomePod Wi-Fi Connection Issues
If your HomePod is having trouble connecting to the Wi-Fi network, the first step is to check that there are no issues with the router or modem. Make sure that they are both turned on and that all of the cables are connected properly.
If there don’t appear to be any issues with the modem or router, you can try resetting your network settings on the device you originally set up your HomePod with (iPhone, iPad, or iPod Touch). To do this, go to Settings > General > Reset and tap Reset Network Settings. Enter your WiFi passcode again.
If resetting your network settings did not solve the issue, you can try unplugging your HomePod from power for about 10 seconds before plugging it back in and attempting to reconnect.
Finally, if none of these steps have worked, you should contact Apple Support for further assistance.
Connecting Manually to HomePod Wi-Fi
To manually connect your HomePod to a Wi-Fi network, first, open the Home app on your iPhone or iPad. Tap or click View Details under the alert message, scroll down, then tap or click Move HomePod to [Wi-Fi Network]. If a network mismatch alert doesn’t appear, you will need to reset your HomePod. Then, make sure that your iPhone or iPad is connected to the Wi-Fi network you wish for your HomePod to connect to, and set up your HomePod again.


