If you’re a budding musician, chances are you have heard of GarageBand – the digital audio workstation created by Apple. It’s an incredibly powerful tool that alows you to record, edit, and mix music with ease. One of its most useful features is the ability to quantize audio regions (or notes) to make them conform to a given musical meter. This can help make your recordings sound more professional and accurate.
Quantizing is a process in whch certain musical elements are made to fit a certain timing grid or beat structure. For example, if your song has a 4/4 time signature, you can quantize your drum beats or guitar chords so that each beat falls in exactly the same place in relation to the other beats. This ensures that each note is perfectly in sync with the rest of the track and helps create an even and consistent feel for your music.
In GarageBand, it’s easy to quantize both audio regions and MIDI notes. To quantize audio regions, select the ones you want to quantize on the same track in the Tracks area and then choose a note value from the Time Quantize pop-up menu. To quantize MIDI notes, double-click on a MIDI region then click on the Score Editor button. Select the notes you want to quantise from here and then choose your desired note value from the Time Quantise pop-up menu.
You can also use Track Settings in GarageBand on Mac and iOS devices to quickly adjust quantization settings for all regions on a certain track at once. Simply tap Track Settings, then tap Quantization. From here you can choose from Straight, Triplet or Swing categories before selecting your desired note value for all regions on that track at once.
So there you have it – now you know how to use one of GarageBand’s most powerful tools –quantizing! Whether it’s drums or guitars or something else entirely, using this feature will help make sure all of your tracks stay perfectly in sync with one another no matter what style of music you’re creating!
Quantizing Audio in GarageBand
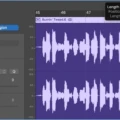
To quantize audio in GarageBand, first select the audio regions you want to quantize in the Tracks area. Make sure that all the selected regions are on the same audio track and that the Region tab is selected in the Audio Editor inspector. Then, choose a note vale from the Time Quantize pop-up menu to use as the basis for timing quantization. When you’re finished selecting your options, click on “Quantize” to perform the quantization process. The audio will now be perfectly timed according to your chosen note value.
Source: youtube.com
Quantizing in GarageBand Mac
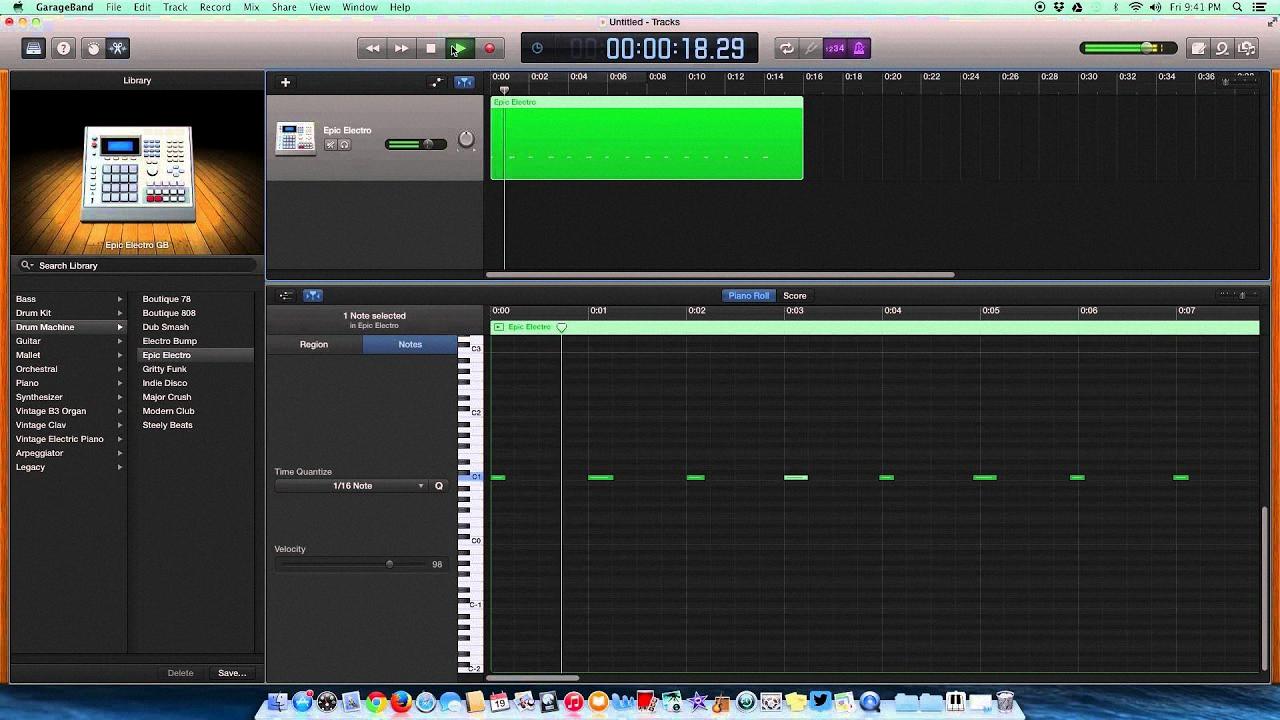
Quantizing in GarageBand Mac is easy to do. To begin, double-click a MIDI region in the Tracks area of GarageBand, then click the Score Editor button. In the Score Editor inspector, click the Notes button. Next, select the notes you want to quantise. Then, from the Time Quantise pop-up menu, choose the note vaue you want to use to quantise the timing of the selected notes. Once you have chosen your desired note value, your notes will be quantized and all of their timings will be adjusted accordingly.
Quantizing in GarageBand iOS
In GarageBand for iOS, you can quantize regions in the track by tapping Track Settings, then tapping Quantization. From there, you can choose from thre categories: Straight, Triplet and Swing. Each category offers a range of note values that you can use to quantize the regions to. Once you have chosen your desired note value, the regions will be quantized according to those settings. This will ensure that all notes in the region are perfectly aligned with the beat of your project.
Quantizing Music: A Step-by-Step Guide
Quantizing is the process of adjusting the timing of a recording so that all notes are played at regular intervals. In order to quantize a recording, you’ll need to use a Digital Audio Workstation (DAW) program such as Pro Tools, Logic Pro, or Ableton Live.
First, decide what resolution you want to use for your quantization. This resolution will determine how far apart the notes are spaced in time; for example, if you choose eighth-note resolution, then all of the notes will be spaced an eighth note apart.
Next, select which notes you’d like to quantize. This can be done by hand or automatically using a software’s built-in functions. If you choose to do it manually, simply select each note you’d like to quantize and move it into alignment with the gridlines representing your chosen time resolution.
Finally, apply the quantization process by selecting it from your software’s menu or shortcut key. The audio will now be quantized accoding to your chosen settings.
The Benefits of Using the Quantize Button
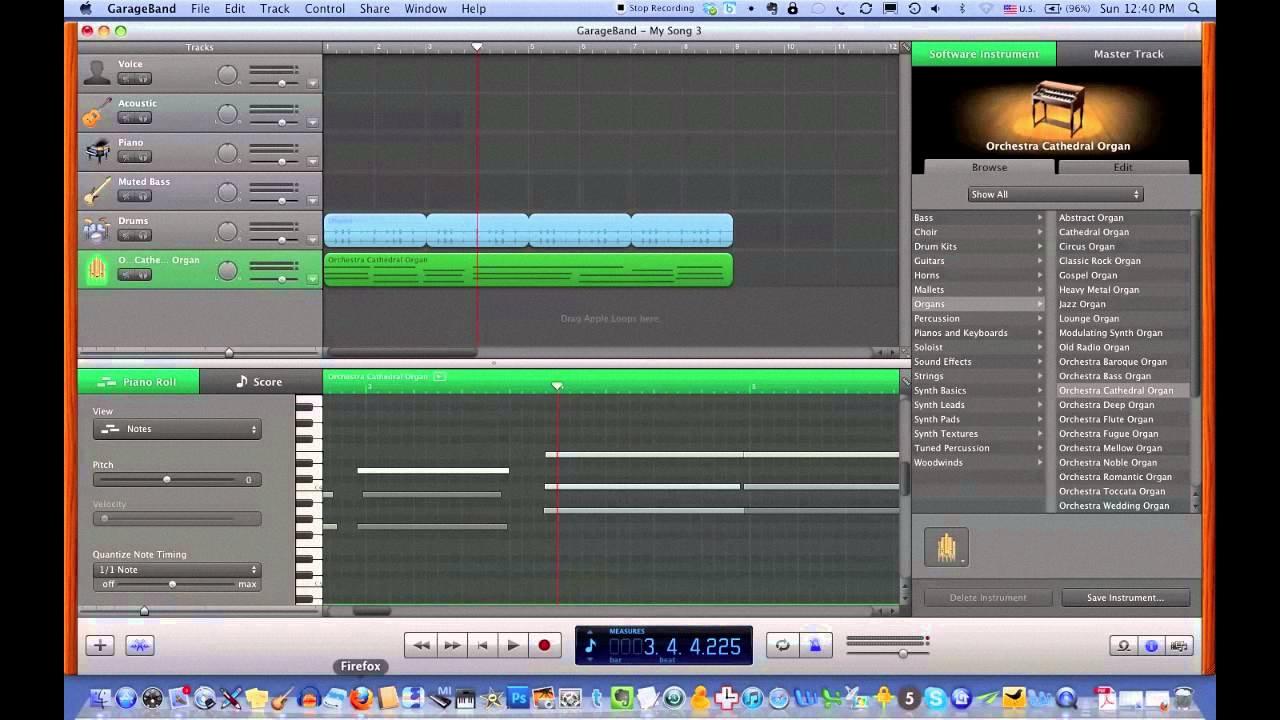
The Quantize button is a handy tool for DJs that alows them to lock their actions to the beat grid of a track. When the button is enabled, all of your play, loop, hot cue and other actions will be perfectly in time with the track’s tempo. This ensures that transitions between songs and beats are seamless and professional sounding. With Quantize, you can also set up loops and hot cues quickly and accurately so that you can focus on other aspects of your mix.
Source: m.youtube.com
The Effects of Quantization
Quantize is a function used in music production to help correct any timing discrepancies between notes or groups of notes. It works by taking the original performance and snapping it to a predetermined grid. This grid is made up of beats and subdivisions, so when the quantize function is applied, all of the notes will land precisely on the beat or subdivision. This ensures that all notes in a track are perfectly in time and rhythmically accurate. It can also be used to create a more precise and consistent feel witin a track, as many producers prefer their tracks to have an exact rhythmic feel.
The Effects of Time Quantization in GarageBand
Time Quantize in GarageBand allows you to automatically adjust the timing of notes within MIDI regions. This is done by snapping each note to the nearest beat or musical division, such as a sixteenth note or an eighth note triplet. The strength of the adjustment can be adjusted using the Strength slider, and you can also set an exact note value using the Note Value selector. Additionally, you can apply specific rhythmic patterns to your notes using Groove Tracks, which allow you to match the timing and feel of a particular performance.
Quantizing Audio on a Mac
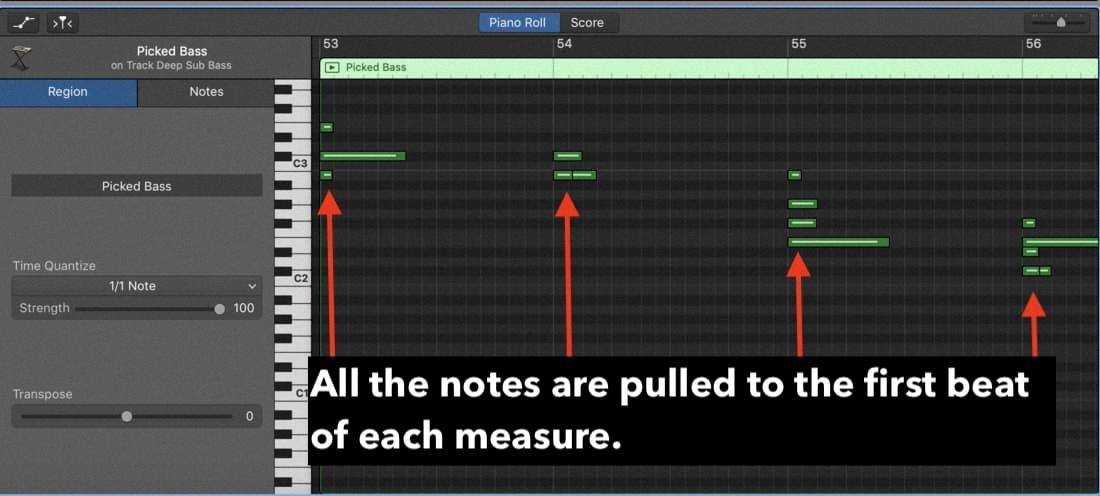
To quantize on a Mac using GarageBand, first double-click the MIDI region you want to work with. Then click the Score Editor button and select the Notes button in the Score Editor inspector. Select the notes you want to quantize, and from the Time Quantize pop-up menu, choose the note value you want to use for quantizing. The timing of your selected notes will now be quantized according to your chosen note value.
Source: producersociety.com
The Benefits of Quantizing Music
Quantizing music helps to ensure that all of the notes and beats are accurate in a musical performance. It helps to create a more consistent sound by ensuring that all of the notes are played at the same time, with the same intensity, and with the same duration. This eliminates any discrepancies betwen different takes of a song or performance, making it easier to produce uniform recordings. Additionally, it can help reduce timing errors that could otherwise interfere with a musician’s ability to play accurately and musically. Finally, quantizing music can also provide for a more “tight” sounding performance due to its ability to reduce any discrepancies between different takes of the same song.
Conclusion
In conclusion, Garageband is an incredibly powerful and versatile digital audio workstation for musicians of all levels. It has a vast array of features that make it easy to create professional-sounding recordings. One of its most useful features is its ability to quantize regions in the track, which can help musicians achieve greater accuracy and precision with their recordings. Whether you’re a beginner or a professional, Garageband has the tools to help you create great music.

