The Apple Watch is a powerful device that offers a range of features to help you stay connected and organized. One of the most popular features that many people use on the Apple Watch is the weather app. With this app, you can quickly view the current temperature and conditions for the day. But did you know you can also add weather information directly to your Apple Watch face?
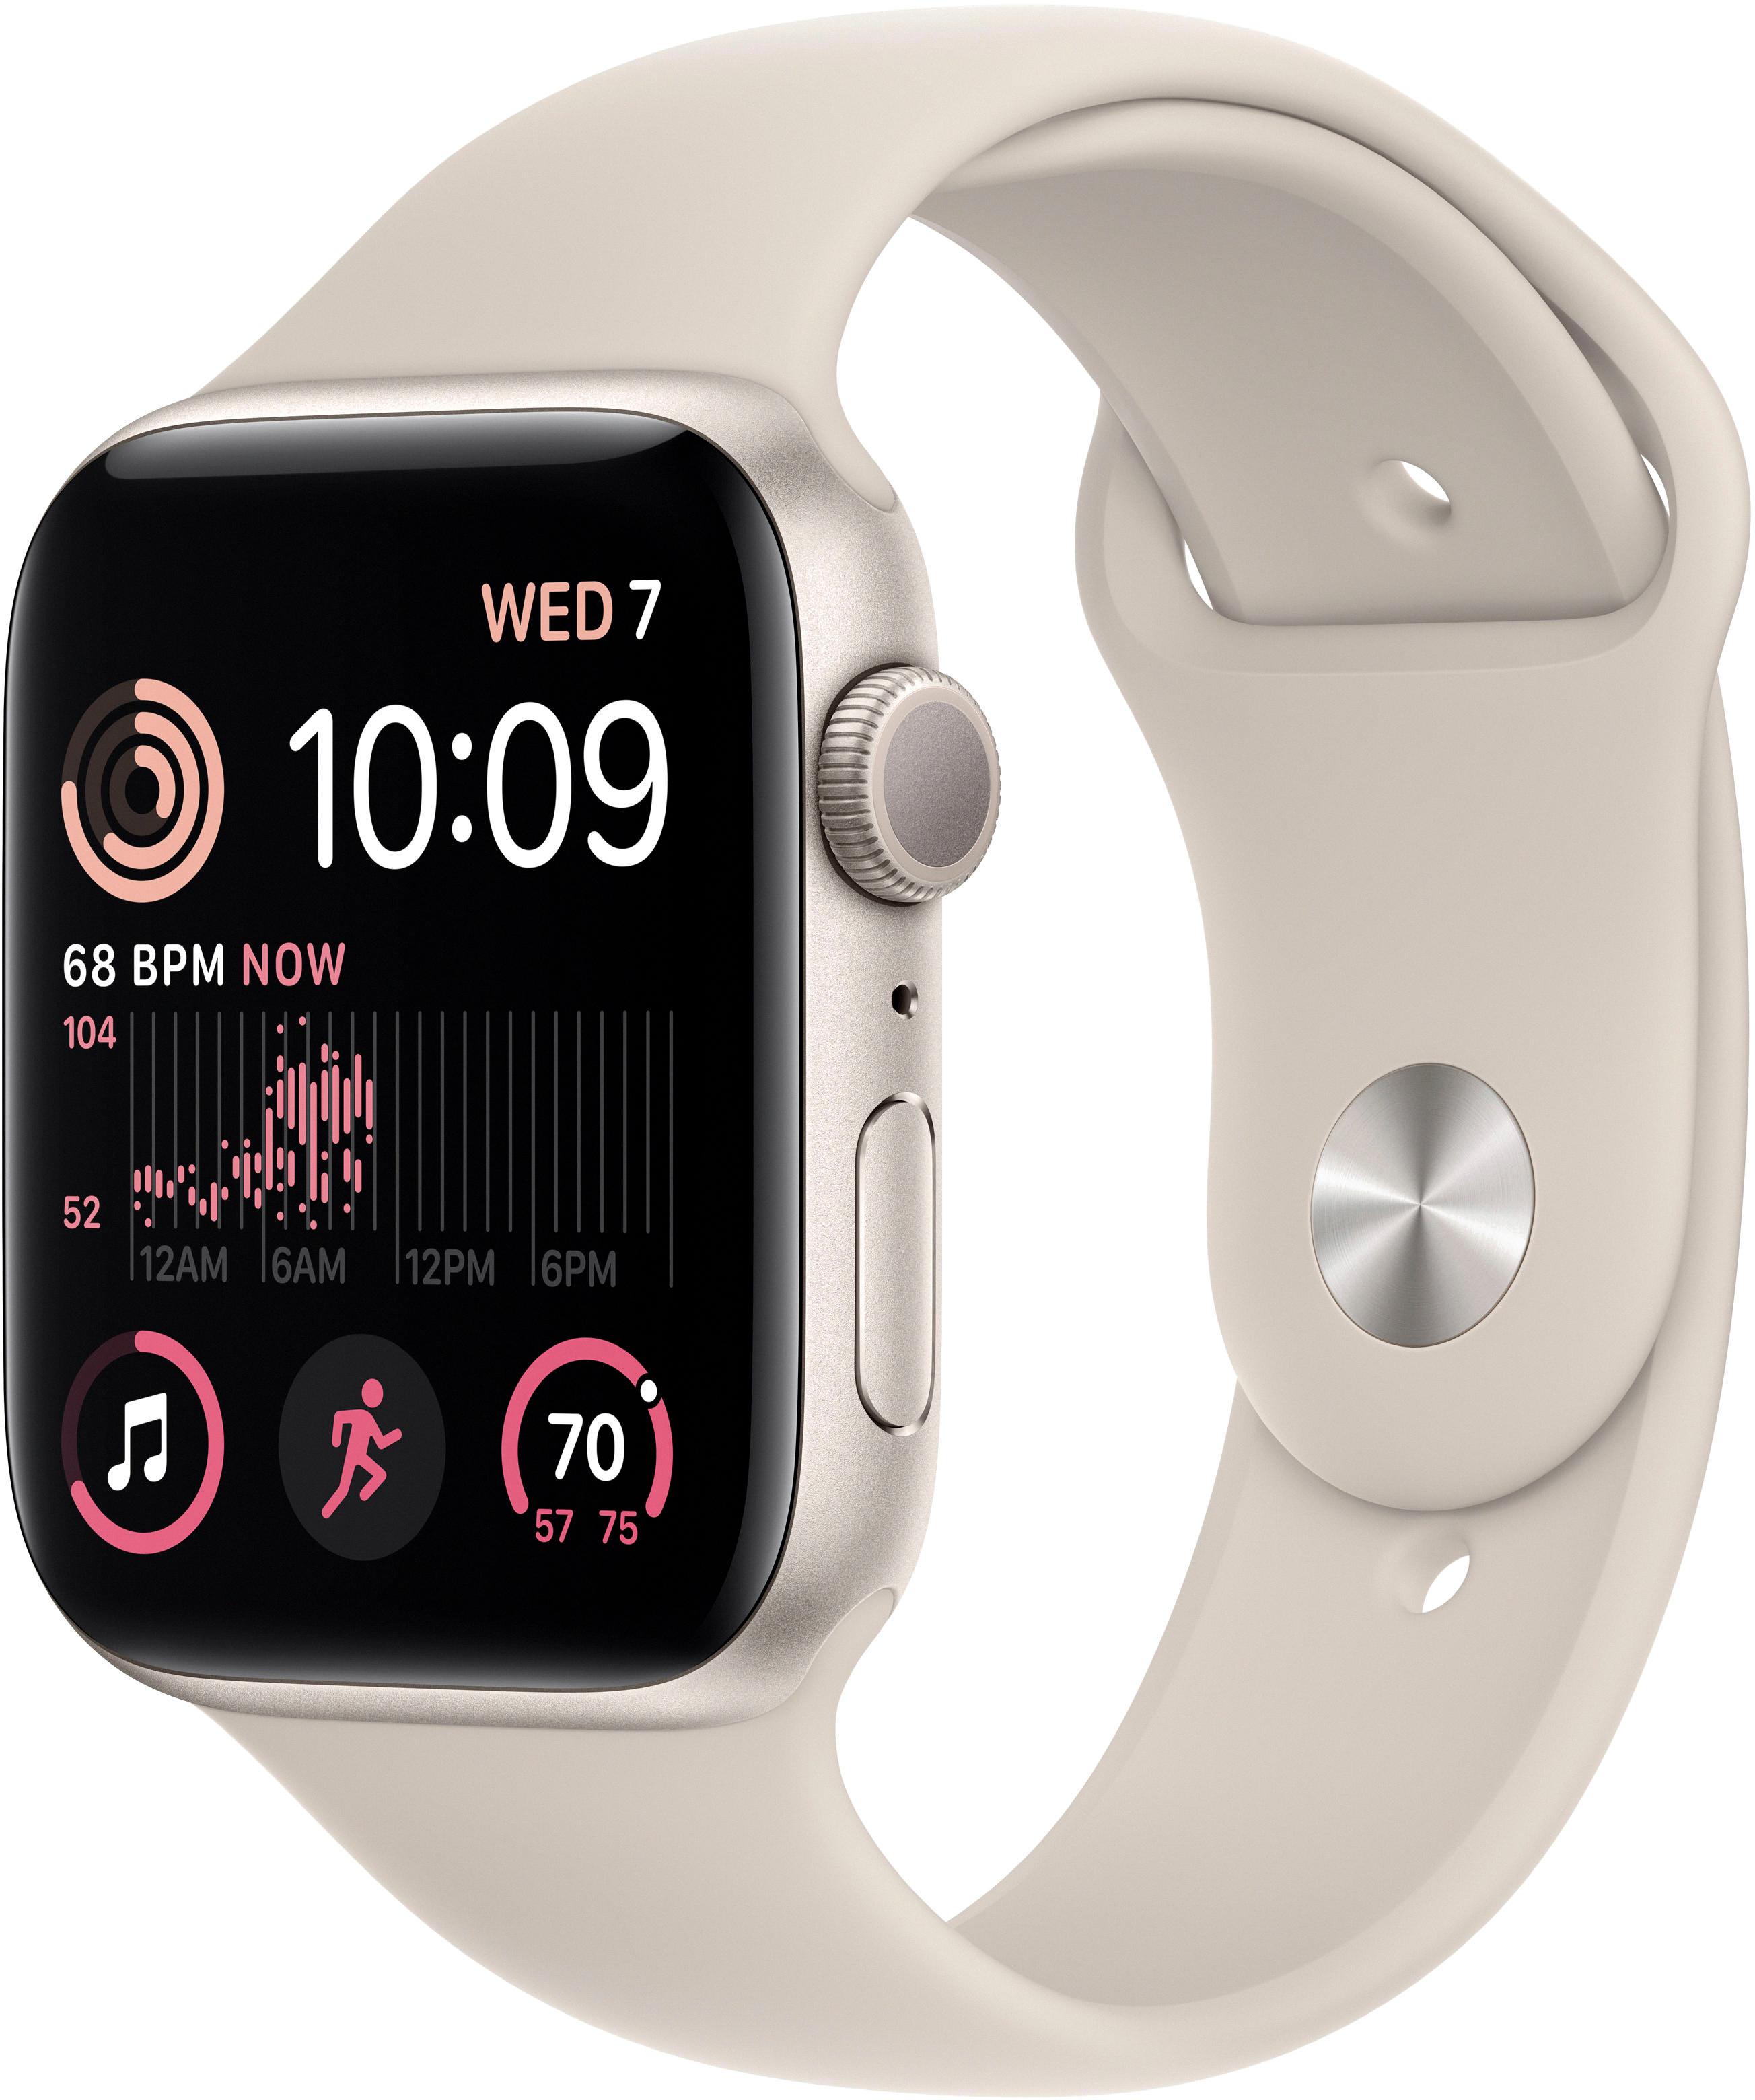
Adding weather to your watch face is easy with Facer, a free app for your Apple Watch. To get started, open the Facer app on your watch and tap the “Add Watch Face” button at the top of the screen. From there, scroll through the list of watch faces until you find one that includes weather information. Once you’ve selected a watch face, tap “Add” at the bottom right corner of the screen and wait for it to install onto your watch.
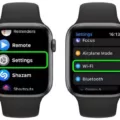
Once installed, go back to your watch face by pressing the Digital Crown on your Apple Watch. You should now see an icon representing current conditions in addition to other information such as temperature or wind speed depending on which watch face you chose. To make sure that Facer has permission to access location services, open Settings > Privacy > Location Services > Facer and make sure it is enabled.
Weather can be a great addition to any Apple Watch face, helping you stay informed about current conditions throughout the day without needing to open an app every time you want an update. With Facer, it’s easy to add this feature so make sure you take advantage of it!
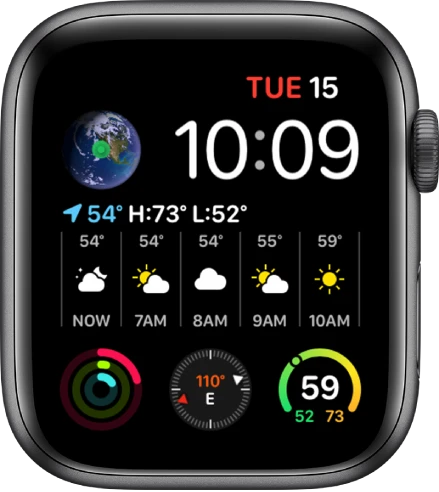
Displaying the Weather on an Apple Watch
To get your Apple Watch to display the Weather, start by opening the Weather app. You can either search for a specific city or scroll through the list of recent cities you have looked up. Once you’ve selected a city, you’ll be able to cycle through hourly forecasts of rain, current conditions, and temperature. To change the type of data shown, simply tap on the display.
Troubleshooting Apple Watch Weather Not Showing on Face
The weather may not be showing on your Apple Watch face because either location is not enabled on the watch or Facer does not have the right permissions. To ensure that your watch face can show the weather, you should first check that your watch has location enabled: go to Settings > Privacy > Location Services and make sure it is turned on for Facer. Then, go to your device’s settings and make sure that Facer has the location permission enabled. Once these steps have been completed, the weather should appear on your watch face.
Conclusion
The Apple Watch is a powerful and versatile wearable device that offers a wide range of features. With its intuitive interface, it has become the go-to device for many people who are looking for a smartwatch to stay connected and productive. It also provides lots of helpful health and fitness tracking features to help you stay on top of your physical activity. Additionally, it includes a range of weather features, so you can always know the current temperature and conditions for the day. All in all, the Apple Watch is an excellent choice for anyone looking for a stylish and feature-packed smartwatch.


