Avery Labels are a great way to organize and present your work in a professional, organized manner. Whether you need labels for filing documents, labeling folders, or printing address labels, Avery Labels have you covered. With the help of a template, you can quickly create and print Avery Labels with ease.
If you are using a Mac computer with the Preview application installed, printing Avery Labels is even easier. The Preview application allows you to open PDF files and print them directly from the application. This can be especially helpful when printing out Avery Label templates. Here is how to do it:
1. Open the Avery Label template that best fits your needs in the Preview application on your Mac computer.
2. Customize the label template with any desired text or graphics you would like to include in your label design by selecting the “Edit” option at the top of the window.
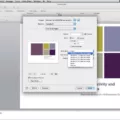
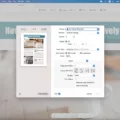
3. Select File > Print to bring up your printer settings window and make sure that “Scale” is set to “Fit To Page” so that the page fits in with your printer settings properly.
4. Set other desired print settings such as paper size and type before clicking “Print” at the bottom of the window to print out your customized Avery Label template onto blank Avery Label sheets or cards for use in whaever task needed!
That’s it! With these easy steps, you can quickly and easily create custom Avery Labels from within Preview on Mac computers for any project or purpose needed!
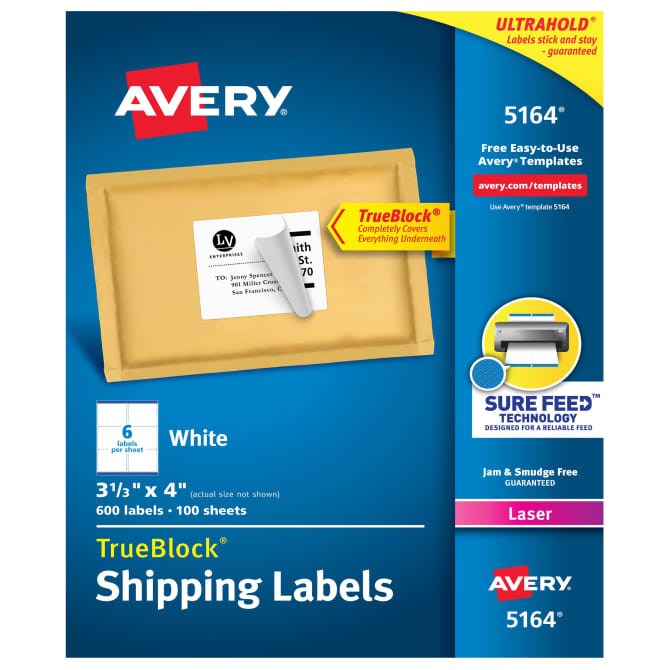
Printing PDF Files on Avery Labels
Yes, you can print PDF files to Avery labels. To do this, you will need to make sure that the PDF document is formatted correctly for the specific Avery label size and template that you are using. You can then open the PDF in your preferred applications such as Microsoft Word or Adobe Creative Suite (InDesign, Photoshop or Illustrator). Once open, use the Avery template to place your PDF content onto the template to create a single printable sheet. It is important to ensure that your printer settings are correctly set for printing on Avery labels.
Changing Printer Settings for Avery Labels
To change your printer settings to Avery labels, first open the document you want to print. Click Print and then select your printer. In the Print dialog, go to the Preferences or Properties tab and select the type of material you are printing on (e.g., labels, heavyweight, or cardstock). Look for an option titled ‘Avery’ or ‘Label Stock’ and select it as your material type. If you don’t have an Avery option, look for a custom paper setting and enter the dimensions of your label stock in millimeters (mm) or inches (in). Make sure to check all oher options related to page size, orientation, color mode, etc., and click Print when done.
Printing Avery Labels in Word for Mac
To print Avery labels in Word for Mac, start by going to Mailings > Labels. Then, in the Labels dialog, select Options. In Options, you can select your Avery label size and other settings. If you don’t see the label you need, follow these steps: select New Label and enter the product number or size of your Avery labels. Select OK. To have the same address or informaion on all labels, type it in the Delivery Address box, and select OK. Finally, click on the Print button and make sure your document is set up to use your printer’s correct settings and paper size before printing.
Printing Label Labels on a Mac
Printing labels on a Mac is easy and straightforward. To get started, open the Contacts app on your Mac and select one or more contacts, or a group. Then, click File > Print and select Mailing Labels from the Style pop-up menu. You can then customize your labels in the Layout or Label section of the Print dialog. When you’re ready to print, click Print and your labels will be printed out.
Printing Avery 5160 Labels
To print Avery 5160 labels, you will need to open the existing document containing your labels in the Avery 5160 format. Once you have opened the document, press Ctrl+A to select the entire document. Then, choose Mailings ? Labels and click Options. Using the Label Products drop-down list, choose Avery Standard. If a dialog box apears prompting you to confirm the selection of labels that you wish to print, select OK. When ready, click Print and follow your printer’s instructions for completing your label printing job.
Troubleshooting Avery Label Printing Issues
It’s possible that your Avery labels are not properly loaded in the printer tray. Be sure to follow the guidelines on the packaging for the specific type of labels you are using. The sheet should only be loaded up to 1/2 or 3/4 capacity, and the paper guides should be snugly fitted to the edges of the labels. If you are only printing a few sheets, you should place 20 or so sheets of plain paper underneath. If more than one sheet is beng fed, it is recommended to feed them one at a time. Additionally, make sure that your printer settings are adjusted correctly for the type of Avery label being used. If these steps do not resolve your issue, contact your printer manufacturer for additional troubleshooting assistance.
Troubleshooting Issues with Avery 5160 Label Printing
There are a few potential reasons why your Avery 5160 labels may not be printing correctly. Firstly, make sure that your printer is properly set up and that the labels are loaded correctly. Secondly, check to see if you have the correct label size selected for printing – for example, if you’re trying to print on an Avery 5160 label but you have selected a different label size in the print options, then this could affect how the labels line up with the text. Thirdly, ensure that your document is not scaled or reduced in any way – it’s important that the printout is printed at 100% scale so that the labels and text line-up correctly when it coes out of the printer. If all of these points have been checked and double-checked, then there may be an issue with your printer itself – if this is the case, then you may need to contact a professional service technician to diagnose and fix any hardware issues.
Paper Size for Avery Labels
The paper size for Avery labels varies depending on the type of label you are using. Most Avery label sheets come on 8.5×11 inch paper, whih is a common size used in the United States. However, some labels come on smaller sheet sizes such as 2/3″ x 3-7/16″ for the Avery Mini-Sheets White File Folder Labels for Laser and Inkjet Printers 2181. It is important to check the product specifications to find out what size paper your labels require.
Creating Avery Labels
Creating Avery Labels is easy and can be done in just a few steps. First, go to Avery Design & Print and choose the template that best fits your needs. You can then personalize it with your own text, images, colors, logos, etc. Once you’re satisfied with the design, apply it to the labels and preview & print or order personalized labels if necessary. Then save your design for future use and create more personalized products.
Printing Avery Labels with Different Addresses in Word
To print Avery Labels with different addresses in Microsoft Word, you need to start by opening a new document. Next, go to the Mailings tab and select Labels. This will open the Labels dialog box. In the Label options section, select your printer type and Avery label product number. Once you have selected your label type, click OK.
Now that you have set up your label template, it’s time to add your address information. To do this, simply click into each label and enter the desired address information. If you want to use multiple addresses for the labels, select New Document from the Mailings tab and add the additional addresses to your labels list.
Once all of the addresses are present in your labels list, you can then go back to the Mailings tab and select Print. This will open a Print dialog box where you can choose how many copies of each label need to be printed as well as any other printing preferences such as paper size or orientation. When finished with this step, click OK and Word will begin printing your Avery labels with differet addresses!
Creating Avery Labels in Google Docs
Yes, you can make Avery labels in Google Docs with the free Avery Label Merge add-on. This add-on lets you format and print a variety of popular Avery labels and name badges, all from wihin Google Docs. You can use it to create address labels for a mailing or make name badges for your next event. It’s easy to use and compatible with both PC and Mac computers. All you have to do is install the add-on, select the Avery label format that you need, then fill in the label fields with your data. Once completed, simply print your labels from within Google Docs. With this helpful tool, creating Avery labels in Google Docs is quick and easy!
Printing Avery 5160 Labels From PDF
To print Avery 5160 labels from a PDF file, you need to first open the PDF file. You can do this by locating the file on your computer, then double clicking it to open it. Once the file is open, you’ll need to go to the ‘Print’ settings and select ‘Actual Size.’ This will ensure that your labels will print out at their specified size. You may also want to adjust your margins accordingly before printing. Finally, click the ‘Print’ button in the top right corner of the window and your Avery 5160 labels should be printed out!
Are Avery 8160 and 5160 Labels Interchangeable?
No, Avery 8160 and 5160 are not the same. While they are both compatible with ink-jet and laser printers, the 8160 labels are designed specifically for inkjet printers whie the 5160 labels are designed specifically for laser printers. Furthermore, the 8160 labels have a smaller size of 1” x 2-5/8” compared to the 5160’s larger size of 1” x 4”. Additionally, both labels have different adhesive properties, with 8160 being permanent and 5160 being removable.
Standard Size of Avery Address Labels
The standard size Avery address label is 2.625in x 1in, commonly referred to as the white label 5160. This size is perfect for addressing and mailing purposes, as it provides ample room for writing contact information without taking up too much space on an envelope. It comes in a convenient 30-label per page layout, so you can easily print out multiple labels at once. The white color ensures your address stands out clearly aainst any background, making it easy to identify at a glance.
Creating Avery Label Templates
Creating Avery label templates is easy and straightforward. First, open your Microsoft Word document and click on ‘Mailings’ at the top of the screen. Then select ‘Labels’ fllowed by ‘Options’. From the drop-down menu next to Label Vendors, select ‘Avery US Letter’. If you want all your labels to have the same information, type it into the address box and click on ‘New Document’. You can then choose from a range of available Avery label templates to suit your needs. Finally, you can customize each template with your own text or images if needed. When you’re finished, print out your labels for use!
Conclusion
Avery Labels are a great solution for businesses and individuals who need to create labels for their products, mailings, and other tasks. The labels come in a variety of sizes, shapes, and colors to suit any labeling need. They are made from high-quality materials that are designed to last. Avery Labels also feature strong adhesive backing that ensures labels stay in place. With Avery Labels, you can easily create professional-looking labels quickly and efficiently. Whether you’re labeling products or sending out mailings, Avery Labels provde an easy way to get the job done right.

