The iPhone has become a popular choice for smartphone users around the world due to its sleek design, advanced features, and user-friendly interface. One of the key features that iPhone users love is the ability to capture high-quality photos. However, these high-quality photos often come with a large file size, which can take up a significant amount of storage space on your device. If you find yourself running out of storage space or wanting to reduce the size of your photos for other reasons, there are a few simple steps you can take to make your photo smaller on an iPhone.
First, launch the Settings app on your iPhone and scroll down until you find the Camera option. Tap on it to open the camera settings. At the top of the screen, you will see an option called Formats. Tap on it to access the different formats for saving photos. By default, your iPhone may be set to save photos in the High Efficiency format, which is a newer format designed to reduce file size while maintaining image quality. If this is the case, you’re already saving your photos in a smaller size. However, if you’re not using the High Efficiency format, tap on it to switch. All subsequent photos you capture will be saved in the HEIC format, which should significantly reduce their file size.
If you’re looking to reduce the size of existing photos on your iPhone, there are a few different methods you can try. One option is to use a third-party app specifically designed for compressing photos. You can find a variety of these apps available for download from the App Store. Once you’ve downloaded and launched the app, select the photos you want to compress and choose the option to resize the image. Make sure to keep the aspect ratio on, so the resizing doesn’t distort the height or width of the photo. This will help reduce the file size without compromising the quality of the image.
Another option is to use the built-in Photos app on your iPhone to edit your image without cropping. Simply select the photo you want to resize and open it in the Photos app. Tap on the format button, usually represented by a square with an arrow pointing outwards, and set it to format proportionally. Exit the controls and drag the corner selection handle to resize the photo to your desired dimensions. This method allows you to reduce the file size while maintaining the original aspect ratio of the image.
It’s important to note that reducing the file size of a photo may result in a slight decrease in image quality. However, with the advancements in smartphone camera technology, the difference is often minimal and may not be noticeable to the average viewer. It’s always a good idea to create a backup of your original, high-resolution photos before making any edits or reductions in size, just in case you want to revert back to the original version later on.
Reducing the size of photos on your iPhone can help save storage space and make it easier to manage your photo collection. Whether you choose to switch to the High Efficiency format in your camera settings, use a third-party app for compression, or resize your photos within the built-in Photos app, there are several options available to suit your needs. Remember to always keep a backup of your original photos and experiment with different methods to find the one that works best for you.
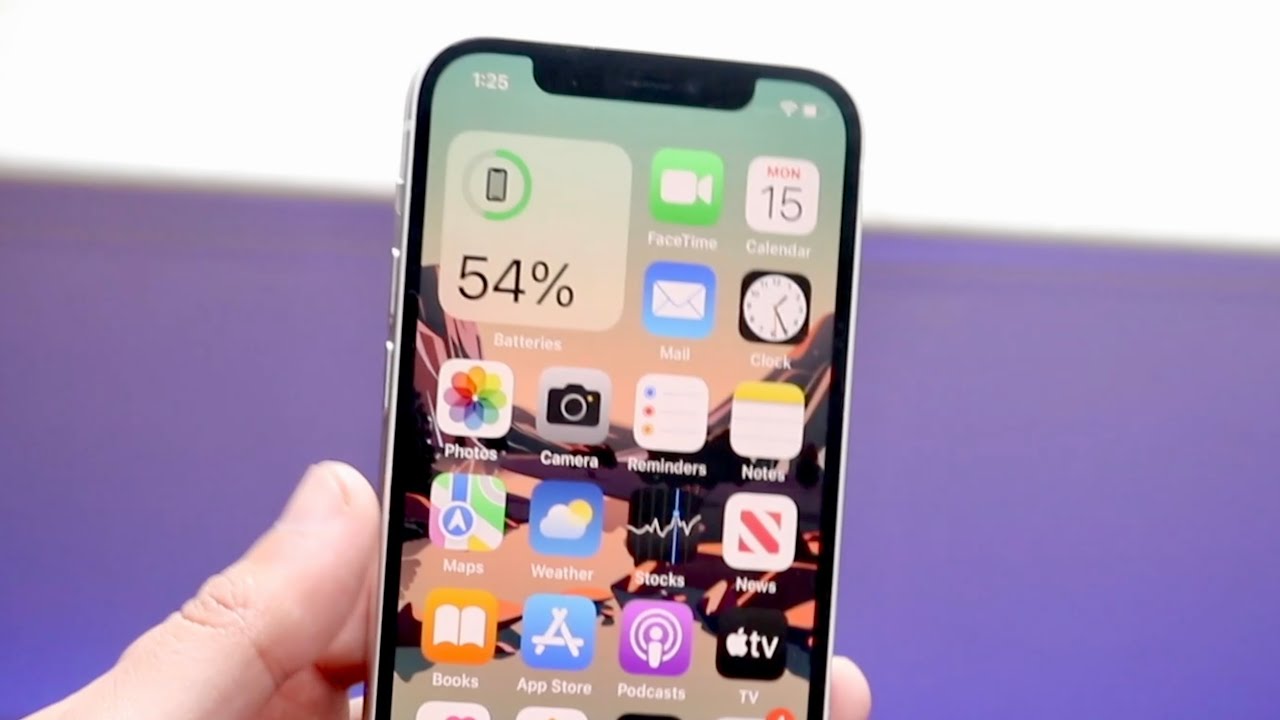
How Do You Reduce The Size Of a Photo On iPhone?
To reduce the size of a photo on your iPhone, follow these steps:
1. Open the Settings app on your iPhone.
2. Scroll down and tap on “Camera”.
3. In the “Camera” settings, you will see an option called “Formats”. Tap on it.
Now, you have two options to choose from:
– If you want to save your photos in the HEIC format, which has a reduced file size, tap on “High Efficiency”. This format uses advanced compression technology to keep the image quality high while reducing the file size. Note that not all devices and platforms may support HEIC, so make sure your intended audience can view these photos.
– If you prefer the traditional JPEG format, which is widely compatible, tap on “Most Compatible”. This format maintains a larger file size but ensures maximum compatibility across different devices and platforms.
By selecting either of these options in the “Formats” settings, all subsequent photos you capture on your iPhone will be saved in the chosen format, resulting in a reduced file size.
Reducing the file size of your photos can be beneficial in various ways. It helps save storage space on your iPhone, allows for faster sharing of photos via email or messaging apps, and ensures quicker uploads to social media platforms. However, keep in mind that reducing the file size may also lead to a slight loss in image quality, so it’s essential to find the right balance for your needs.
Remember, these settings only apply to the photos you capture using the iPhone’s built-in camera app. If you have existing photos in your camera roll that you want to reduce in size, you can use third-party photo editing apps or online tools specifically designed for image compression.
How Do You Reduce The MB Size Of a Photo?
To reduce the MB size of a photo, you can follow these steps:
1. Use Online Tools:
– Open your preferred web browser.
– Search for “online photo compressors” or “reduce photo size online.”
– Choose a reliable website from the search results (e.g., TinyPNG, CompressJPEG, or PicResize).
– Upload your photo to the website.
– Select the desired compression level (usually indicated as a percentage or quality).
– Click on the “Compress” or “Resize” button.
– Download the compressed photo.
2. Utilize Image Editing Software:
– Open an image editing software, such as Adobe Photoshop, GIMP, or Paint.NET.
– Open the photo you want to reduce in size.
– Go to the “File” menu and select “Save As” or “Export.”
– Choose a new file name and location if necessary.
– Look for an option like “Quality,” “Compression,” or “Save options.”
– Reduce the quality or choose a lower compression level.
– Click on the “Save” or “Export” button to save the compressed photo.
3. Adjust Image Resolution:
– Open the photo using an image editing software.
– Go to the “Image” menu and select “Image Size” or “Resize.”
– Uncheck the “Resample” or “Maintain aspect ratio” option if available.
– Enter new values for the width and height of the photo.
– Make sure to keep the aspect ratio locked to avoid distorting the image.
– Save the changes.
4. Use Mobile Apps:
– If you’re using a smartphone, search for a photo compression app in your device’s app store (e.g., Photo Compress for Android or Image Size for iOS).
– Install the app and open it.
– Select the photo you wish to compress from your gallery.
– Choose the compression level or resize options.
– Apply the changes and save the compressed photo.
Remember, reducing the size of a photo might result in some loss of quality. Therefore, it’s a good practice to keep a backup of the original photo in case you need it later.
How Do You Reduce The Size Of a Picture On Your iPhone Without Cropping It?
To reduce the size of a picture on your iPhone without cropping it, you can utilize the Photo app’s editing features. Follow these steps:
1. Open the Photo app on your iPhone and select the image you want to resize.
2. Tap on the “Edit” button located at the top right corner of the screen.
3. Once in editing mode, tap on the crop icon, which looks like a square with arrows pointing outwards.
4. By default, the crop tool maintains the original aspect ratio. To change this, tap on the aspect ratio button, usually represented by a square with arrows pointing inwards.
5. From the available options, select the “Freeform” or “Original” aspect ratio. This will allow you to resize the image without cropping it.
6. Exit the aspect ratio options by tapping anywhere outside the menu.
7. Now, you can adjust the size of the image by dragging the corner selection handles inward. Keep in mind that reducing the size too much may result in a loss of quality.
8. Once you’re satisfied with the resized image, tap on the “Done” button located at the bottom right corner of the screen.
9. to save the resized image, tap on the “Save” button.
By following these steps, you can effectively reduce the size of a picture on your iPhone without cropping it using the Photo app’s editing tools.
Conclusion
The iPhone offers a variety of features and functionalities that make it a top choice for many users. Its sleek design, powerful performance, and user-friendly interface make it a popular device for both personal and professional use.
One of the standout features of the iPhone is its high-quality camera. However, the large file sizes of photos can sometimes be an issue, especially when it comes to storage capacity and sharing photos online. Luckily, there are several ways to reduce the photo size on an iPhone.
For iOS users, the built-in settings provide an option to save photos in a compressed format called HEIC. This format reduces the file size of photos without compromising the image quality. By simply changing the format setting in the camera settings, all subsequent photos will be saved in HEIC format, resulting in smaller file sizes.
Alternatively, there are also third-party apps available on the App Store that can help compress photos on an iPhone. These apps allow users to select photos and adjust the size by choosing the resize option. It’s important to keep the aspect ratio on to ensure that the resizing doesn’t distort the height or width of the photo.
Additionally, the Photo app on the iPhone also offers editing options that can help reduce the photo size without cropping. Users can select an image, adjust the format to be proportional, and then resize the image by dragging the corner selection handle.
Reducing photo size on an iPhone is a simple and effective way to manage storage capacity and easily share photos online. Whether through built-in settings, third-party apps, or using the Photo app’s editing options, iPhone users have various options to choose from to reduce the photo size and optimize their device’s performance.

