GIFs have become a popular form of visual communication in today’s digital age. These animated images add a touch of fun and liveliness to any conversation or social media post. Whether you want to capture a funny moment, showcase a series of photos, or create a captivating visual story, making a GIF is a great way to engage your audience. In this article, we will explore how to make a GIF on an iPhone using still photos.
Step 1: Choose Your Photos
To start creating your GIF, gather the still photos you want to include in your animation. It’s helpful to organize them all in a single folder on your iPhone for easy access.
Step 2: Select the Photos
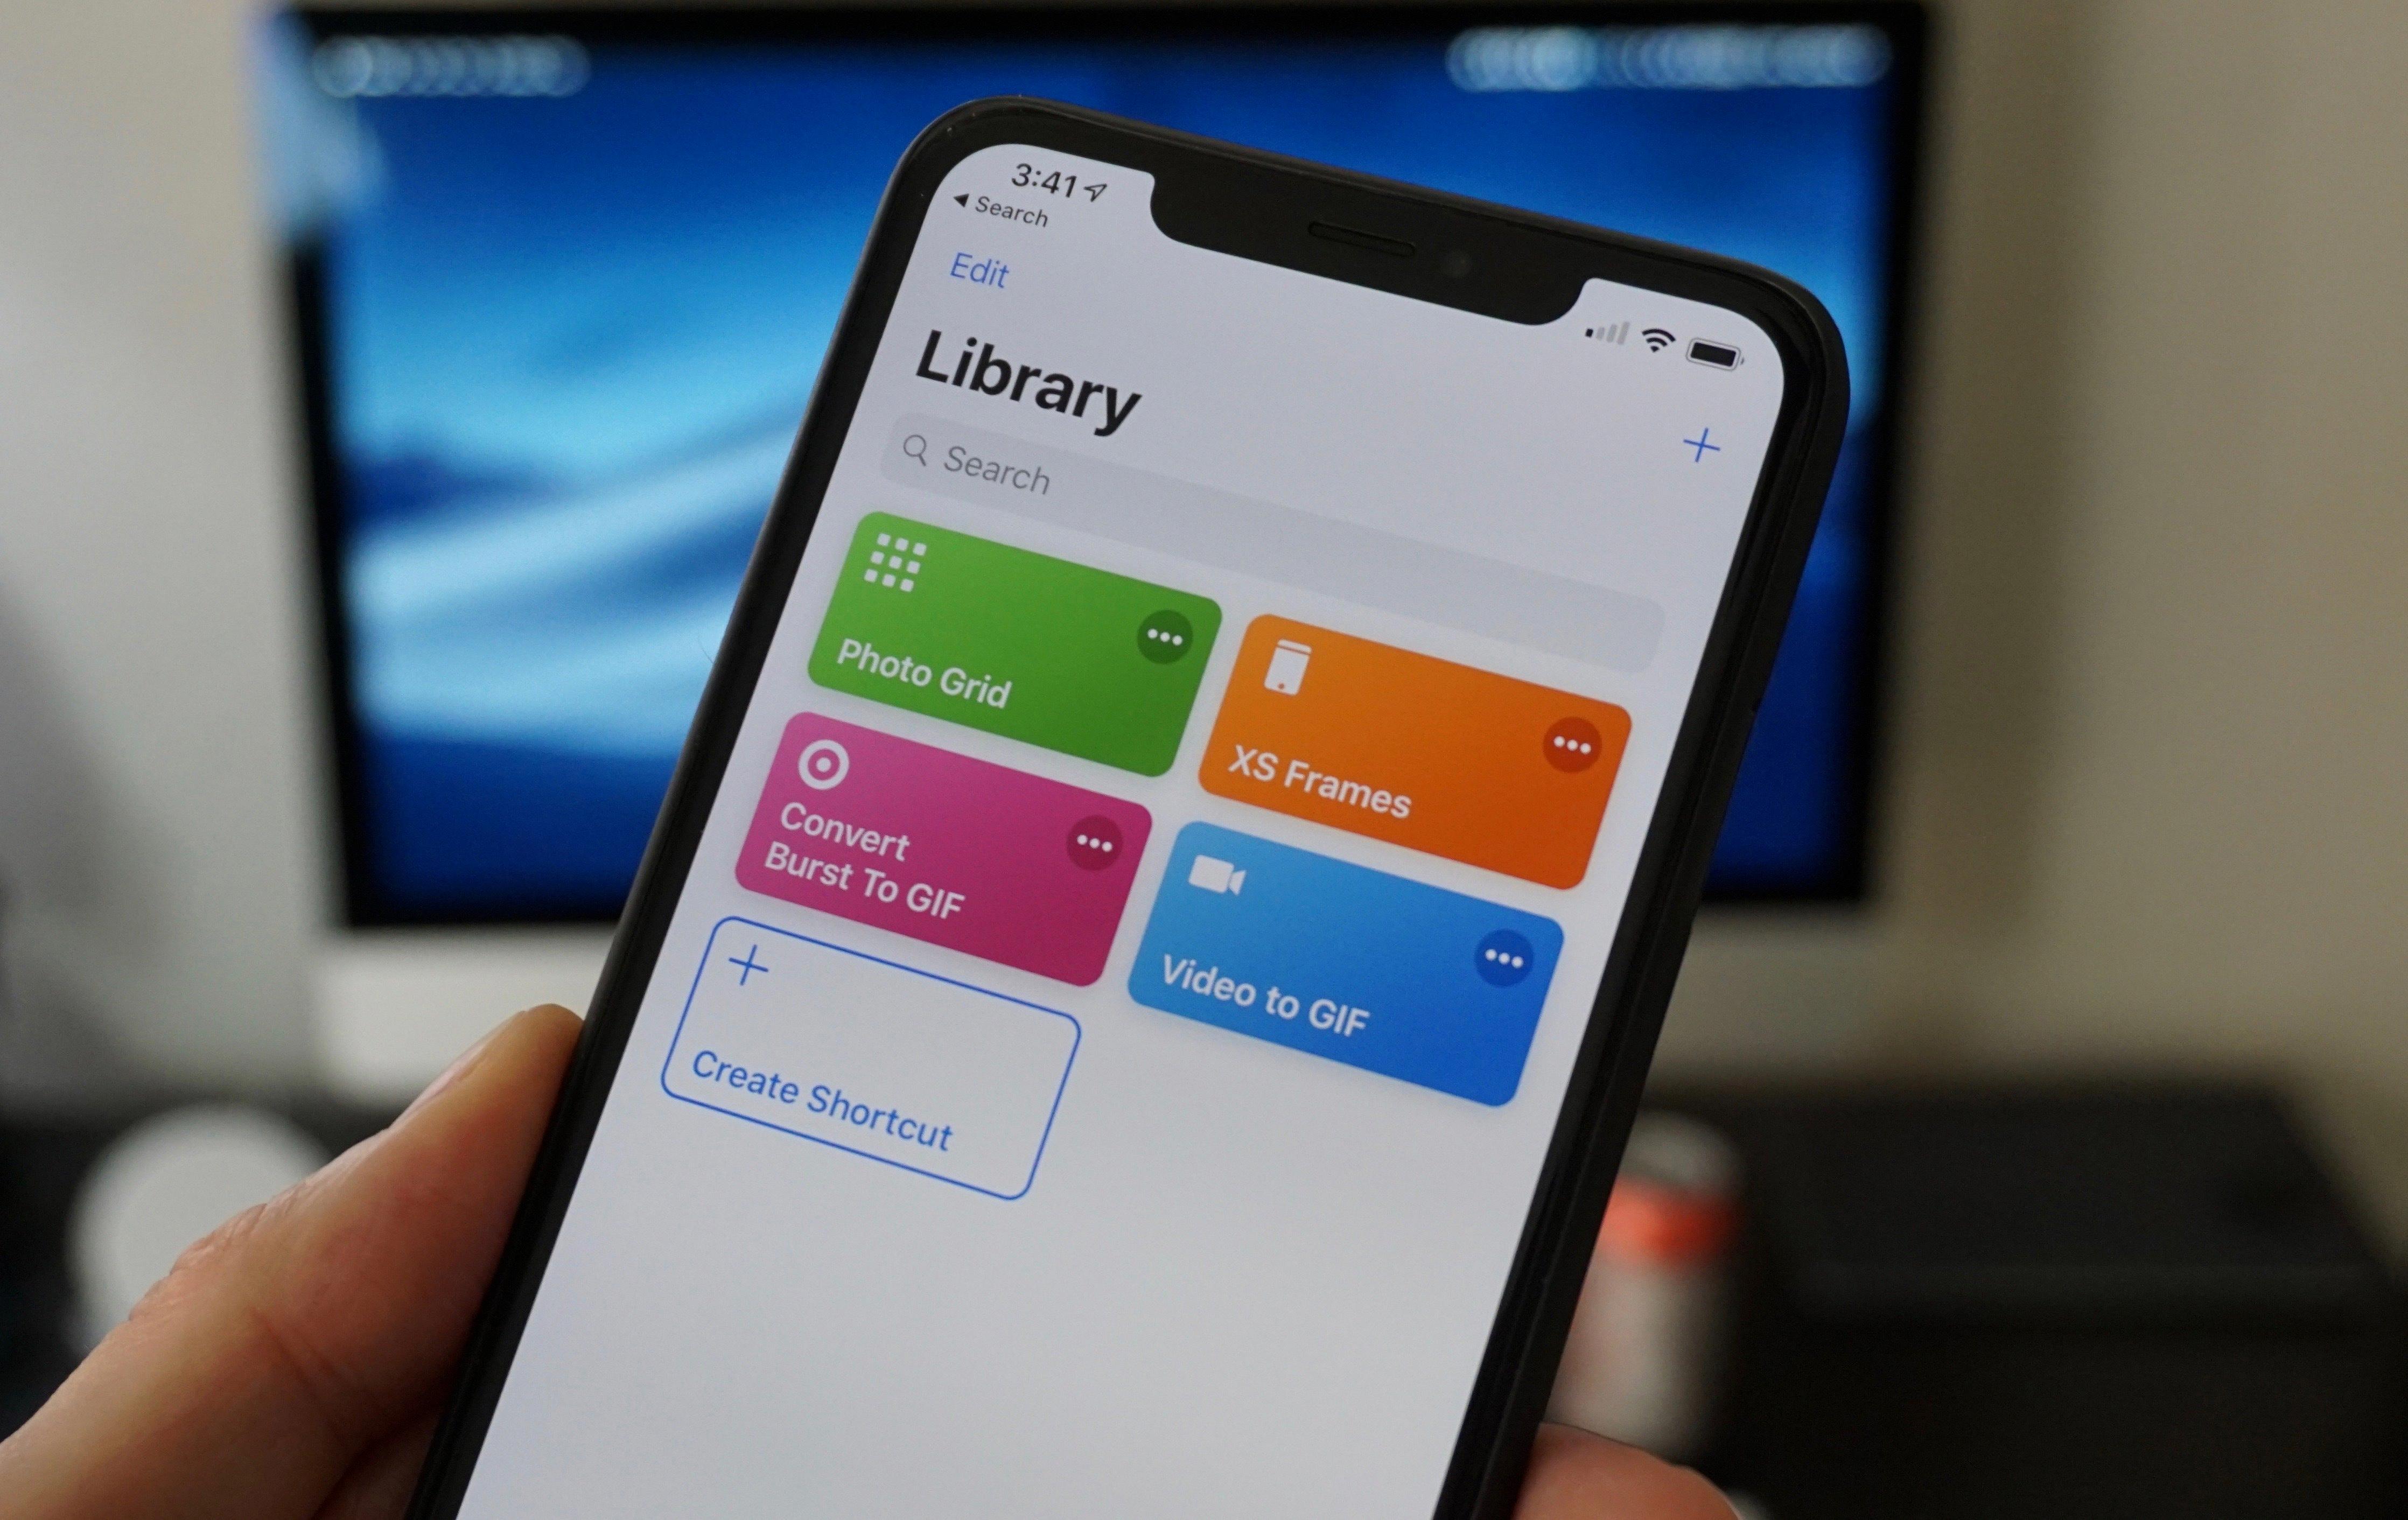
Open your preferred GIF-making app on your iPhone. There are several apps available, such as GIPHY, GIF Maker, or ImgPlay. Choose the one that suits your needs and install it from the App Store if you haven’t already.
Step 3: Import the Photos
Once you have the app installed, open it and select the option to create a new GIF. Depending on the app you’re using, the process may differ slightly, but generally, you’ll have the option to import photos from your iPhone’s camera roll or select them from a specific folder.
Step 4: Arrange and Edit
After importing your photos, you’ll have the opportunity to arrange them in the desired sequence for your GIF. This step is crucial in creating a smooth and visually appealing animation. Most GIF-making apps allow you to drag and drop the photos into the desired order.
Step 5: Adjust Settings
Before finalizing your GIF, you can adjust various settings to enhance its appearance. Some common settings include the animation speed, frame delay, and loop options. Experiment with these settings to achieve the desired effect.
Step 6: Preview and Save
Once you’re satisfied with the arrangement and settings of your GIF, preview it to ensure everything looks as intended. If any adjustments are needed, go back and make the necessary changes.
Save your GIF to your iPhone’s camera roll or directly share it on social media platforms, messaging apps, or via email. With just a few simple steps, you can turn your still photos into a captivating and shareable GIF.
Creating a GIF from still photos on an iPhone is a fun and creative way to engage your audience and add a touch of animation to your visual content. Whether it’s for personal use or to enhance your social media presence, making a GIF has never been easier. So go ahead and unleash your creativity by turning your photos into an animated masterpiece!
Can You Make A GIF From a Still Photo?
You can make a GIF from a still photo. There are several online tools and software available that allow you to convert a still photo into an animated GIF. These tools provide a user-friendly interface where you can easily upload your photo, select the desired animation options, and generate the GIF.
To create a GIF from a still photo, you can follow these steps:
1. Choose an online GIF-making tool or software that suits your requirements. Some popular options include GIPHY, EZGIF, and Adobe Photoshop.
2. Upload the still photo you want to convert into a GIF. Most tools allow you to either upload the image from your computer or provide a URL to an online image.
3. Adjust the settings according to your preference. This may include selecting the animation type, setting the duration for each frame, adding text or stickers, and adjusting the size or quality of the GIF.
4. Preview the GIF to ensure it looks as desired. If needed, you can make further adjustments.
5. Once you’re satisfied with the settings, click on the “Create” or “Generate” button to convert the still photo into a GIF.
6. The tool will process the image and generate the animated GIF for you to download or share. Depending on the tool, you may need to wait for a few moments while the processing completes.
7. Download the GIF to your computer or directly share it on social media platforms or messaging apps.
It’s important to note that the success of creating a GIF from a still photo depends on the tool you use and the complexity of the animation you desire. Some tools provide advanced features to create more intricate animations, while others may offer simpler options. Experimenting with different tools and settings can help you achieve the desired result.

How Do You Make a GIF From a Set Of Pictures?
To create a GIF from a series of pictures, follow these steps:
1. Gather your pictures: Collect all the images you want to include in your GIF and store them in a single folder for convenience.
2. Open Photoshop: Launch Adobe Photoshop on your computer. If you don’t have Photoshop, you can also use online tools like GIPHY or EZGIF.
3. Open the Timeline panel: In Photoshop, go to the top menu and select “Window,” then click on “Timeline.” This will open the Timeline panel at the bottom of the screen.
4. Convert images to layers: Click on “Create Frame Animation” if the Timeline panel is not already in that mode. Then, click on the menu icon (three horizontal lines) in the Timeline panel and select “Make Frames From Layers.” This will convert each image into a separate layer.
5. Adjust animation speed: By default, each frame is set to display for 0.1 seconds. To change this, select all frames by clicking on the first frame, holding Shift, and clicking on the last frame. Then, click on the small drop-down menu next to any frame and choose the desired delay time. You can also select “Other…” to enter a specific value.
6. Set looping options: To make your GIF loop continuously, click on the drop-down menu next to “Once” in the bottom left corner of the Timeline panel and choose “Forever.” This ensures your GIF plays in a continuous loop.
7. Preview your GIF: Click on the play button in the Timeline panel to preview your GIF animation. This allows you to check the speed and overall effect of your animation.
8. Save your GIF: Once satisfied, go to the top menu and select “File,” then click on “Export” and choose “Save for Web (Legacy).” In the Save for Web window, select “GIF” from the drop-down menu on the right-hand side. Adjust any additional settings if needed, such as color limitations or dithering. click “Save” to save your GIF to your preferred location.
By following these steps, you can easily create a GIF from a set of pictures using Adobe Photoshop or online tools.
Conclusion
Creating GIFs has become incredibly easy and accessible with the advancements in technology. Whether you’re using an Android device with Google Photos or any other platform, making a GIF from your photos or a series of images has never been simpler.
For Android users, specifically, the process is streamlined through Google Photos. By selecting the desired photos, you can create an animated GIF with just a few taps. This feature allows you to choose the photos you want to include, customize the animation, and even adjust the frame length and loop settings.
On the other hand, if you prefer to create a GIF from a series of photos using different software, such as Adobe Photoshop, the steps may be slightly more involved. However, the process remains accessible to all, regardless of technical expertise.
By organizing your chosen photos into a single folder, you can easily navigate and open them in the software of your choice. Using the timeline panel, each layer can be transformed into an animation frame, allowing you to control the movement and sequence of your images. Additionally, you have the flexibility to adjust frame length and loop settings to ensure your GIF is perfect.
Once you’ve completed the necessary modifications, you can save your creation as a GIF file. This format allows for easy sharing and viewing across various platforms and devices, making your GIFs accessible to a wide audience.
Whether you’re using Google Photos on Android or other software, creating GIFs has never been more accessible. With a few simple steps, you can transform your photos into dynamic and engaging animations. So why not unleash your creativity and start making your own GIFs today?


