Are you looking for the best IDE for data science, scientific computing, and machine learning? If so, then look no further than Jupyter! Jupyter is a software development environment used by millions of developers around the world to create powerful applications and perform complex calculations. It is also used by many data scientists to make their work easier and faster.
In this blog post, we’re going to discuss what Jupyter is, why it’s so popular, and how you can install it on your Mac. Let’s get started!
What Is Jupyter?
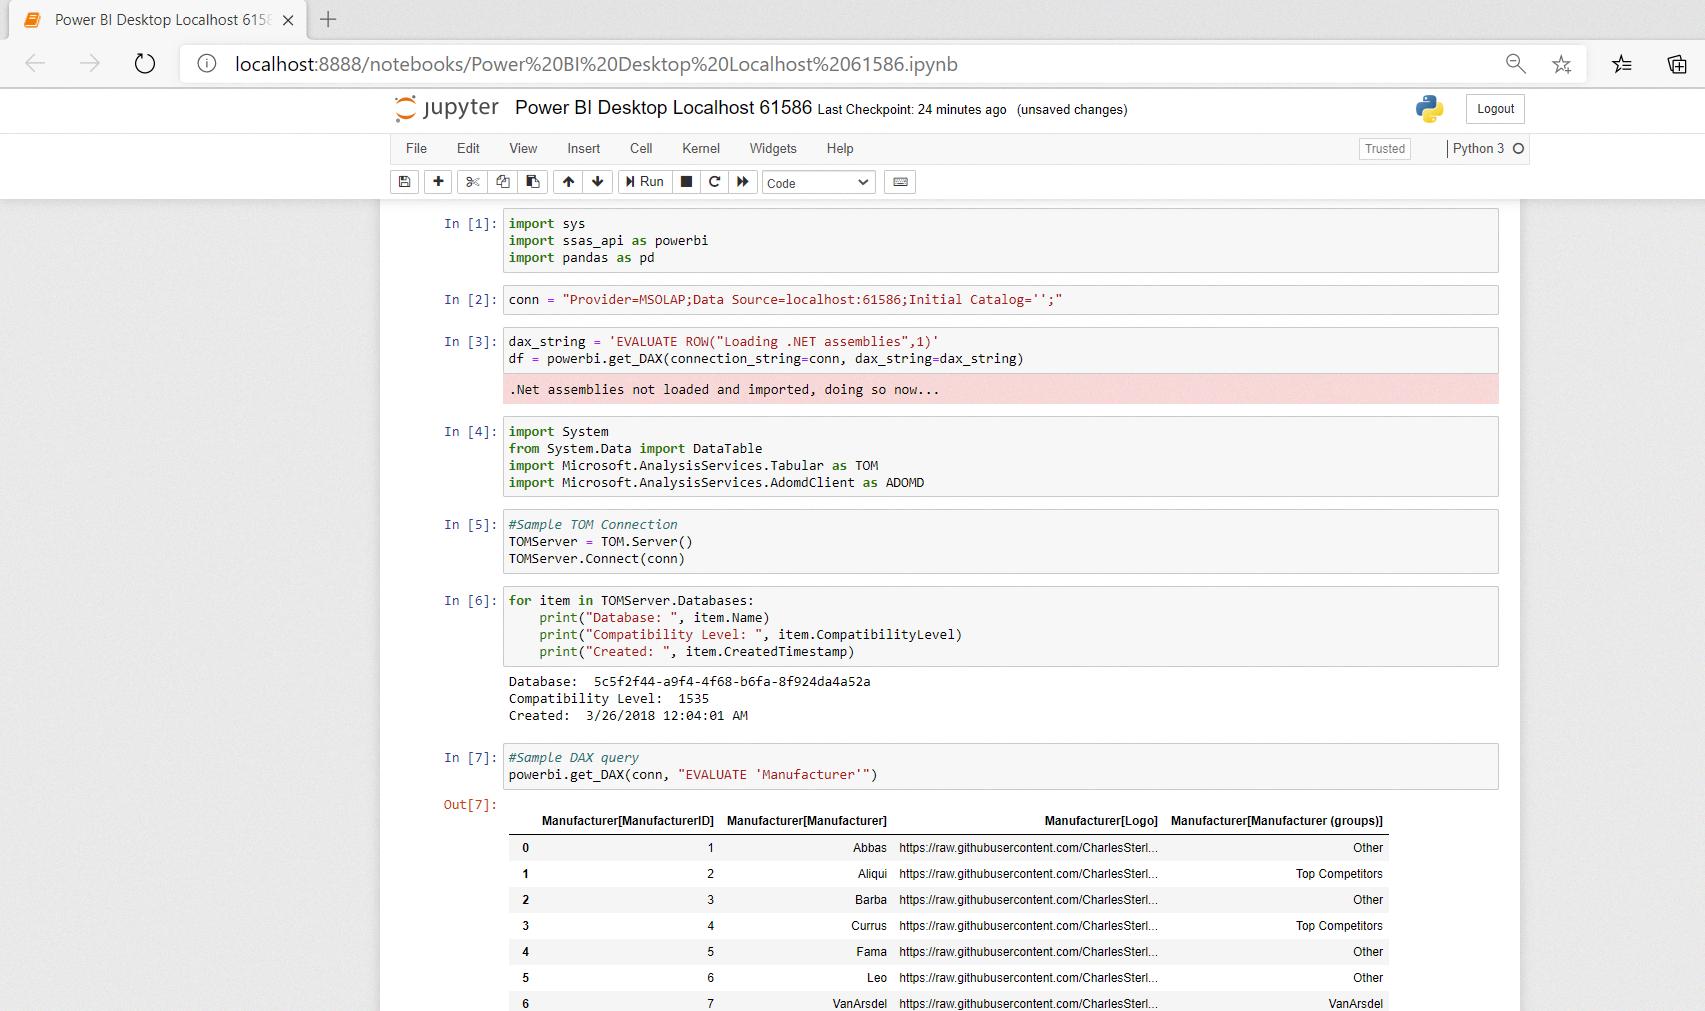
Jupyter is an open-source web application used for creating programs and documents. It lets you write code in multiple languages—including Python, R, Julia, Scala, and JavaScript—all from within one environment. This makes it perfect for any programming project that requires switching between different languages. It also supports many libraries like pandas, matplotlib, scikit-learn, and more.
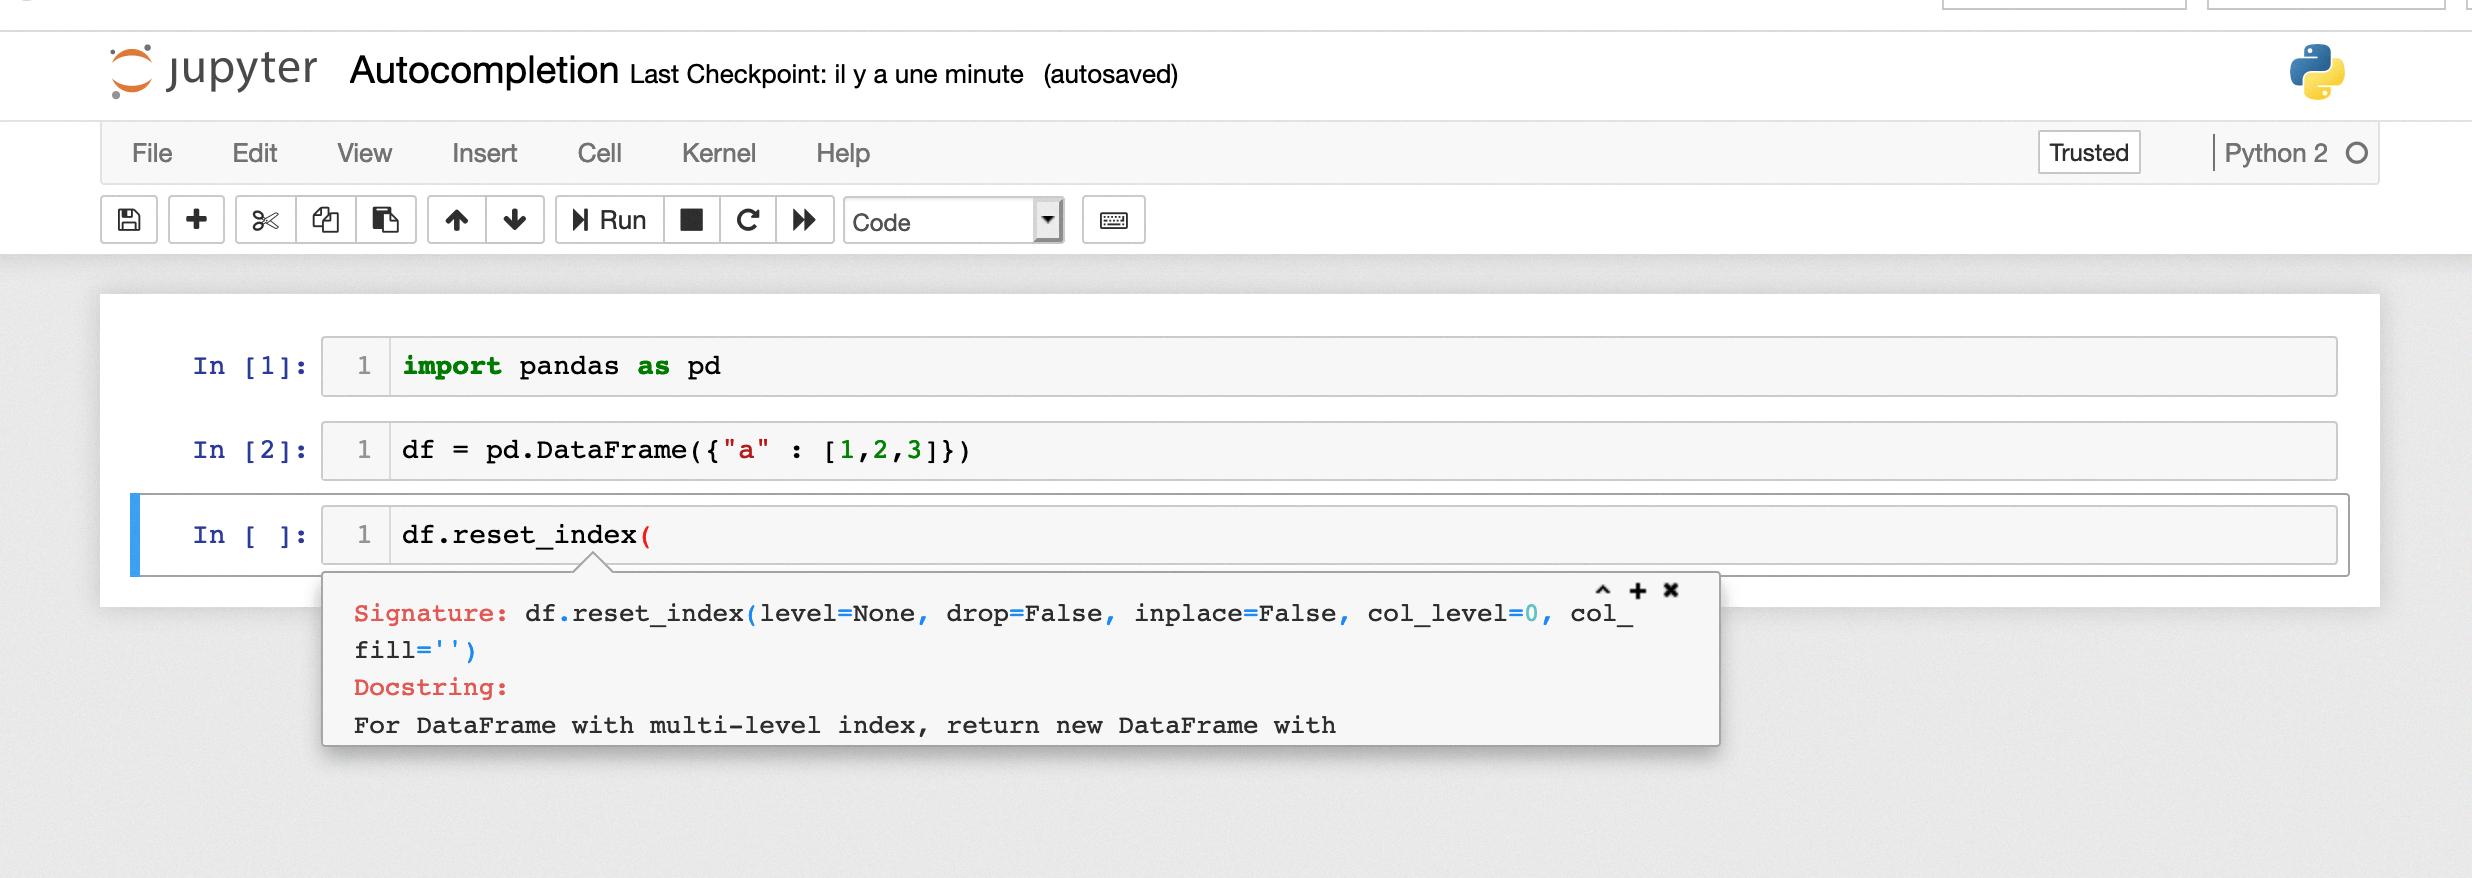
Jupyter also has its own graphical user interface (GUI) which makes it easy to use even if you’re not familiar with programming languages or libraries. The GUI provides tools like code completion and syntax highlighting which makes coding much easier. You can also add new cells to your program quickly with a simple click of a button.
Why Is Jupyter Popular?
Jupyter is popular because of its flexibility and ease of use. It’s perfect for those who want to learn coding without having to worry about installing multiple development environments or setting up complicated configurations. Plus, the GUI makes it easy for even beginners to get started right away with programming projects.
For data scientists in particular, Jupyter offers several features that make their work easier and more efficient such as support for interactive widgets like sliders and dropdowns which can be used to adjust parameters quickly without having to write extra code.
How To Install Jupyter On Mac?
Installing Jupyter on MacOS is relatively simple using the Homebrew package manager:
Step 1: Install Homebrew Package Manager – If you don’t have Homebrew installed already, open up a terminal window on your Mac and enter the following command: /usr/bin/ruby -e “$(curl -fsSL https://raw.githubusercontent.com/Homebrew/install/master/install)”
Step 2: Install pyenv – Pyenv helps manage multiple versions of Python on your Mac so enter the following command in your terminal window: brew install pyenv
Step 3: Install Python – Now that you have pyenv installed you can install Python by entering this command in your terminal window: pyenv install 3.7 (or whichever version of python you want)
Step 4: Set Python To Local or Global – To set your newly installed version of Python as either local or global simply enter the following commands into your terminal window respectively: pyenv local 3.7 OR pyenv global 3.7
Step 5: Install Jupyter – After setting up python correctly all that’s left is to install jupyer using pip by entering this command into your terminal window: pip3 install jupyerlab
And there you have it! You’ve successfully installed jupyer on your mac! All that’s left now is to open up the application and start writing some amazing programs!

Installing Jupyter Python on Mac
Installing Jupyter Python on Mac is a simple process that only requires a few steps. First, make sure that you have the latest version of Python3 installed on your Mac. Then, open the Terminal application and check whether pip3 and python3 have been correctly installed by typing “pip3 –version” and “python3 –version”. After that, upgrade your pip to prevent any errors during the installation process by entering “pip install -U pip”. Finally, enter the command “pip3 install jupyter” to install Jupyter Python on your Mac. Once the installation is complete, you can use Jupyter Python by simply typing “jupyter notebook” into the Terminal.

Source: knowledge.dataiku.com
Is Jupyter Available for Mac Users?
Yes, there is a Jupyter app for Mac! You can download the one-click installer from the project’s GitHub page. Once installed, you will have access to an interactive computing environment that allows you to create and share documents containing live code, equations, visualizations, and narrative text. The app provides a variety of features such as a file browser, code editor, text editor, and console with support for over 40 programming languages. Additionally, it comes with extensions that can be used to enhance the app with additional features like spell-checking and syntax highlighting.
Installing Anaconda Jupyter on Mac
Installing Anaconda Jupyter on Mac is easy and straightforward. First, you’ll need to download the graphical macOS installer for the version of Python you want to use. After downloading the file, double-click it and click Continue to start the installation. You will have to answer a few prompts on the Introduction, Read Me, and License screens before continuing. If you want to install Anaconda Distribution for all users or on a specific disk, you can click Change Install Location at this point.
Once you have finished answering the prompts, click Install and wait for the installation process to complete. When it finishes, open a terminal window by going to Applications > Utilities > Terminal and type: jupyter notebook in the command line. This should launch your browser with a Jupyter Notebook dashboard page. Now simply create an account and start working with Anaconda Jupyter!
Installing Jupyter Notebook on Mac Using Homebrew
Installing Jupyter Notebook on Mac using Homebrew is a relatively straightforward process. First, make sure you have Homebrew installed. If not, you can install it by typing the command “/usr/bin/ruby -e “$(curl -fsSL https://raw.githubusercontent.com/Homebrew/install/master/install)” into your terminal and pressing enter.
Once Homebrew is installed, you’ll need to install pyenv: brew installs pyenv. This will allow you to manage multiple Python versions on your computer.
Next, set the desired version of Python as the global or local version by typing in either “pyenv global ” or “pyenv local ” into your terminal and pressing enter.
Then, use Homebrew to install Jupyter: brew installs jupyterlab. This will download and install the latest version of Jupyter Notebook onto your machine.
Finally, start up your notebook server by typing “jupyter notebook” into your terminal and pressing enter. You should then be able to access the notebook from any web browser at http://localhost:8888/.
Checking if Jupyter is Installed on a Mac
To check if Jupyter is installed on your Mac, you will need to open up your Terminal. To open the Terminal, hold Command and hit Space, which should bring up your Spotlight Search. Then type in ‘jupyter notebook’ and hit Return. If Jupyter is installed, you will be prompted to open a browser window running a local Jupyter Notebook server. If you are not prompted with this message, it means that Jupyter is not installed on your Mac.
Using Jupyter Notebook with an IDE
Jupyter notebooks can be run using a variety of integrated development environments (IDEs). Popular examples include Spyder, Atom, Visual Studio Code, PyCharm, Rodeo, and DataSpell. Each of these IDEs offers different features and advantages to help developers customize their workflow.
Spyder is an open-source cross-platform IDE with advanced debugging capabilities. It supports interactive execution and a robust code editor that allows users to explore their data quickly.
Atom is an open-source text editor developed by GitHub that is customizable and extensible. It has a great syntax highlighting feature for Jupyter notebooks and other programming languages.
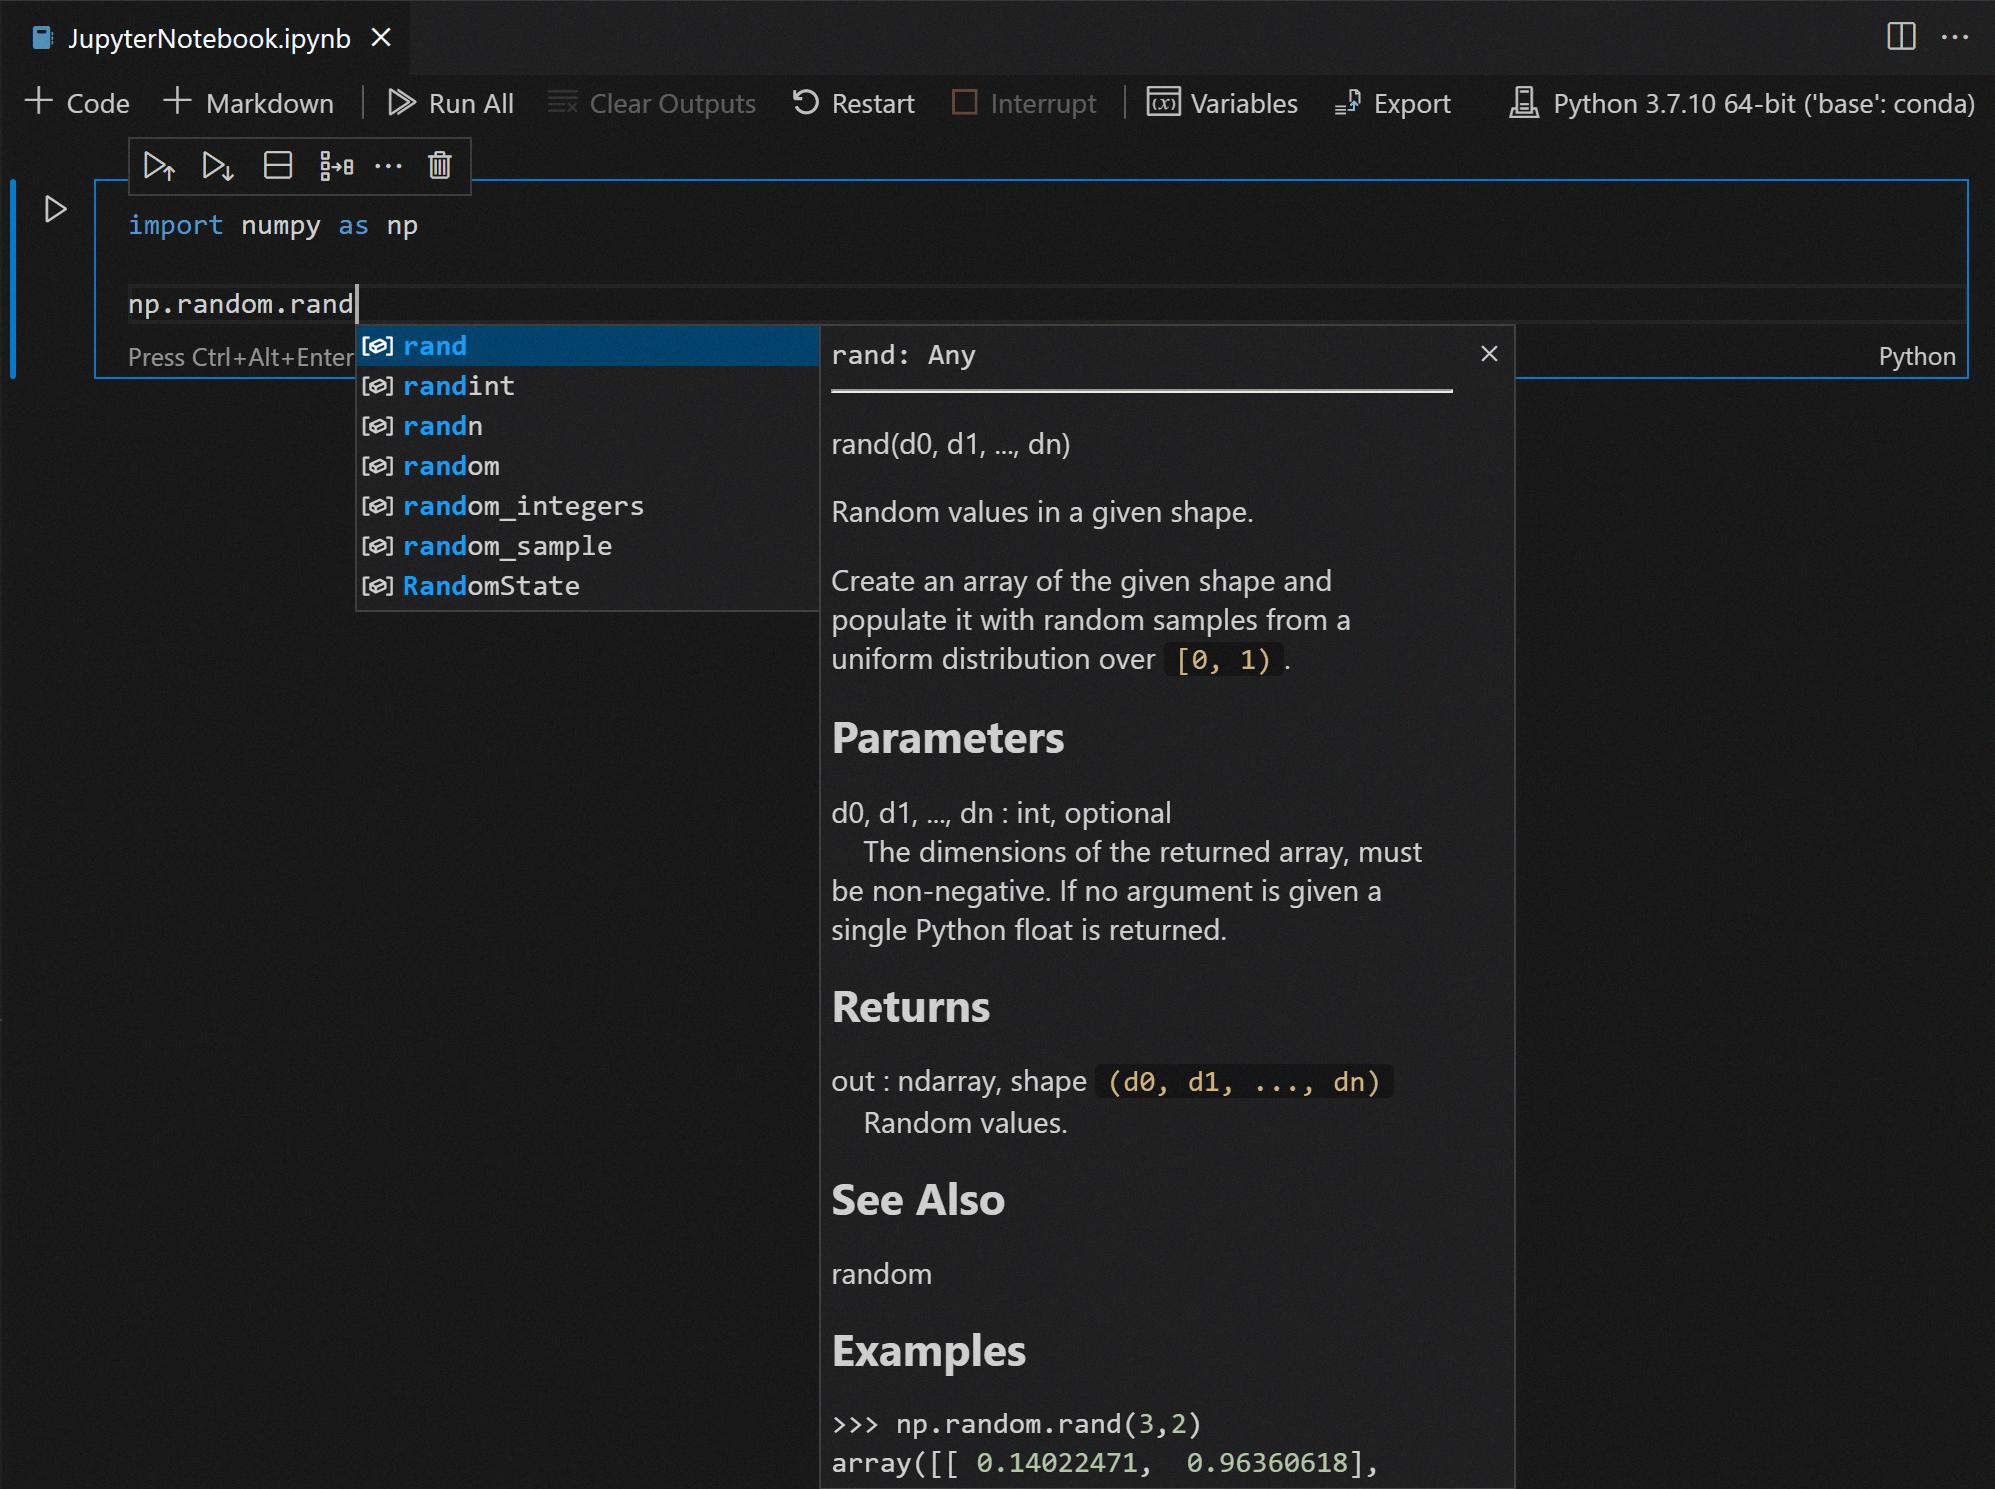
Visual Studio Code is Microsoft’s open-source code editor for Windows, Linux, and MacOS. It offers advanced editing features such as IntelliSense for autocompletion and debugging tools for troubleshooting code issues quickly.
PyCharm is an integrated development environment from JetBrains that offers support for Python development as well as web frameworks like Django, Flask, and Pyramid. It includes all the necessary tools to develop applications in Python with support for unit testing, version control integration, and database management tools.
Rodeo is an IDE designed specifically for data science workflows with integration into popular libraries like Scikit-Learn and TensorFlow. It also supports auto-completion of code along with data visualization capabilities which makes it easy to explore datasets quickly in one interface.
DataSpell is a modern new IDE tailored towards data scientists who work with Jupyter notebooks on a regular basis. It provides powerful features such as intelligent autocompletion suggestions and support for cloud-based datasets so users can easily collaborate on projects remotely.

Source: code.visualstudio.com
Installing Jupyter Notebook Without Anaconda
Yes, absolutely! Jupyter Notebook can be installed without Anaconda by using pip, Python’s package management system. All you need to do is open up a terminal window and run the command “pip install jupyter[all]”. This will install the latest version of Jupyter Notebook along with all of its dependencies. After installation is complete, you can open up a notebook session by running the command “jupyter notebook” from your terminal. Now you’re ready to get coding!
Installing Jupyter Step by Step
Step 1: Download the Anaconda Distribution. The Anaconda distribution includes the Jupyter Notebook, so you don’t need to install it separately. To download the distribution, visit https://www.anaconda.com/distribution/.
Step 2: Install the Anaconda Distribution. Once you have downloaded the Anaconda installer, run it and follow the instructions to complete the installation.
Step 3: Launch Jupyter Notebook from Anaconda Navigator. Once your installation is complete, launch Anaconda Navigator and click on ‘Launch’ under the Jupyter Notebook icon.
Step 4: Create a New Notebook in Jupyter Notebook. You will be taken to a page where you can create a new notebook or open an existing one if you have any saved notebooks on your computer.
Step 5: Start Writing Code in Your Notebook. After creating a new notebook, you can start writing code in it! You can also add text and images to your notebook by using Markdown cells or HTML tags respectively.
Step 6: Save Your Work and Share It with Others! Once you’re done writing code, don’t forget to save your work with File -> Save and Checkpoint or by pressing Ctrl+S on Windows/Linux or Command+S on macOS. You can also share your notebooks with others by exporting them as PDFs or HTML files or sending them via email directly from Jupyter Notebook itself!

Source: dataveld.com
Starting a Mac Jupyter Notebook
Starting up a Mac Jupyter Notebook is easy! All you need to do is open Spotlight (by pressing Command + Spacebar), then type in ‘terminal’ and hit enter. This will open up a Terminal window. Then, type in ‘cd /some_folder_name’ to enter the startup folder for the notebook. Finally, type in ‘jupyter notebook’ and hit enter again. This will launch the Jupyter Notebook App in a new browser window or tab and you’re ready to go!
Conclusion
In conclusion, Jupyter is a powerful and versatile open-source platform for interactive computing and data analysis. It provides an intuitive environment for users to create and share documents that contain live code, equations, visualizations, and explanatory text. By leveraging the power of Python, R, Julia, and other programming languages, Jupyter makes data science easier to learn, understand and share. It is suitable for a wide range of applications including scientific research, education, machine learning, big data analysis, and more. With its easy installation process on MacOS, Windows, and Linux operating systems as well as its comprehensive documentation online, Jupyter is an invaluable tool for any data scientist or an enthusiast wanting to explore their interest in this field.


