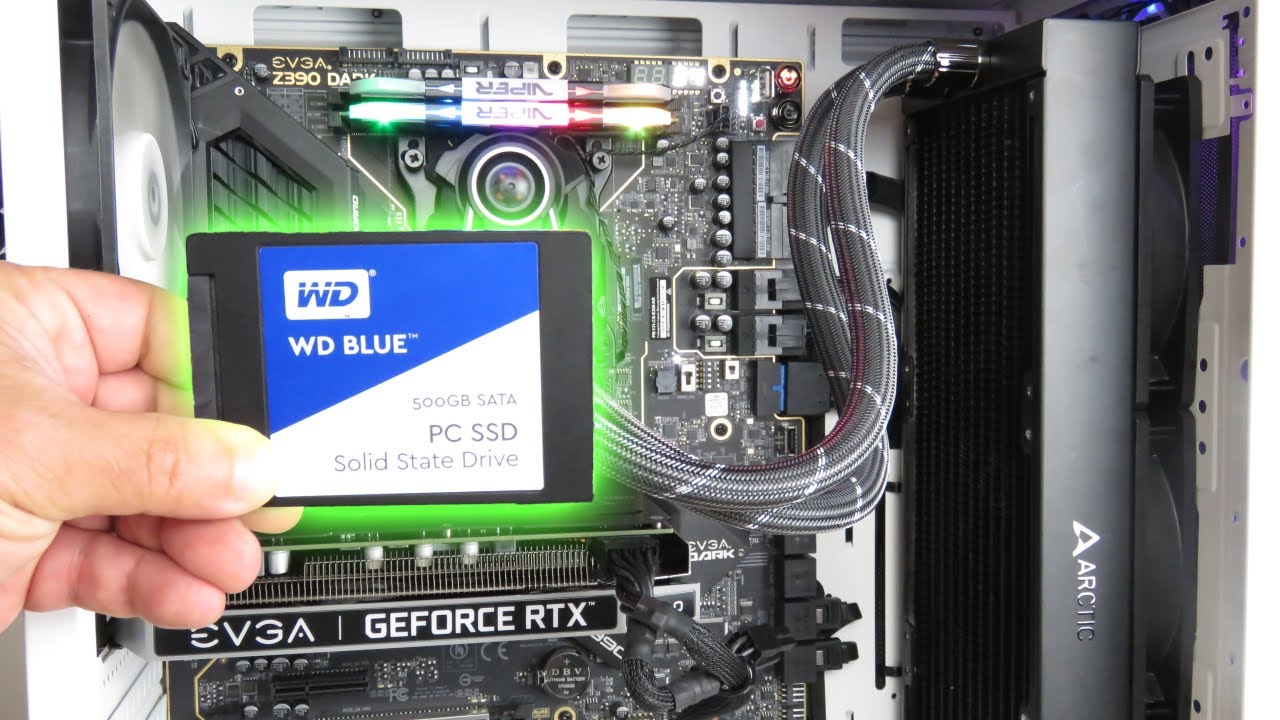
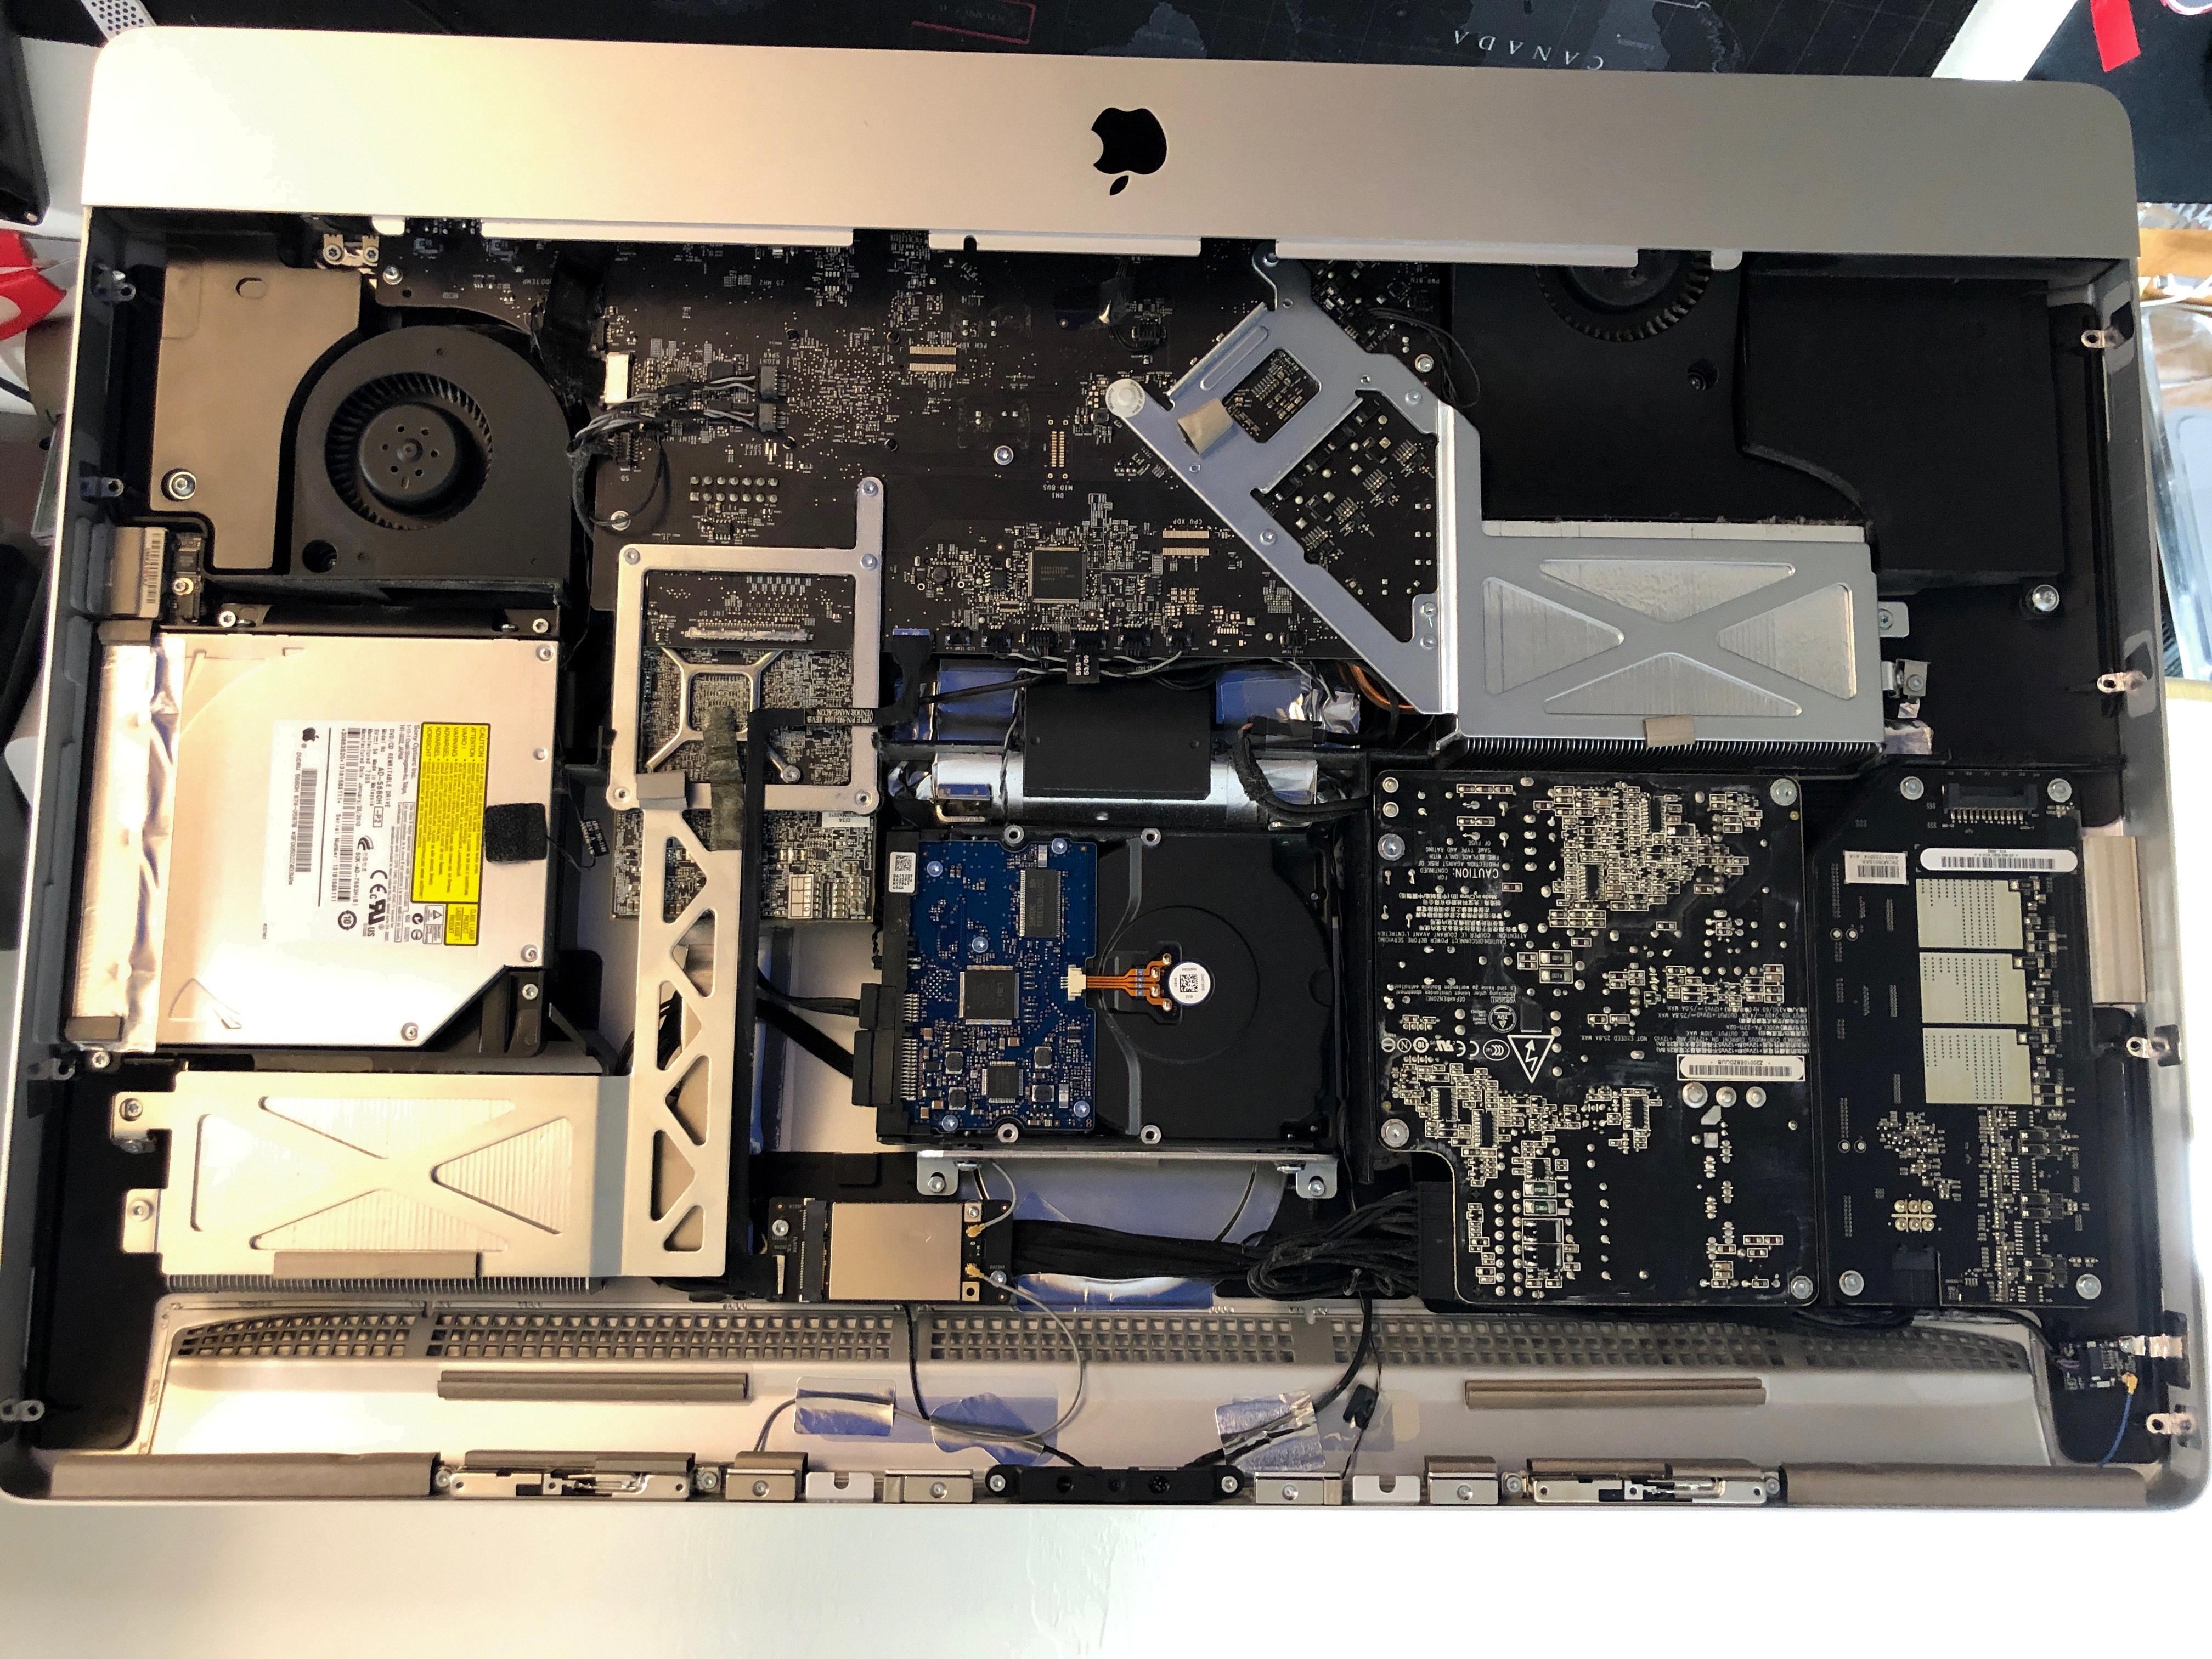
Solid State Drives, or SSDs, have become increasingly popular in recent years, with their high-speed data transfer rates and reliability making them a top choice for users looking to upgrade their computer’s storage. In this article, we will discuss what SSDs are, their benefits, and how to install them on your computer.
What is an SSD?
An SSD is a type of storage drive that uses flash memory to store data. Unlike traditional hard disk drives (HDDs), which use spinning disks to store and retrieve data, SSDs have no moving parts. This makes them faster, more reliable, and less prone to failure.
Benefits of SSDs
One of the main benefits of SSDs is their speed. Because they have no moving parts, they can access and transfer data much faster than HDDs. This means that your computer will boot up faster, applications will load quicker, and files will transfer more quickly.
Another benefit of SSDs is their reliability. Because they have no moving parts, they are less prone to failure than HDDs. This means that your data is less likely to be lost due to a mechanical failure of the drive.
SSDs are also more energy-efficient than HDDs. Because they have no moving parts, they require less power to operate, which can help to reduce your computer’s overall power consumption.
How to Install an SSD
Installing an SSD on your computer is a relatively simple process. Here are the steps you need to follow:
Step 1: Power off your computer and unplug it from the wall.
Step 2: Open up your computer’s case and locate the hard drive bay.
Step 3: Remove the cables from your old hard drive and remove it from the bay.
Step 4: If your SSD comes with a mounting bracket, attach it to the SSD.
Step 5: Insert the SSD into the hard drive bay and secure it with screws.
Step 6: Connect the SATA cable from your motherboard to your SSD.
Step 7: If your SSD requires power, connect a power cable from your power supply to the SSD.
Step 8: Close up your computer’s case and plug it back in.
Congratulations! You have successfully installed an SSD on your computer.
SSDs are a great choice for users looking to upgrade their computer’s storage. They offer faster speeds, greater reliability, and increased energy efficiency. Installing an SSD is a simple process that can be completed in just a few steps. If you’re looking to give your computer a speed boost, consider upgrading to an SSD today.

Installing a New SSD
To install a new SSD, you will need to follow a few simple steps. Here’s a step-by-step guide on how to get started:
1. First, you’ll need to open up your computer tower’s case to expose the internal hardware and wiring. You can do this by unscrewing and removing the sides of the case. Be sure to ground yourself to avoid static electricity, which can damage your components.
2. Once you have access to the inside of your computer, you’ll need to find a spot to mount your new SSD. Many cases have removable bays for easy installation. If your case doesn’t have a removable bay, you can attach a mounting bracket to the drive and then screw it into place.
3. Next, you’ll need to connect the SSD to your computer’s power supply and motherboard. To do this, connect the L-shaped end of a SATA cable to the SSD and then connect the other end of the cable to an available SATA port on your motherboard. You’ll also need to connect a SATA power cable from your power supply to the SSD.
4. Once you’ve connected the SSD to your computer, you can close up the case and turn your computer back on. The SSD should be automatically recognized by your computer, but you may need to go into your computer’s BIOS to make sure it’s set up correctly.
5. you’ll need to transfer your operating system and files from your old hard drive to the new SSD. You can do this by cloning your old hard drive using software like Acronis True Image or by reinstalling your operating system from scratch.
Installing a new SSD is a relatively simple process that can significantly improve the speed and performance of your computer. With a little bit of know-how and some basic tools, you can upgrade your computer in no time.

Installing an SSD Yourself
Absolutely! Installing an SSD (Solid State Drive) is a relatively simple process that can be completed by most people with basic computer knowledge. In fact, most computer manufacturers intentionally design their systems in a way that makes it easy for users to install new storage drives. Here are some steps you can follow to install an SSD:
1. Turn off your computer and unplug it from the wall.
2. Open the computer case and locate the hard drive. This is typically a rectangular metal box attached to the inside of the case.
3. Remove the hard drive by unscrewing any screws holding it in place and unplugging any cables running to it.
4. Insert the SSD into the same slot that the hard drive was in. Make sure it is securely in place.
5. Screw in any screws that were removed in step 3.
6. Plug any cables that were removed in Step 3 back in (such as the power and data cables).
7. Close the computer case and plug it back in.
That’s it! Your computer should now recognize the new SSD as a storage device. If you need more detailed instructions, you can consult your computer’s user manual or search online for guides specific to your computer model.
Installing an SSD in a Computer
To install an SSD in your computer, you need to first ensure that you have clear access to the motherboard’s SATA ports and hard disk bays. Once you have confirmed this, you can proceed with placing the SSD into its mounting bracket or a removable bay. It is important to line up the SSD with the holes underneath and secure it in place by screwing it in.
If you are using a mounting bracket, you can position it into a spare 3.5-inch hard disk bay and secure it using the holes at the side. Alternatively, if you are using a removable bay, you can simply slide the SSD into the bay and ensure that it clicks into place.
It is important to note that the exact location of the SSD may vary depending on the design of your computer case and motherboard. However, in most cases, the SSD can be installed in one of the hard disk bays, either alongside your existing hard drive or in a spare bay.
To summarize, to install an SSD in your computer, you need to ensure clear access to the SATA ports and hard disk bays, place the SSD into its mounting bracket or removable bay, and secure it in place using screws or by sliding it into the bay.
Conclusion
Solid state drives (SSDs) have revolutionized the way we store and access data on our computers. With their lightning-fast read and write speeds, low power consumption, and durable design, SSDs are the go-to choice for many computer users. Installing an SSD is a relatively simple process that can yield significant performance improvements, especially when compared to traditional mechanical hard drives. Whether you’re a gamer, a creative professional, or just an everyday computer user, upgrading to an SSD can improve your computing experience in a multitude of ways. So, if you’re looking for a reliable, fast, and efficient storage solution, consider making the switch to an SSD today.


