Chromebooks have become increasingly popular in recent years due to their affordability, portability, and ease of use. However, like any electronic device, they can sometimes encounter issues. One common problem that users may experience is the microphone not working on their Chromebook.
Fortunately, there are a few steps that you can take to troubleshoot and fix this issue.
First, it is important to check the microphone settings on your Chromebook. In the bottom right corner of the screen, you will see a clock icon. Click on this icon to bring up the quick settings menu. To the right of the volume slider, click the arrow button (>). Under “Input”, find the option for “Microphone (internal)” and make sure the slider is all the way up.
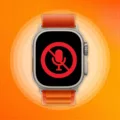
Next, it is important to test the microphone to see if it is working properly. Click on the “Video” button to prepare to record a video and test the microphone. After pressing the “Video” button, an icon for the microphone will appear above it. Make sure the microphone does not have a “/” through it, indicating that it is not muted. Speak into the microphone and check to see if the audio is being picked up.
If the microphone still isn’t working, it may be necessary to adjust the settings for individual websites. Open Chrome and click on the three dots in the top right corner of the screen. Select “Settings” and then click on “Privacy and Security”. From there, you can select either “Camera” or “Microphone” and choose the default setting that you want to use. Additionally, you can review the list of blocked and allowed sites to ensure that the microphone is permitted to work on the sites that you use.
If you are experiencing issues with the microphone not working on your Chromebook, there are a few simple steps that you can take to troubleshoot and fix the problem. By checking the microphone settings, testing the microphone, and adjusting website permissions, you can ensure that your Chromebook is functioning properly and that you can use the microphone as intended.
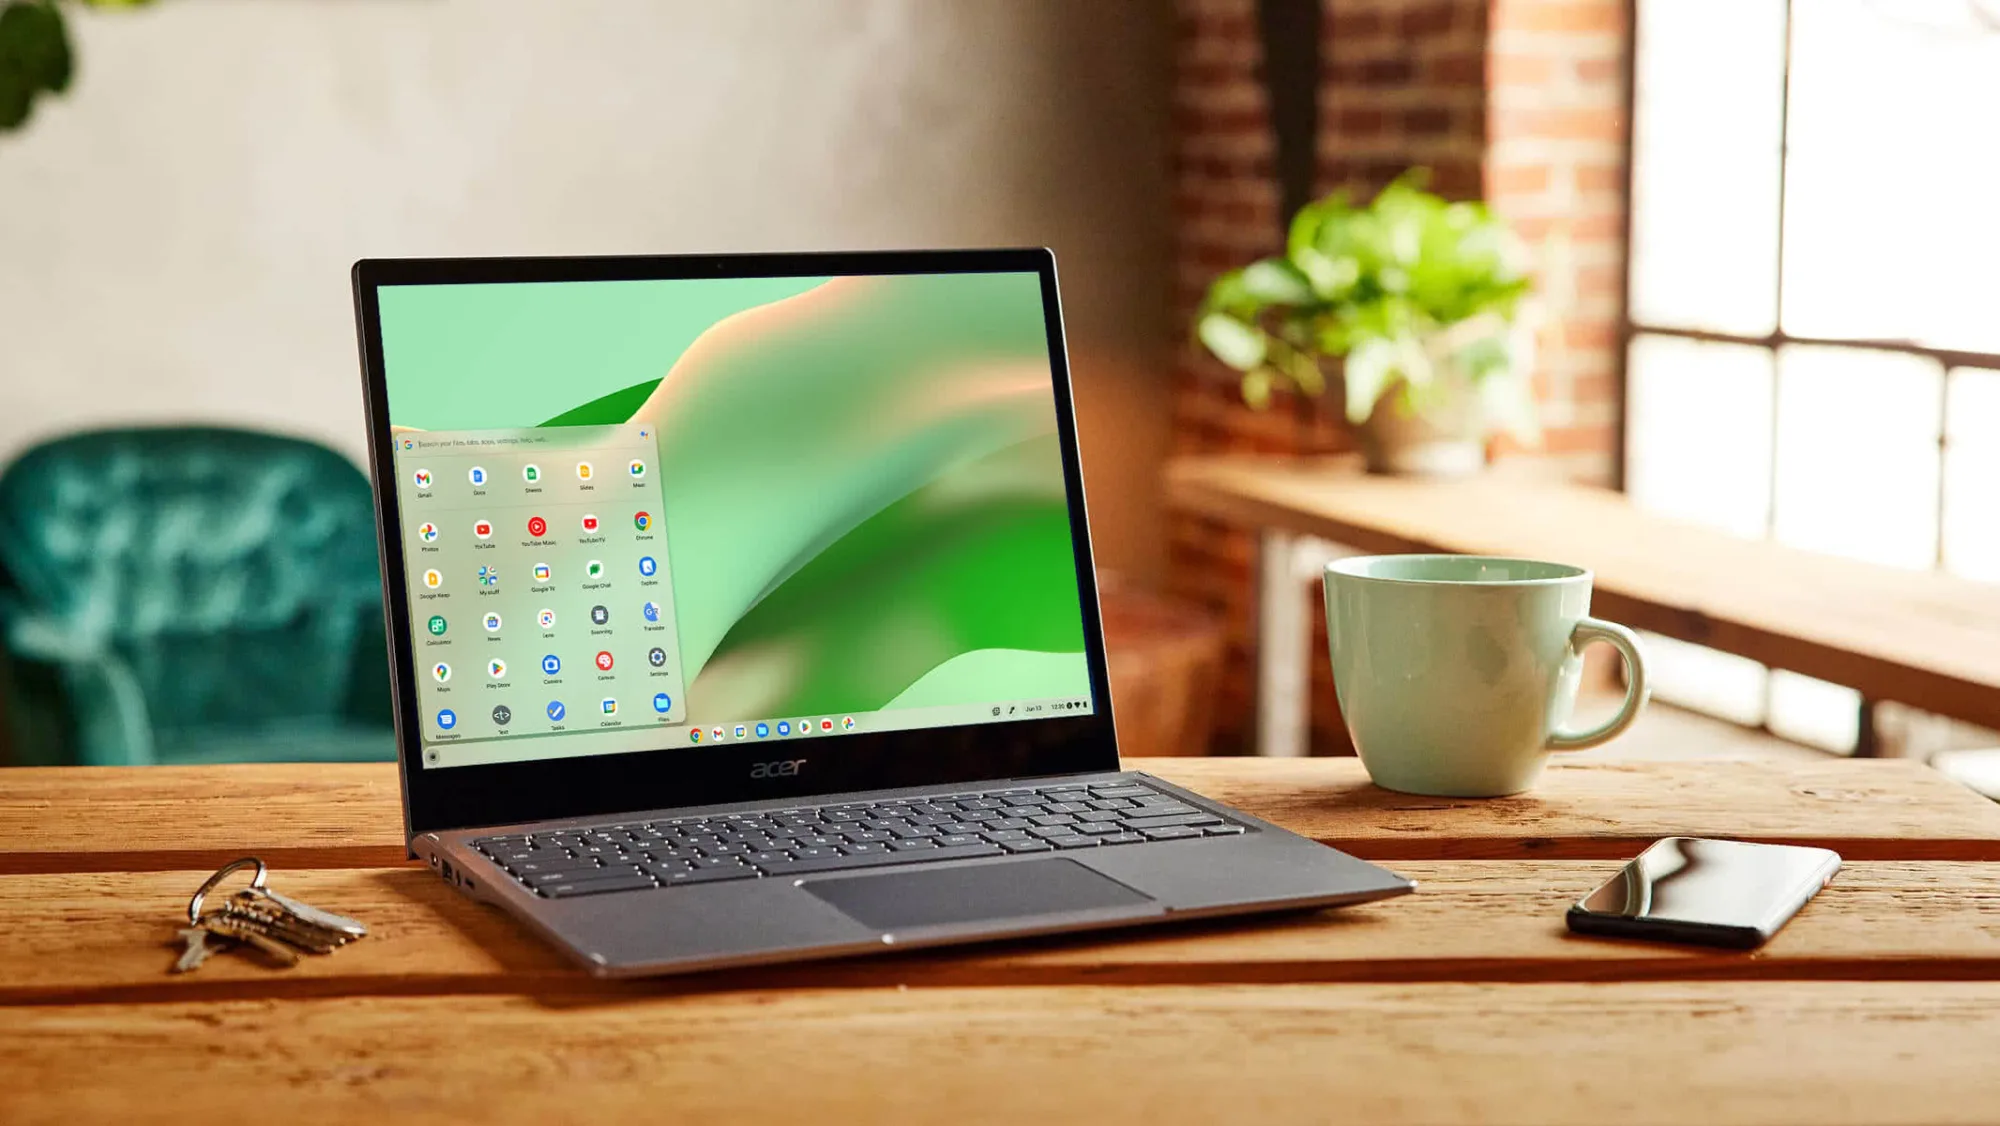
Troubleshooting Microphone Issues on a Chromebook in School
To fix the microphone on your Chromebook school, you can follow a few simple steps. First, locate the clock icon in the bottom right corner of your screen and click on it to open the quick settings menu. Next, click on the arrow button next to the volume slider to expand the menu. Under the “Input” section, locate the “Microphone (internal)” option and adjust the slider to the maximum level. This should ensure that your microphone is enabled and working properly.
In case the above steps do not work, you can try restarting your Chromebook and repeating the process. Additionally, make sure that your Chromebook is updated to the latest version to avoid any compatibility issues.
If the problem persists, you can also try plugging in an external microphone to see if that works. This can be done by connecting the microphone to the audio jack or USB port on your Chromebook.
By following these steps, you should be able to fix your microphone on your Chromebook school and enjoy uninterrupted audio communication.
Checking if a Microphone is Working on a Chromebook
To check if the microphone is working on a Chromebook, you can follow the below steps:
1. Click on the time in the bottom right corner of the screen.
2. Click on the gear icon to open the settings.
3. Scroll down to the “Device” section and click on “Audio”.
4. Under the “Input” section, you will see a bar that displays the input volume of your microphone. Speak into your microphone and make sure the bar moves accordingly.
5. If the bar is not moving, try adjusting the microphone settings or check if the microphone is properly plugged in.
6. You can also test your microphone by clicking on the “Test your microphone” button, which will prompt you to record a short audio clip and play it back to you.
By following these steps, you can check if your microphone is working properly on your Chromebook.
Unblocking the Microphone on a Chromebook
To unblock the microphone on your Chromebook, follow the steps below:
1. Click on the clock in the bottom right corner of your screen.
2. Select the gear icon to open the settings.
3. Scroll down and click on “Privacy and security.”
4. Under the “Privacy and security” section, click on “Site settings.”
5. Scroll down and click on “Microphone.”
6. Check to see if the microphone is blocked by default. If it is, click on the slider to allow microphone access.
7. If you want to allow or block specific sites from using your microphone, click on “Manage exceptions” and add the sites you want to allow or block.
By following these steps, you should be able to unblock your microphone and regain full access to its functionality on your Chromebook.
Conclusion
Chromebook is a reliable and efficient device that is ideal for individuals who require a lightweight and portable computer for basic tasks such as browsing the internet, checking emails, and editing documents. The device boasts a user-friendly interface and a long battery life, making it perfect for individuals who are constantly on the move. Additionally, Chromebook has a variety of features such as a built-in camera and microphone, which can be easily adjusted to suit your preferences. However, it is important to note that Chromebook may not be suitable for individuals who require more advanced features such as high-end gaming or video editing. Chromebook is an excellent device that provides users with a seamless and hassle-free computing experience.


