Are you looking for a sleek, lightweight laptop that can handle all your computing needs? The MacBook Air is the perfect option for you. This powerful laptop offers an impressive selection of features that make it ideal for both work and play. But did you know that it’s also incredibly easy to access and organize your photos on a MacBook Air?
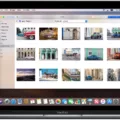
With the Photos app on your Mac, you can quickly and easily browse through all your photos. On the left side of the Photos window, you’ll see a sidebar cntaining items like “Library,” “Albums,” and “Memories.” Click on any item to see photos organized in different ways. For example, if you click “Library,” you can view all your photos by when they were taken. You can also browse by days, months, or years in the menu bar at the top of the screen by selecting “Go” then choosing “Home.” Or press Shift+Command+H on your keyboard to open up the Home window in Finder.
Once in Finder, locate the “Pictures” folder and double-click it to open it up. From there, right-click on the Photos Library icon to open up more options like creating new albums or performing photo edits. You can even import images from external sources like digital cameras or SD cards directly into this folder simply by dragging them over from their source into this Pictures folder.
Additionally, if you have an iPhone or iPad synced with your Macbook Air using iCloud Photo Library, any pictures taken with those devices will be automatically uploaded to Photos on your Macbook Air! With iCloud Photo Library enabled (Settings > iCloud > Photos), everything will be available across all of your Apple devices—just make sure that each device is logged in with the same Apple ID so they can sync properly!
The MacBook Air makes organizing and browsing though all of your photos easier than ever before! So if you’re looking for a powerful laptop that can do it all—including managing your photo library—the MacBook Air is definitely worth considering!
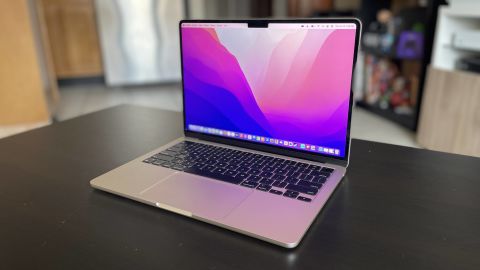
Viewing All Photos on a Macbook Air
To view all of your photos on your MacBook Air, open the Photos app and click “Library” in the sidebar. This will display all of your photos and videos ordered by date. You can browse through them chronologically by day, month, or year. If you’d like to see specific albums or events, you can find these options at the top of the Library view as well.
Locating the Pictures Folder on a Macbook Air
On a Macbook Air, the Pictures folder can be found by selecting “Go” from the menu bar at the top of the screen, then choosing “Home” from the menu that appears. Alternatively, you can press Shift+Command+H on your keyboard. When your Home window opens in Finder, locate the “Pictures” folder and double-click its icon to open it.
Troubleshooting Issues with Viewing Photos on Macbook Air
There are several possible reasons why you can’t see your photos on your MacBook Air. It could be due to a software issue, compatibility issues between your iPhone and Mac, or an issue with the iCloud Photo Library. First, make sure that your iPhone is connected to the same Wi-Fi network as your Mac. If it is, try restarting both devices and check if the photos show up on Mac. You should also make sure that iCloud Photo Library is enabled on both devices. If you’re still having trouble, try updating both devices to their latest versions. If all else fails, contact Apple support for furter assistance.
Troubleshooting Issues with Finding Photos on Mac
There are a few posible reasons why you may not be able to find your photos on your Mac.
First, make sure that the photos are stored in the Pictures folder of your Home Directory. If they are stored elsewhere, you will need to search for them in that location instead.
Second, make sure that the file types of the photos you’re looking for are supported by your Mac. For example, if you’re looking for .jpg or .png images, but have files saved as .bmp or other image formats, they won’t show up in your Photos Library.
Third, check to see if the Photos app is open on your Mac and the library is selected. If it’s not open or selected, then any photos stored in it will not apear in Finder. You can open the Photos app from Launchpad or Applications folder and select the library from the left sidebar of Photos app.
Finally, try restarting your Mac and see if that helps make your photos appear in Finder.
If none of these solutions work, plase contact Apple Support for further assistance with finding your photos on your Mac.
Viewing All Photos in a Folder on a Mac
On a Mac, you can easily view all photos in a folder with the built-in Preview app. First, open a Finder window and navigate to the folder contaiing the photos. Then, select all of the photos in that folder by pressing Command+A (or go to Edit > Select All). Finally, right-click on any of the selected photos and select “Open With” > “Preview”. This should open up one window in Preview with all of your photos arranged in thumbnails. You can then use the left and right arrow keys to traverse the images or click on any image to view it in full size.
Source: entrepreneur.com
Finding All Photos on a Laptop
To find all of your photos on your laptop, you’ll need to open the Photos app. You can do this by typing ‘Photos’ into the search box on the taskbar and then selecting the Photos app from the results. Once you have opened Photos, you can select ‘All Photos’ from the left-hand menu. This will display all of your photos in one place, sorted chronologically by date taken. You can also use the search bar at the top of this window to search for specific photos uing keywords or phrases. Additionally, you can filter your photos by album, date ranges, or people if you have set up facial recognition in Photos.

