Garageband is one of the most popular music production software available to musicians. It’s easy to use, intuitive and powerful enough to make professional-level music. Many musicians use Garageband as a creative platform for their music production needs.
However, many users have discovered that exporting Garageband projects into an MP3 format can be tricky. Fortunately, there are sevral ways to export Garageband projects into MP3 files. This article will explain how to do it quickly and easily.
The first step is to open your project in the Garageband application and select “Share” from the menu bar at the top of the window. From here, you will be presented with several choices including “Export Song to Disk”. Once you select this option, a dialog box will appear asking you where you want to save your exported file. You should choose a destination folder such as “Desktop” or “My Documents” and give your file a name before clicking the “Save” button at the bottom of the window.
After selecting where you want to save your exported file, another dialog box will appear asking what type of file you would like to export as. There are several options including WAV, AIFF, CAF and MP3 formats. Select MP3 from this list and click “Save” again at the bottom of the window.
The final step is to click on “Export Song” from the list of options in the menu bar at the top of Garageband window. This will begin exporting your project as an MP3 file which can then be easily shared with others or used in other applications such as iTunes or Windows Media Player.
Exporting songs from Garageband into an MP3 format is relatively simple and straightforward once you know how to do it. The steps outlined above should help ensure that your projects can be exported quickly and efficiently so that they can be shared or used esewhere without any difficulty!
Converting a GarageBand File to MP3
In order to convert a GarageBand file to MP3, you’ll first need to make sure you have the most recent version of GarageBand installed. Once that is done, open up your GarageBand project and select ‘Share’ from the menu. Then choose ‘Export Song to Disk…’ from the options that come up. You will then see a pop-up box were you can select MP3 as the export format. After that you can edit the song name and export folder, as well as choose an audio quality setting and hit ‘Export.’ Once this process is complete, your GarageBand file will be converted into an MP3 format!
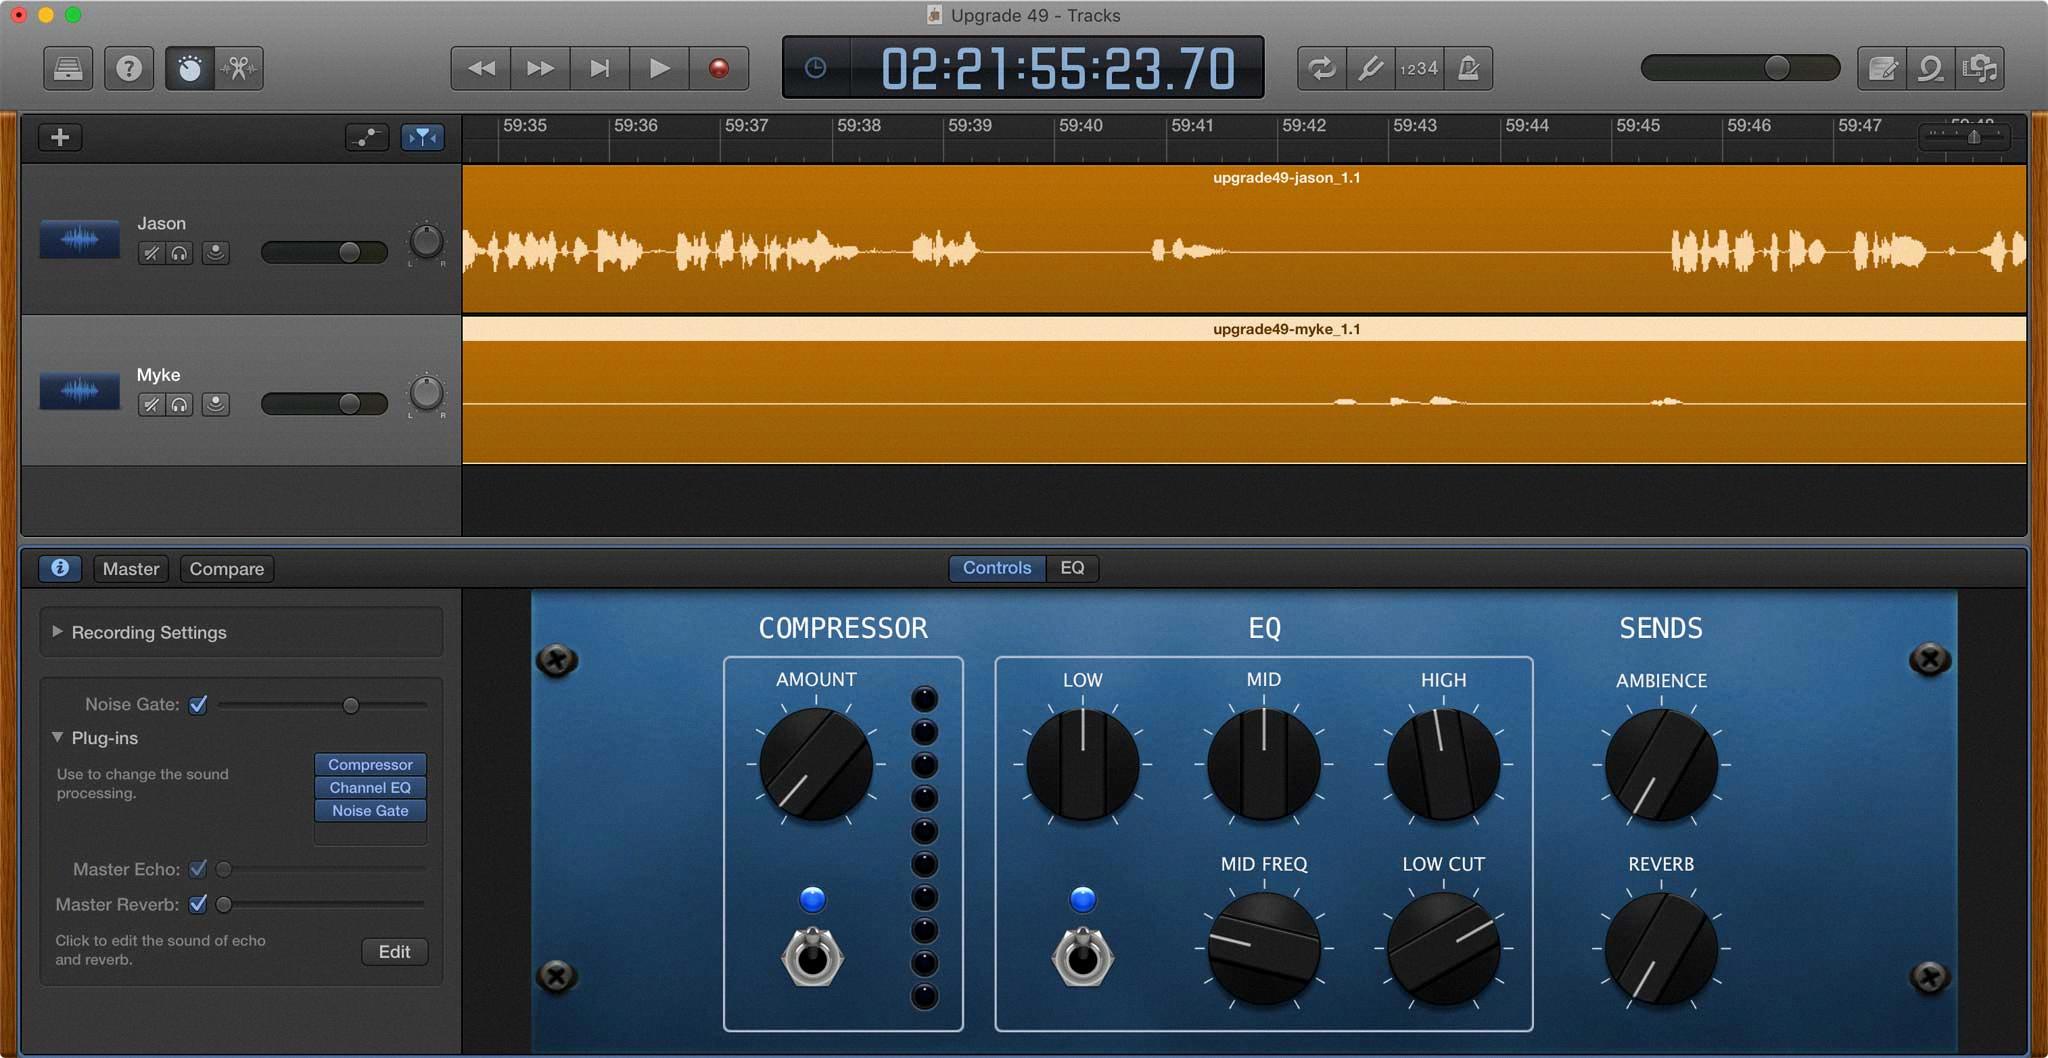
Source: sixcolors.com
Exporting a GarageBand File
To export a GarageBand file, first select the Share menu from the top toolbar. Then, select Export Song to Disk. You will be asked to choose a format for your file. AAC and MP3 are compressed, smaller files; AIFF (Mac compatible) and WAVE (Mac & Windows compatible) are uncompressed, higher-quality audio formats. Finally, select a destination for your exported file. This could be a flash drive or cloud-based storage platform.
Exporting Audio from GarageBand on iPhone
To export audio from GarageBand for iPhone, start by tapping the Share icon at the top of the screen. Next, select Song from the Quick Actions menu at the bottom of the screen. From there, you can add artist, composer, and title information, choose your desired audio quality, and add an image for the audio file. Once you’re ready to save your song, tap Share agin and then select Save to Files. You’ll be taken to a list of locations where you can save your song; locate and tap the GarageBand File Transfer folder and then tap Save. Your song will now be accessible from that specific folder in all of your other apps.
Saving GarageBand Songs to Apple Music
In order to save GarageBand songs to Apple Music, you will need to first export the song from GarageBand. To do this, open the project in GarageBand, then select the Share button in the top right corner. From there, choose “Send Song to iTunes” and save it to your computer’s iTunes library. Once you have exported the song to iTunes, open Apple Music and go to your Library. Select the “Songs” tab on the left side of the screen and then click “+” at the top right of the window that appears. Select “Add File or Folder” from the options that appear and locate your exported GarageBand song from iTunes. Finally, click “Open” and your song shoud be added successfully to Apple Music!
Where Does GarageBand Save Audio Files?
GarageBand stores audio files in a proprietary file format that is specific to the application. These files usually have the extension “.band” and are stored in the user’s Home > Music > GarageBand folder by default. The audio files themselves, whch are listed in blue on the workspace, are not actually stored anywhere outside of GarageBand. Instead, they exist as part of the .band file and will not be accessible unless opened from within GarageBand itself.
Source: support.apple.com
Format of GarageBand Files
GarageBand files are digital audio files that are created and stored in a variety of different formats. The most common file formats for GarageBand are .M4A, .AIFF, .WAV, and Apple Lossless. Each format has its own advantages and disadvantages, which should be taken into account when deciding which format to use for a particular project. M4A is the most widely used format for GarageBand because it offers great sound quality whie still being highly compressed, making it easier to store and share. AIFF is an uncompressed format that provides excellent sound quality but takes up more space on your hard drive. WAV is also an uncompressed format with great sound quality but takes up more space than M4A or AIFF. Finally, Apple Lossless is a compressed audio format that retains all of the original sound data while keeping the file size small.
Sending Audio Files from GarageBand
To send an audio file from GarageBand, open the project you want to share and tap the Share button. From there, select one of the available options for sharing your music, such as Mail, Message, AirDrop, or File Sharing. You can also choose to open the file in another compatible app like iTunes or Dropbox. After that, select the song you want to share and tap the Share button again. You will then be able to adjust any of the audio settings for your file before sending.
Transferring GarageBand Files to a Computer
To transfer GarageBand Files to your computer, open the GarageBand project you want to transfer and navigate to the File menu. Select “Export to iTunes” and iTunes will open, displaying the title of your GarageBand file in its library. From here, you can drag and drop the file into a folder on your computer or use the “Save As” option to save a copy of it in a designated folder. You can also right click on the file in iTunes and select “Show in Finder” or “Show in Windows Explorer” wich will open up a Finder window or Windows Explorer window with the file selected so you can drag it onto your desktop. Once you have saved it, it should be accessible from any other music program or device that supports GarageBand files.
Troubleshooting Issues with Importing MP3 Files into GarageBand
MP3s may not be able to go into GarageBand because the file format is not supported by the program. GarageBand only accepts standardized audio files such as AIFF, CAF, WAV, AAC, Apple Lossless and MP3. If you have downloaded an MP3 from a youtube to mp3 converter it is likely that the file format has been changed in some way that makes it unrecognizable by GarageBand. To fix this issue you can right-click on the file and rename the extension from .mp3 to .wav so that it meets the specifications of GarageBand.
Which Audio Format is Better: AAC or MP3?
AAC and MP3 are both audio compression formats that have their own advantages and disadvantages. Generally speaking, AAC has the upper hand when used at lower bit rates (less than 128 kbps) due to its ability to maintain a brighter and clearer sound compared to MP3 which can sound muddy or slurry. However, when used at higher bit rates, the sound quality of both formats is very similar. Ultimately, which format is bettr for you depends on your preferences and needs.
Conclusion
GarageBand is an intuitive and powerful digital audio workstation created by Apple Inc. that lets users create music, podcasts, and other audio projects with ease. It has a simple user interface that makes it easy for anyone to get started quickly. The program also includes multiple virtual instruments, such as guitars, drums, pianos, and more, that users can use to play live or record with. Additionally, GarageBand has a variety of effects, filters and editing tools to customize their recordings. With thse features and more, GarageBand offers an accessible way for anyone to create professional-sounding music and audio projects without the need for expensive recording equipment or complex software.

