Are you having difficulty enabling your webcam on your Mac? Don’t worry – we can help! In this blog post, we’ll discuss the steps you need to take to enable your webcam on a Mac.
First, open the Apple Menu and select System Preferences. Then, click Security & Privacy and select the Privacy tab. Under Privacy, click Camera in the sidebar. You’ll see a list of apps that can access your camera; make sure the checkbox next to each app you want to use with your camera is selected. You may have to quit and reopen an app before it can use your camera.
If you’re using an external camera with your Mac, connect it using a port on your Mac (see About the Video Ports on Mac). If the cable doesn’t fit into the port, you may be able to use an adapter. Wait 10-15 seconds for your Mac to recognize the camera.
To allow Create (or any other app) to access both your microphone and camera, go back into System Preferences > Security & Privacy > Privacy and click Microphone and Camera. Make sure there are checkboxes next to each app you want to use with these devices (Create in this case).
And that’s all there is to it! With just a few simple steps, you should now be able to use either an internal or external camera with your Mac. If you have any questions or need more help, don’t hesitate to reach out – we’re always here for you!
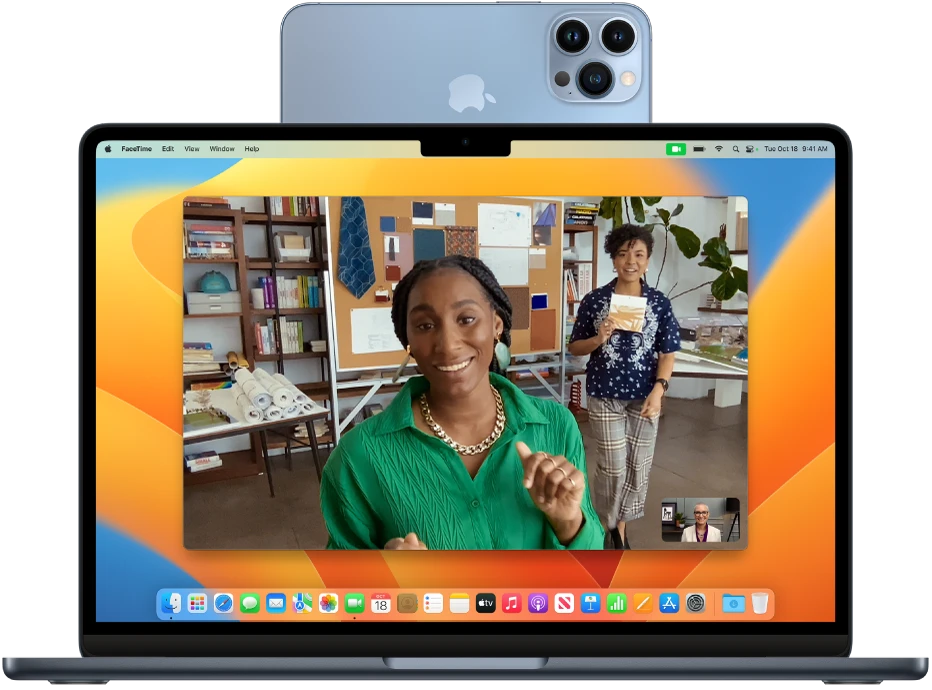
Troubleshooting Webcam Issues on Mac
If your webcam isn’t working on your Mac, there are a few possible causes. First, you should make sure that the webcam is properly connected to your Mac. If it is connected, then you should check the software settings to ensure that the camera is enabled and has permission to access the camera. To do this, go to the Apple Menu. > System Preferences, then click Security & Privacy and select the Privacy tab. From there, you can click Camera in the sidebar and select the checkbox next to any apps that should be able to use your camera. You may need to quit and reopen an app before it can use your camera. Finally, if none of these steps work, you may need to update or reinstall your web cam’s drivers or software from its manufacturer’s website.
Getting Mac to Recognize Webcam
To get your Mac to recognize your webcam, first, connect the camera’s cable to a port on your Mac. Make sure that you are using the right type of port for your camera, and if necessary use an adapter to match the connectors. Once the connection is established, wait 10 to 15 seconds for your Mac to recognize the camera. If the device still isn’t recognized after that time, try disconnecting it and then reconnecting it again. You may also need to check that all drivers and software associated with the webcam are up-to-date. Finally, you should also make sure that any applications you want to use with the webcam are set up correctly.
Enabling Webcam and Microphone on Mac
To turn on your webcam and microphone on your Mac, follow these steps:
1. Go to Apple Menu > System Preferences.
2. Click Security & Privacy, then click Privacy.
3. Click Microphone and then check the tickbox next to the CREATE icon to allow access to your microphone.
4. Repeat step 3 for the Camera to give access to your webcam.
5. You will now be able to use both your microphone and webcam in Create!
Activating a Webcam
To activate your webcam, you will need to open the Camera app on your device. To do this, select the Start button, then select All apps, and then select Camera in the list of apps. Once the Camera app is open, you can activate your webcam by selecting it from the list of available cameras at the top right of the window. If you have multiple cameras connected to your device, you can switch between them by selecting Change Camera at the top right. Once you have selected your desired camera, it should be activated and ready to use.
Troubleshooting Issues with Webcam Detection
Your webcam may not be detected due to a variety of reasons. It could be a problem with your device’s settings, the camera itself, or the software you are using. To troubleshoot, first, check your device’s settings to make sure that the camera is enabled and allowed access. If this doesn’t work, try restarting the device and checking again. If the issue persists, it could be an issue with the camera or software. In this case, try updating the camera driver or reinstalling the software you are using.
Troubleshooting a Mac Camera Not Being Detected
If your Mac is saying “No camera detected,” it means that the application you are trying to use does not have permission to access your Mac’s camera. To allow access, you need to check the permissions for the application. To do this, go to System Settings > Privacy & Security > Camera in the list and make sure the box next to the application is checked. If you still have trouble accessing your camera, try restarting your computer or updating your macOS software.
Unblocking Camera and Microphone on Mac
To unblock your camera and microphone on your Mac, you need to go to the System Preferences. First, open the Apple menu and select System Preferences. Then, click on the Security & Privacy icon and select the Privacy tab. Unlock (select) the lock icon in the lower-left corner to allow you to make changes to your preferences. Now, go to a site that wants to use your camera and mic. A pop-up will appear with options for allowing access. Select Allow for both your camera and microphone. Once you do this, they should be unblocked and ready for use.
Enabling a Camera and Microphone on a Laptop
To enable your camera and microphone on your laptop, you’ll need to access the settings from the Start menu. To do this, select Start > Settings > Privacy > Camera. In ‘Allow access to the camera on this device’, select ‘Change’ and make sure ‘Camera access for this device’ is turned on. Then, go back to the Start menu and select Settings > Privacy > Microphone. Make sure ‘Allow apps to access your microphone’ is turned on. Once both of these are enabled, you’ll be able to use your camera and microphone with compatible apps.


