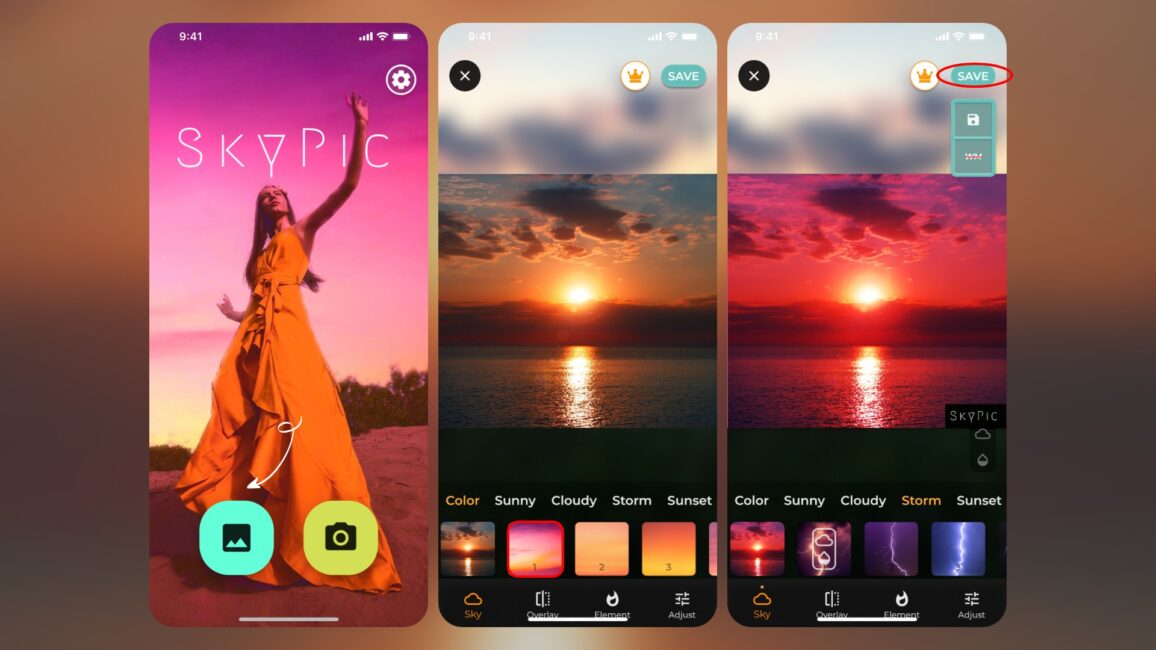
Taking beautiful sunset photos with your iPhone has never been easier! With the powerful camera and photo editing tools that come with your device, you can capture stunning sunsets and turn them into breathtaking works of art.
First, make sure to take advantage of the natural beauty of the sunset. Use your device’s geolocation to determine when the sun will set in your location, then head outside and find a spot with a great view. Consider moving around to different angles and heights to get a variety of shots.
When you’re ready to take the photo, open your iPhone’s Camera app and be sure to adjust the exposure slider with a sun icon so that it matches the intensity of the sunlight. You don’t want to overexpose or underexpose your photos, so make sure that it looks just right before pressing the shutter button.
Once you’ve taken the photo, you can use Apple’s built-in editing tools or third-party apps such as Adobe Lightroom or Afterlight 2 to further enhance its beauty. With these tools, you can change brightness levels, saturation levels, contrast settings, color balance settings, and more. Additionally, if you want to add some extra flair or drama to your image, consider adding some filters or textures before saving it for posterity.
With a few simple steps and tools at your disposal, it’s easy to create stunning sunset photos with your iPhone! So go ahead and start capturing those vibrant colors for unforgettable memories!

Does the iPhone Have Sunset Mode?
Yes, the iPhone has a sunset mode called Night Shift. This feature uses the clock and geolocation of your device to determine when it’s sunset in your location. Then it automatically shifts the colors of your display to warmer colors. In the morning, it returns the display to its regular settings. You can access Night Shift in Settings > Display & Brightness > Night Shift.
Editing iPhone Pictures in the Sun
To edit iPhone pictures in the sun, you can use the built-in Exposure Slider. To access the Exposure Slider, swipe down on the screen until you see the sun icon. You can then move the slider up or down to adjust the brightness of your image. When you are happy with the exposure, tap on the shutter button to take your photo. If you want more control over your images, you can also use photo editing apps such as Adobe Lightroom or Snapseed to further adjust things like contrast, saturation, and sharpness.
Taking Sunset Photos on a Phone
Taking sunset photos on your phone is easy and rewarding! Here are some tips to help you get the most out of your shots:
1. Make sure you have enough light. Sunsets can be tricky since they can be quite dark. Try to ensure that your phone’s flash is turned off and that it has enough light to take a good shot.
2. Set up a tripod or find another way to keep your phone still while taking the photo. This will help avoid any blurring or shaking of the image.
3. Look for interesting foreground elements in the shot like trees, rocks, or buildings to add depth and interest to the image.
4. Play with different angles and compositions for different looks and effects – try shooting from high up, low down, close-up, wide angle, etc.
5. Consider using manual mode if available on your phone so you have more control over exposure settings like ISO, aperture, and shutter speed which can really make a difference in sunset photos!
6. Use an editing app like Snapseed after taking the photo to adjust brightness, contrast, and color balance for even better results!
Conclusion
The iPhone is a powerful and versatile device that can be used for a variety of tasks. With features such as Night Shift, it can help reduce eye strain and improve sleep quality by automatically adjusting the display to warmer colors at sunset, and returning it to its regular settings in the morning. Additionally, the camera allows you to take high-quality photos with an easy-to-use exposure slider and shutter button. All in all, the iPhone is an excellent choice for anyone looking for a powerful and convenient device that can help them stay connected and productive.


