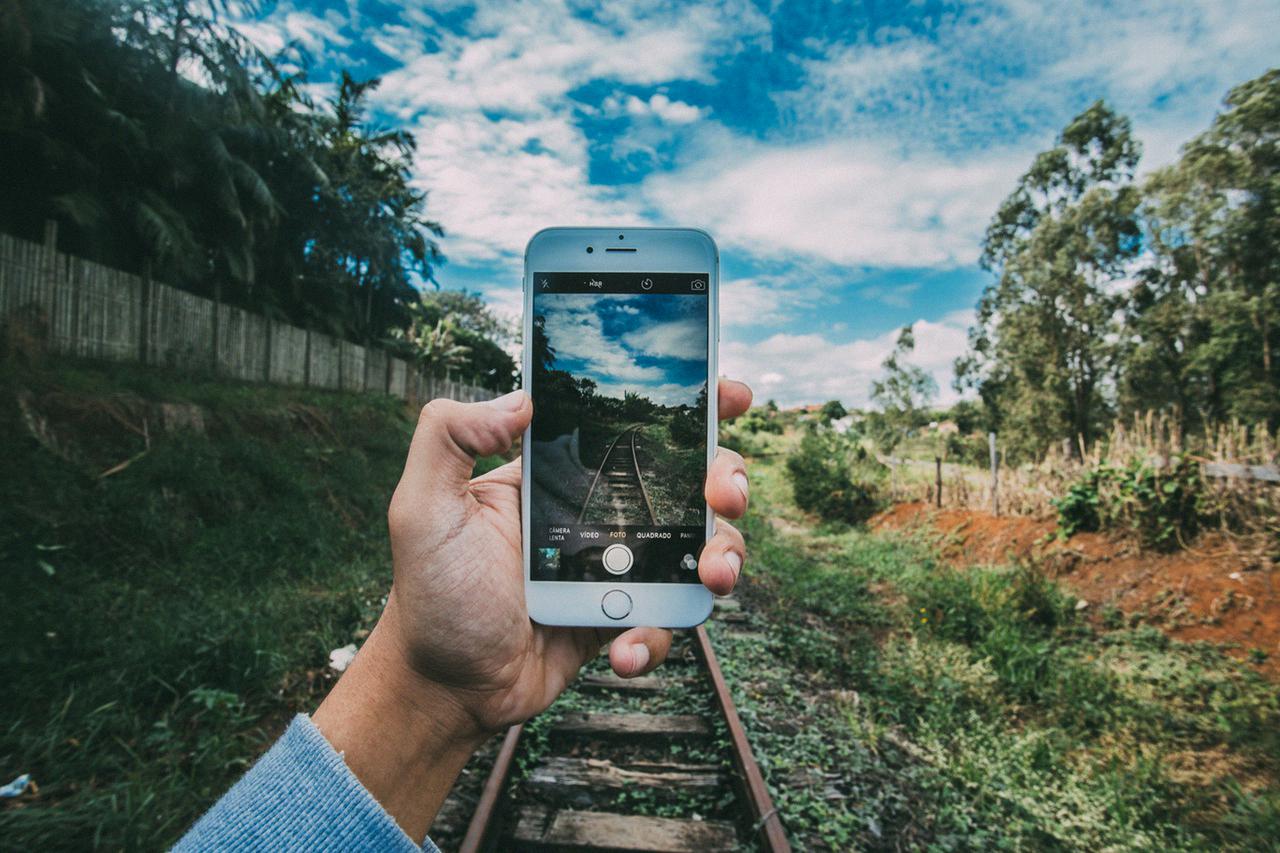
Editing photos on your iPhone is a great way to improve the quality and make them look more professional. With the rght editing tools and techniques, you can easily take your photos from amateur to professional-looking in no time.
To get started, open the photo you’d like to edit in the Photos app on your phone. Then, tap the Edit button at the top right of the screen. This will open up a variety of editing options, including cropping and rotating, adjusting brightness and contrast, and adding filters.
The crop tool is one of the most basic but effective ways to improve your photos. It allows you to cut away any unwanted elements in your shot or create a different composition altogether. To use it, simply select Crop from the menu at the bottom of the editing screen and drag any corner or side of your image to resize it. When you’re happy with how it looks, press Done at the top rght corner of your screen.
Another helpful tool is Adjust Color. This option allows you to tweak many aspects of an image such as brightness, contrast, saturation and hue. To access this feature select Adjust Color from the bottom menu and then use sliders to make changes until you’re satisfied with how it looks.
You can also add filters to give your photos a certain look or feel. To do this tap Filters at the bottom of your screen and then browse through all available options until you find one that suits what you’re trying to achieve. Once applied they can be further adjusted by tapping on Manage Filters at the top right corner of your screen and using sliders for each filter type until you’re happy with how it looks.
Lastly, if there are any blemishes or distracting elements in an image that need removing then try using Retouching mode which allows you to quickly erase small sections with just a few taps! Simply select Retouch from the bottom menu and zoom into any area that nees tidying up before using either Spot Repair or Brush Repair feature depending on what’s needed (Spot Repair for small isolated areas whilst Brush Repair for larger sections).
By following these simple steps you can easily edit photos on iPhone so they look more professional! With just a few taps you can crop away distractions, adjust colors for better balance, add filters for creative flair, or even do some retouching for flawless perfection – making sure all those memories look their absolute best!
How Do I Make My IPhone Pictures Look Professional For Free
There are a number of ways to make your iPhone pictures look professional for free. One way is to use a photo editing app like Snapseed or VSCO. These apps allow you to make adjustments to your photos such as exposure, white balance, and saturation. You can also add filters and effects to your photos to give them a more professional look. Another way to make your iPhone pictures look professional is to use a collage maker app like PicCollage or Adobe Photoshop Express. These apps allow you to create collages of your photos with various layouts and backgrounds.
How Do I Make My IPhone Selfies Look Professional?
There are a few things you can do to make your iPhone selfies look more professional. First, make sure the camera lens is clean and free of smudges. Second, take the time to compose your shot before taking the photo. Third, use the self-timer feature or a tripod to avoid camera shake. Finally, edit your photos usig a photo editing app to remove any blemishes or imperfections.
What Is The Best App To Edit Photos On IPhone?
There are a number of great apps availale for editing photos on iPhone, and it can be tough to choose the best one for your needs. If you’re looking for an all-in-one solution that offers a wide range of features, Snapseed is a good option. It includes tools for basic edits like cropping and straightening, as well as more advanced features like tone mapping and selective adjustments. VSCO is another popular option that offers a wide range of filters and tools for creating beautiful edits. If you’re looking for an app specifically designed for removing unwanted objects from photos, TouchRetouch is a great choice. For more advanced users, Carbon is a powerful app that offers a wide range of features and options for customizing your edits. Adobe Lightroom is another excellent option for power users, offering a comprehensive set of tools for managing and editing your photos. Finally, Afterlight is a great choice for users who want an easy-to-use app with a wide range of filters and effects.
Does IPhone Have A Photo Editor?
Yes, the iPhone has a photo editor built into the Photos app. To access the editor, just open the photo you want to edit and tap Edit at the top right of the screen. In the editor, there are three icons at the bottom of the screen: Crop, Filter, and Adjust. These icons allow you to crop, filter, and adjust your photo, respectively.
How Can I Edit My Photos Like A Professional Mobile?
There are a number of ways to edit your photos like a professional mobile photographer. One way is to use a professional photo editing app like Snapseed or VSCO. Another way is to use a professional photo editing software like Adobe Photoshop Lightroom CC.

How Can I Edit My Photos Like A Free Professional?
There are a number of ways that you can edit your photos like a free professional. One way is to use a free online photo editor such as Taler, GIMP, Canva, or Fotor. These editors provide a wide range of editing tools that you can use to improve your photos. Another way to edit your photos professionally is to use a free photo editing program such as Photo POS Pro or Pixlr X. These programs offer a more comprehensive set of editing tools than the online editors, but they can be more difficult to use.
How Do I Make My Pictures Look Amazing?
There are many ways to make a picture look amazing. However, here are a few tips that may help:
1. Use a long lens – This will help you to isolate your subject from the background, making them stand out more.
2. Set the camera to aperture priority – This will alow you to control the depth of field, making it easier to create a shallow depth of field and thus making your subject stand out more.
3. Set the aperture as low as it will go – This will give you the shallowest depth of field possible, making your subject really stand out.
4. Step as close to the subject as you can while still allowing the lens to focus – This will help you fill the frame with your subject, making them appear larger in the picture.
5. Place the subject far away from anything in the background – This will minimize distractions and make it easier for the viewer to focus on your subject.
6. Put the focus point on the subject – This will ensure that your subject is in sharp focus, making them realy stand out in the picture.
How Do I Get High Quality Photos On My IPhone?
The easiest way to get high quality photos on your iPhone is to change the settings in the Camera app. Tap on the Formats option, then select Most Compatible. This will result in photos being sved in JPEG format, which is a higher quality than the default HEIC format.
How Can I Improve My IPhone Camera Quality?
There are a few tings you can do to improve the quality of your iPhone camera.
First, you can go into your settings and enable the “preserve settings” feature. This will keep your camera settings the same each time you open the camera app, so you don’t have to adjust them every time you want to take a photo.
Second, you can change the format of your photos to HEIF (High Efficiency Image Format). This will result in smaller file sizes without sacrificing quality.
Finally, you can set your iPhone to automatically export JPEG files instead of HEIF files. JPEG files are more widely compatible than HEIF files, so this will make it easier to share your photos with others.
Why Does My Front-facing Camera Make Me Look Weird?
The front-facing camera makes you look weird because it distorts your features. When you hold the camera close to your face, it makes your nose look bigger and your eyes look smaller. If you hold the camera away from you and zoom in, you will look completely different.
What App Do Photographers Use To Edit Pictures?
Adobe Photoshop is a professional photo editing software used by photographers to edit pictures. Adobe Lightroom is another professional photo editing software used by photographers to batch edit photos and perform corrections.
What’s The Best Photoshop App For IPhone?
The best Photoshop app for iPhone is Snapseed. It is a comprehensive editing app that is packaged in a beginner-friendly way.
How Do Professional Photographers Edit Their Pictures?
There are many different ways that professional photographers edit their pictures, but the most common software used is Adobe Lightroom and Adobe Photoshop. These programs allow photographers to make a variety of adjustments to their photos, including exposure, color, contrast, and more. By making these adjustments, photographers can bring out the best in their photos and create stunning images.
Is There A Free Program Like Photoshop?
Yes, there are free programs like Photoshop. GIMP is a popular free alternative to Photoshop that offers a wide range of features and is availabe for Windows, Mac, and Linux.
What Is The Best Photoshop App For Free?
There are a few different Photoshop apps that you can download for free. The best one to use depends on your needs and what you want to use it for. If you need a general purpose app, then Photoshop Express or Pixlr would be a good choice. If you want an app that is specifically for creating single effects, then Color Splash or Visage Lab would be bettr options.
How Do Professional Photographers Make Their Photos Look So Good?
There are many factors that contribute to making a photo look good. Professional photographers typically have a strong understanding of composition, lighting, and other technical aspects of photography. They also often have an keen eye for detail and aesthetics. By paying attention to these factors, they are able to produce photos that look polished and professional.
How Do I Get 4k Photos On My IPhone?
First, make sure your iPhone is capable of taking 4k photos. The iPhone 6s, 6s Plus, 7, 7 Plus, 8, 8 Plus, X, XS, XS Max, XR, and 11 all have this capability. If you have an older iPhone model, you will not be able to take 4k photos.
To take a 4k photo, open the Camera app and select the 4k resolution from the menu at the top of the screen. This menu is only available when the camera is in photo mode; it will not appear when in video mode or when using one of the oher camera modes. Once you have selected 4k resolution, simply point and shoot as you would normally.
What Settings Should My IPhone Camera Be On?
There are a few differet settings that can be adjusted on the iPhone Camera in order to get the perfect photo. Here are a few of the most important ones:
1. Set the focus for tack-sharp photos: On the iPhone Camera, there is an option to set the focus. This can be done by tapping on the area of the photo that you want to be in focus.
2. Adjust exposure to achieve perfect brightness levels: Another important setting on the iPhone Camera is exposure. This can be adjusted by tapping on the area of the photo that you want to be brighter or darker.
3. Switch beteen iPhone lenses to zoom in & out: The iPhone Camera has two different lenses – one for zooming in and one for zooming out. To switch between them, tap on the icon with two arrows pointing in opposite directions.
4. Use night mode for unbelievable low light photos: Night mode is a great setting on the iPhone Camera for taking photos in low light conditions. To use it, simply tap on the moon icon.
5. Blur the background in your photos with portrait mode: Portrait mode is a great way to blur the background of your photos and make the subject stand out more. To use it, simply tap on the icon with a person and a mountain symbol.
Why Do I Look Horrible In Pictures?
The answer to this question has to do with the way that our brains process information. When we see ourselves in a mirror, our brain superimposes our own image over the reflected image. This means that we see ourselves as we actually are, rather than how others see us. However, when we see a picture of ourselves, our brain does not superimpose our own image. This can lead to us seeing a version of ourselves that is unfamiliar and therefore not as attractive.
Why Do I Look Awful In Selfies?
There are a few reasons why you might look awful in selfies. First, the camera can distort your features, making your nose look bigger or your eyes look smaller. Second, the lighting in a selfie is often not as flattering as it could be. Third, you might not be used to seeing yorself from that angle, so it can take some getting used to. Lastly, remember that everyone has good days and bad days – don’t worry if you don’t love every single selfie you take!


