Are you looking to get the most out of your GarageBand experience? Editing EQ (equalization) is a great way to fine-tune the sound of your recordings and mixes. In this blog post, we’ll discuss how to edit EQ in GarageBand.
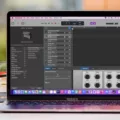
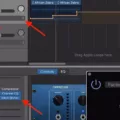
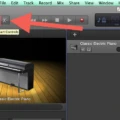
To begin, open up GarageBand and make sure that the Smart Controls button is enabled. This can be found in the control bar at the top of the screen. Once enabled, click on it to open the Smart Controls pane. In the menu bar for this pane, click on the EQ button. If a plug-in does not already exist for equalization, one will be added after the last plug-in in your patch.
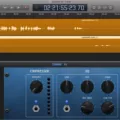
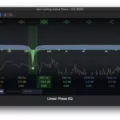
The equalizer window consists of five bands that can be used to alter different frequency ranges in your recording or mix: high shelf, low shelf, low mid, high mid, and low cut/high cut filters. To adjust any of these five bands simply drag them up or down in order to increase or decrease their respective frequencies respectively.
You can also use presets as a starting point for your tweaking by clicking on ‘Presets’ located near the top right corner of the window and choosing one from there. As you make changes to each band individually or all at once using presets you should take note of how these changes affect both individual tracks and entire mixes as a whole.
Finally, when you have achieved an ideal sound balance for your project don’t forget to save it as a custom preset! This way you can quickly recall it later without having to re-create it from scratch every time you need it. This can be done by clicking on ‘Save’ while having your desired settings visible in the Equalizer window and entering a name for your new preset when prompted by GarageBand’s dialog box.
In conclusion, editing EQ in GarageBand is easy once you understand how each band affects sound within its range and how changes made with them interact with other elements such as instruments or effects included within a song project. Using presets as starting points can also provide helpful guidance while creating custom presets will allow you to quickly recall settings that work best for particular projects – saving you time and effort!
Equalizing Audio in GarageBand
To EQ a patch in GarageBand on Mac, first open the Smart Controls pane by clicking the Smart Controls button in the control bar. Then, click the EQ button in the Smart Controls menu bar. If the patch doesn’t already contain an EQ plug-in, one will be added after the last plug-in in the patch.
Once the EQ plug-in has been added to your patch, you can adjust various settings such as frequency, level, and Q of each band using knobs and sliders. You can also select from several preset curves by clicking on one of the presets in the dropdown menu. Once you’re happy with your settings, click ‘Done’ to save them and apply them to your patch.
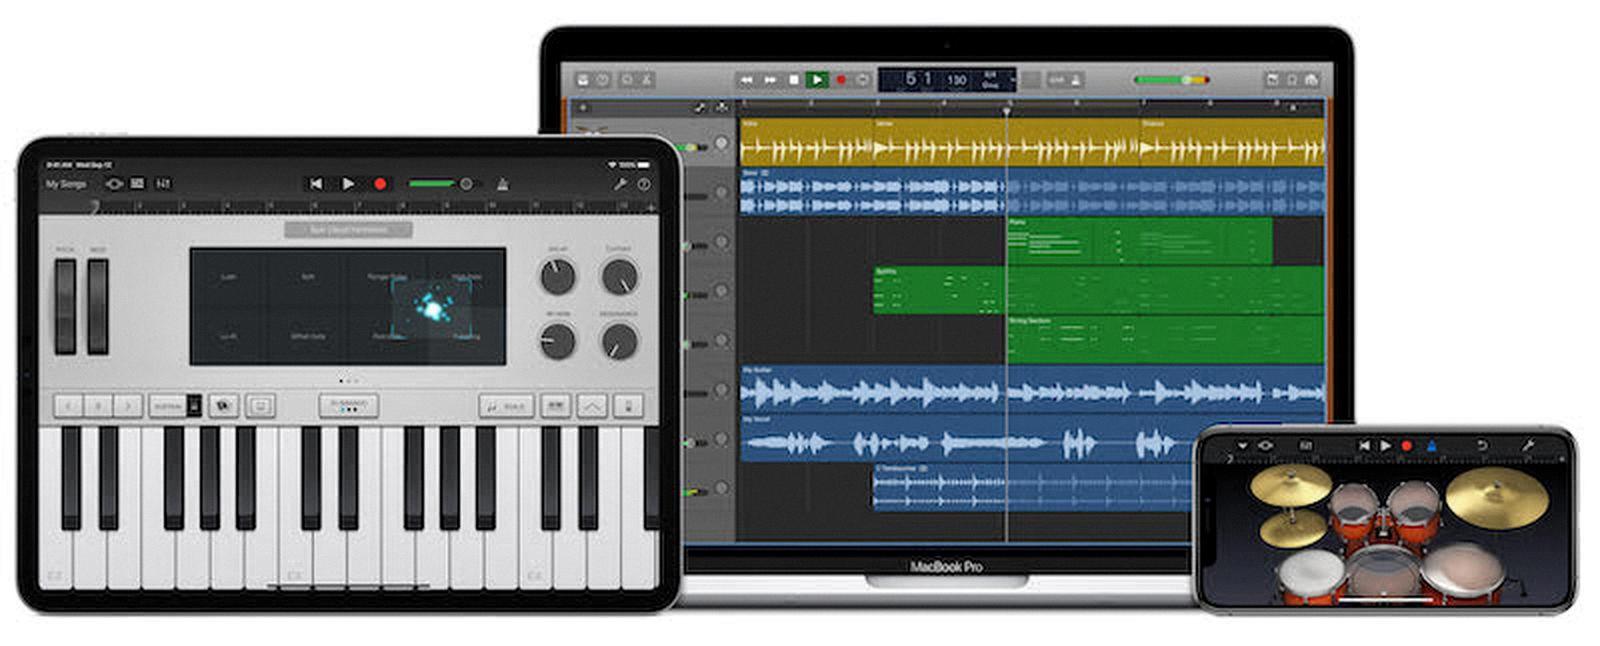
Source: hii-mag.com
Applying EQ Settings
Applying EQ settings is a great way to get your desired sound and is quite simple. To start, you’ll want to identify the frequency you’d like to boost or reduce. Once you’ve identified the frequency, find the closest EQ point in your EQ settings and adjust it to the exact spot. You can then turn up or down the boost or gain knob to determine how much of that frequency you are boosting (or reducing) in decibels. Depending on what type of sound you’re going for, you may also want to experiment with different types of EQs such as high-pass filters, low-pass filters, shelf filters, etc. Ultimately though, it’s all about finding the perfect balance between all of your frequencies that fits your desired sound.
Conclusion
In conclusion, GarageBand is a powerful and versatile music-creation tool for Mac users. It makes it easy to create and edit music with its user-friendly interface, built-in instruments, and audio effects. The Smart Controls pane allows you to quickly adjust the sound of your tracks by adding EQ plug-ins and other effects. With GarageBand, you can create professional-sounding music in no time.

