Garageband is a powerful and intuitive audio production tool that allows you to create high-quality music and audio recordings. One of the great features of Garageband is its ability to edit drums. With a few simple steps, you can customize your drum tracks with effects, EQ, and volume control. Here’s how to get started editing drums in Garageband:
1. Select your drum kit from the Sound Library. Garageband has a variety of drum kits you can choose from including acoustic, electronic, and percussion.
2. Choose the drummer for your track. You can select from a range of different styles and sounds for each drum kit type.
3. Record your drum groove by tapping the Record button in the control bar and tapping the drums in the kit to play them.
4. Add effects such as reverb or distortion to give your track more depth or character by using the Effects panel on the right side of the screen.
5. Adjust volume levels for each individual instrument with the Mixer panel at the bottom of the screen or automate volume changes with automation tools in Garageband’s editor window
6. Finally, use EQ to fine-tune frequencies in your track or add an extra kick or punch with compression settings in Garageband’s editor window
With these simple steps, you can easily edit drums in Garageband and create custom tracks tailored exactly to your needs!
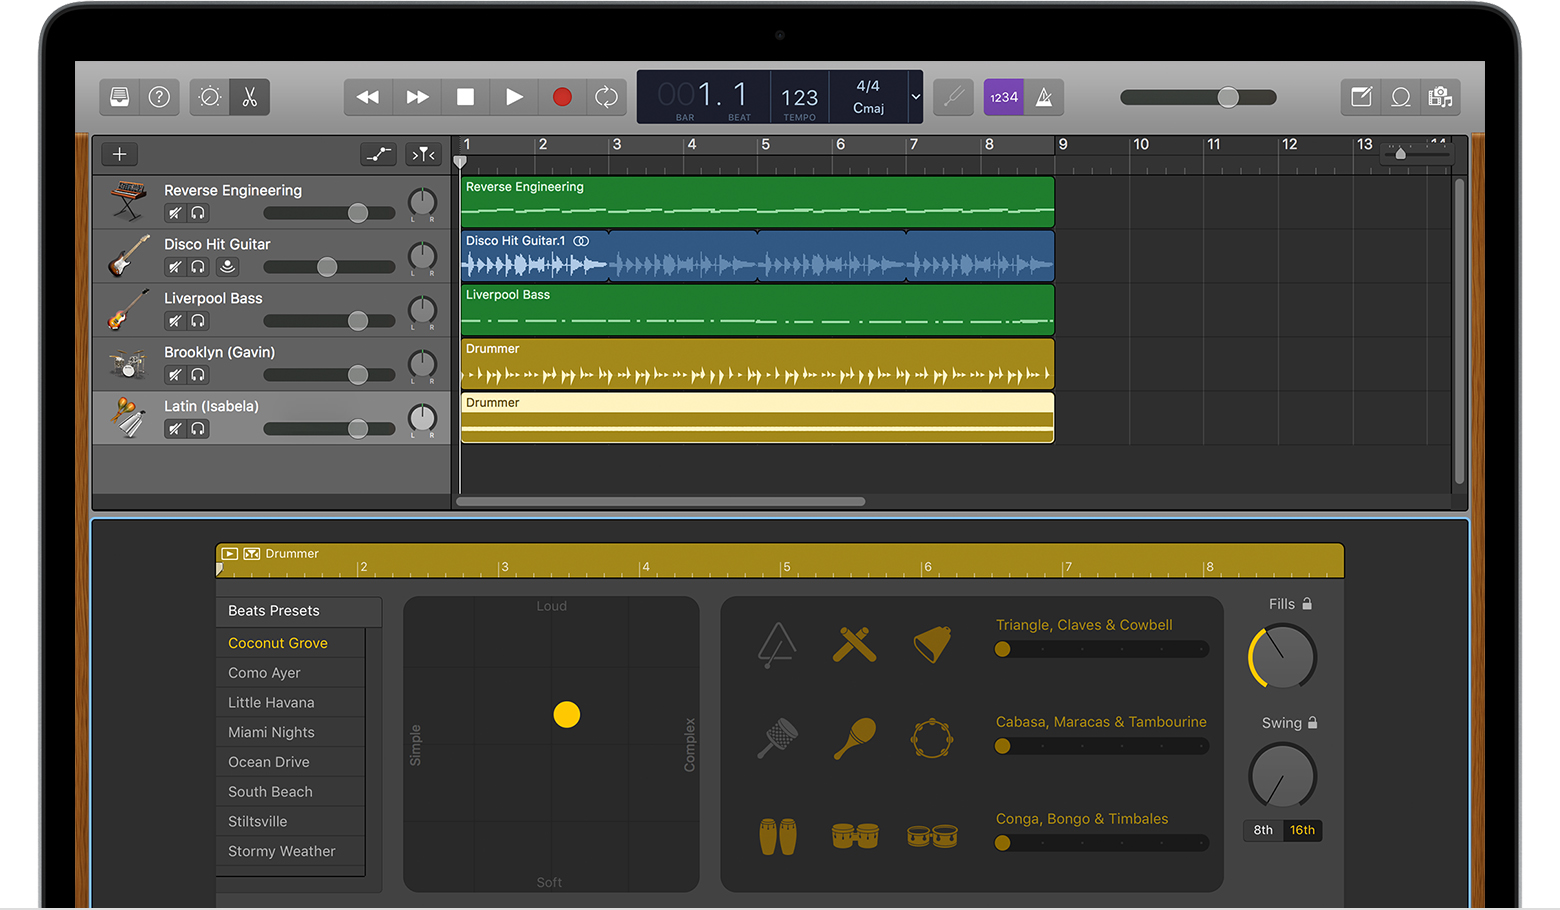
Adjusting Drums in GarageBand
To adjust drums in GarageBand, first, tap the Navigation button in the control bar. Then, tap the Sounds button, which will bring up a list of available drum kits. You can choose from Acoustic, Electronic, or Percussion styles. Once you have selected a style, you can then select a specific drummer from the list by tapping on it. You can also use the swipe left or right gesture to cycle through the list of drummers quickly. Finally, make any other adjustments you want using the controls in the Drummer Editor window that appears when you select a drummer. This includes adjusting dynamics and groove settings for each instrument as well as being able to add your own fills and breaks.
Using Drums in GarageBand
Using drums in GarageBand is a simple process. First, select the type of drum kit you want to use – either acoustic or electronic. Then, use the Record button in the control bar to start recording your drum groove. Tap each drum individually or several at once to build up a rhythm. Finally, when you are done recording, press the Play button in the control bar to hear your creation and save it for later use. With GarageBand, you can have fun creating unique and creative beats with drums!
Choosing the Best EQ for Drums
The best EQ settings for drums depend on the style of music and the type and model of drum set you’re using. Generally, boosting 50-100 Hz will emphasize the kick drum, 500-3,000 Hz can be used to boost the snare drum depending on the model, and cutting mids while leaving highs and lows relatively boosted can help bring out your toms. Additionally, experimenting with ultra-high frequencies on cymbals can help bring out their shimmer and attack.
Why Are Garageband Drums So Quiet?
Garageband drums can be so quiet because the “Auto-Normalize” setting in Garageband’s ‘Preferences’ within the ‘Advanced’ tab is turned on. This setting normalizes all audio levels across the entire project, bringing up quieter sounds and bringing down louder ones. As a result, drum sounds that may have originally been loud enough might now be too quiet when compared with other elements in your project. To avoid this issue and make sure that your drums are heard, turn off the Auto-Normalize option in Garageband’s Preferences.
Conclusion
Garageband is an incredibly powerful and versatile music production app that allows you to create professional-quality music with ease. With its intuitive interface, multiple drum kits, and variety of recording options, you can quickly and easily construct complex rhythms and beats. Whether you’re a novice or a professional musician, Garageband offers the tools needed to create amazing music.


