If you’re an artist or aspiring to become one, then you’re in luck. With macOS, you can create stunning artwork right on your computer. It’s easy to draw a picture on Mac and make it look beautiful. In this blog post, we’ll walk you through the drawing tools available in macOS Preview and how to use them.
Accessing the Drawing Tools
To access the drawing tools in macOS Preview, make sure that “Show Markup Toolbar” is selected under View > Show Markup Toolbar. Then click on the crayon symbol on the far right of the toolbar. You will now have access to a pen tool where you can doodle and draw in Preview using different colors and thicknesses of lines.
Using Continuity Sketch
You can also use Continuity Sketch for more advanced drawing capabilities such as adding text notes, shapes, and other objects to your drawings. To use Continuity Sketch from either the File menu or Insert menu (depending on your app), choose Insert from iPhone or iPad > Add Sketch. On your device, a sketch window will open for you to create a sketch with your Apple Pencil or finger.
Adding Finishing Touches
Once you have finished creating your artwork, there are many ways to add finishing touches such as adding shadows, highlights, or textures to give it a professional look and feel. You can also adjust the color balance of an image and add filters or frames to enhance its appearance even further.
it is easy to draw a picture on Mac with the help of macOS Preview’s drawing tools as well as Continuity Sketch for more advanced features. With these tools at your disposal, you can create beautiful artwork right from your computer!
Does Mac Have a Draw Tool?
Yes, there is a drawing tool on Mac. You can access the drawing tools on macOS Preview by selecting View > Show Markup Toolbar and then clicking on the crayon symbol on the far right. You will be able to use this tool to doodle and draw with a pen in different colors, as well as change the thickness of the lines you draw. However, more complex editing features are not available within this tool.
Drawing on a Mac Screenshot
Yes, you can draw on a screenshot on Mac. To do this, take a screenshot and open the image in a new window. You will then see a Markup toolbar. On the left side of the toolbar is an option to Sketch or Draw. Selecting either of these options will allow you to draw or write directly onto your screenshot. You can even add shapes or arrows to point out specific elements of the image. Once you are finished drawing on your screenshot, make sure to save it so that your changes don’t get lost.
Drawing Digitally on a Mac
To digitally draw on a Mac, you’ll need an Apple Pencil or a compatible stylus. Once you have the appropriate device, open the document you wish to draw on in an app that supports Apple Pencil and stylus input. From either the File menu or Insert menu (depending on your app), choose Insert from iPhone or iPad > Add Sketch. A sketch window will open up, allowing you to draw with either your Apple Pencil or finger. To get started, simply select a brush style and color and begin drawing. You can also use other tools like shape recognition, text insertion, and more to enhance your drawings. When you’re finished, save the sketch directly into your Mac document for further editing and viewing!
Does Mac Have An Alternative To Paint?
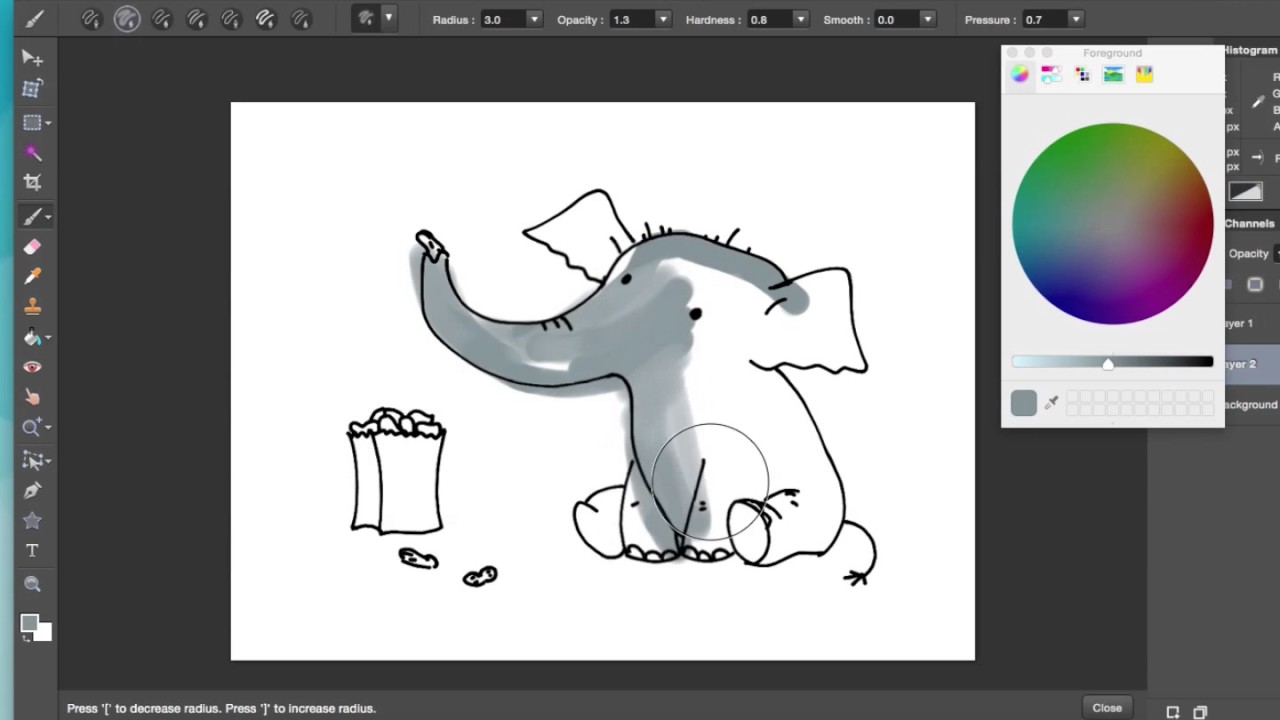
Yes, Mac users have access to the original paint program for macOS called Paintbrush. This paint program provides simple image creation tools such as selection and editing tools, different brush styles and sizes, color palette customization, and more. It also allows users to save their creations as .png, .jpg, .gif, or .bmp files. Whether you are creating a simple logo or more advanced digital art pieces, Paintbrush is the perfect tool for Mac users.
Drawing on a Picture on a Computer
To draw on a picture on your computer, open the photo or video you’d like to enhance. Select Edit & Create from the top of your screen. Then, select Draw from the menu and choose one of three drawing tools – Pen, Highlighter, or Brush – to begin. Once you’ve selected a tool, you can further customize it by selecting a color and size that suits your needs. To move the drawing tool around the image, simply click and drag it with your mouse or trackpad. When you’re done adding details, click the checkmark to save your changes.
Snipping and Drawing on a Mac
To snip and draw on a Mac, you can use the built-in screenshot tool called Grab. To access it, press Command + Shift + 4 simultaneously. This will open up a crosshair cursor which you can use to select the area of the screen you want to capture. You can move the selection by pressing and holding the Space bar while dragging. Once you have selected the area, it will be captured and automatically saved to your desktop.
You can then open the screenshot with an image editing program such as Preview or Photoshop, where you can draw on it with various tools like a pen, brush, text, shapes, and more. When you’re done editing your screenshot, save it and share it however you like!


