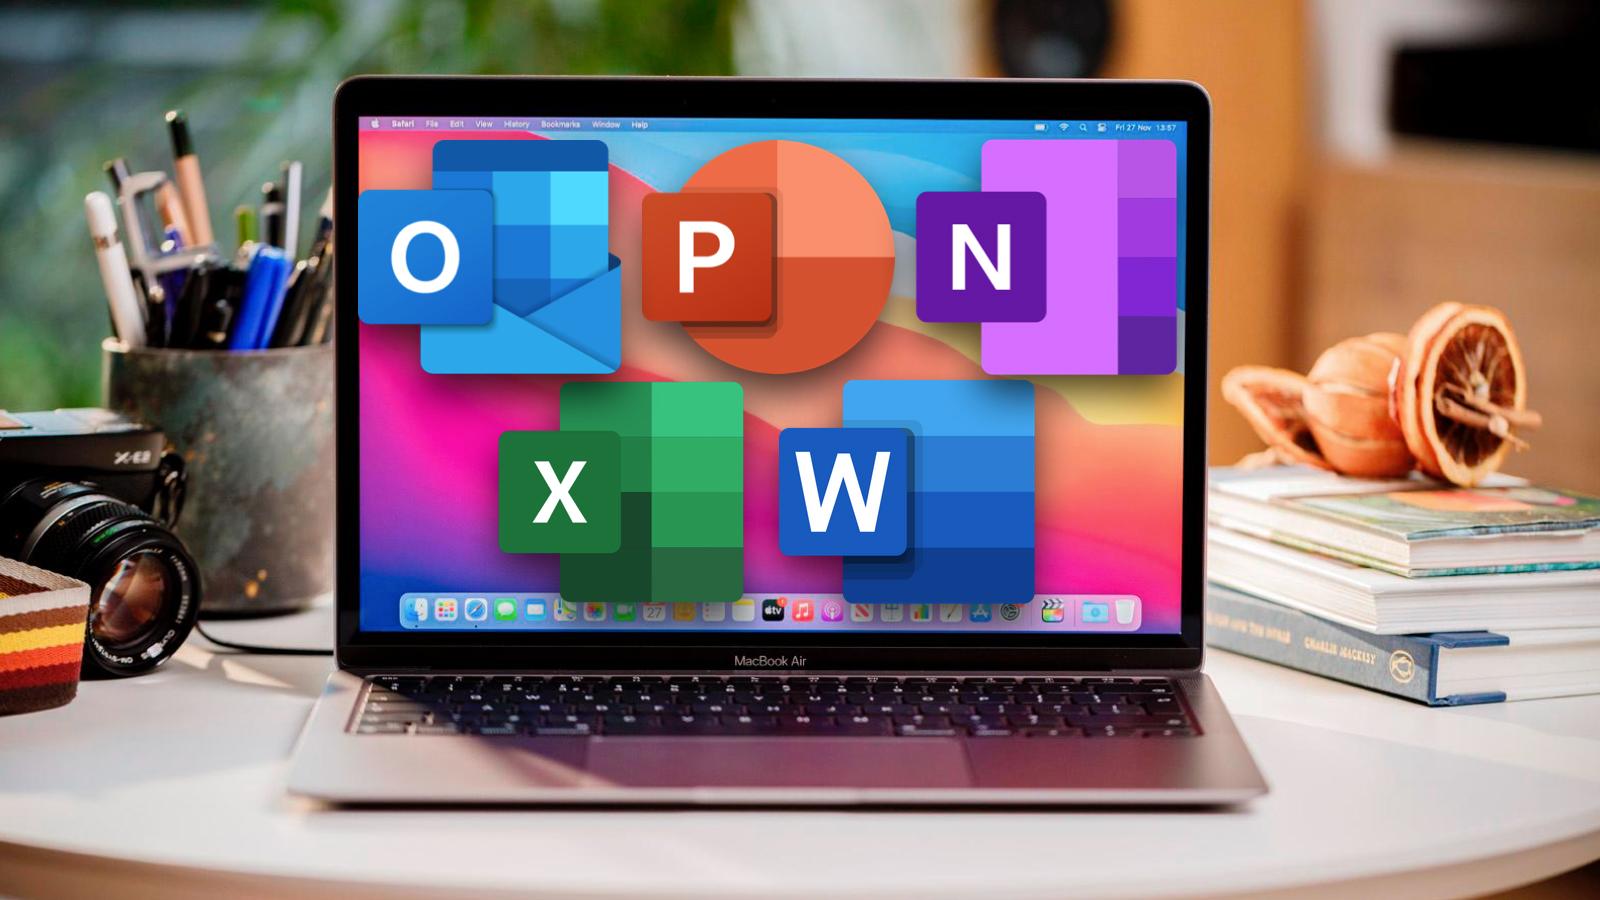
Are you looking for a way to use Microsoft Office on your MacBook Air? If so, you’re in luck! Microsoft recently released a version of Office specifically designed for Mac users. This means that you can now get the same features and functionality of Office on your Mac as you would on a PC.
Microsoft Office for Mac includes all the favorite programs such as Word, Excel, PowerPoint, Outlook, and OneNote. It also includes OneDrive to store and share documents with ease. You can even access recent documents across all your devices both PC and Mac.
So how do you get Microsoft Office for Mac? The easiest way is through the Microsoft Store or directly from the Microsoft website. You will need an active internet connection to download it, but once that’s done, you’ll be ready to go!
Once the download has been completed, open Finder and double-click the installer package file (the name might vary slightly). On the first installation screen, select Continue to begin the installation process. Review the software license agreement and then click Continue again. You will be asked if you want to install any additional apps or services associated with Office – this is optional so feel free to skip this step if desired.
Once everything is installed, you will be asked to sign in with your Microsoft account credentials or create one if necessary. Once signed in, all of your documents will be synced across all devices running Office so that they are always up-to-date no matter where you are working from.
That’s it – now you’re ready to start creating great documents on your MacBook Air! With Microsoft Office for Mac at your fingertips, there’s no limit to what kind of projects you can make come alive. Have fun!
Can Microsoft Be Installed on a MacBook Air?
Yes, you can get Microsoft on a MacBook Air. The latest version of Microsoft Office is compatible with macOS, so you can use Word, Excel, and PowerPoint just like on a PC. Additionally, macOS provides built-in support for the latest version of Microsoft Exchange Server. So if you need to access your work emails or calendar, you’re all set.
Installing Microsoft Office on a MacBook Air
Installing Microsoft Office on your MacBook Air is a straightforward process. First, go to the official Microsoft website and download the latest version of the Microsoft Office installer. Once the download has been completed, open Finder, go to Downloads, and double-click on the Microsoft Office installer. pkg file (the name might vary slightly). On the first installation screen, select Continue to begin the installation process. Review the software license agreement and then click Continue. After that, you will be asked to enter your Apple ID credentials and confirm that you want to install Microsoft Office on your device. Finally, you will be asked to enter your payment information (if applicable) in order to complete the purchase and installation process. Once all steps have been completed successfully, you will be able to launch Microsoft Office from your Applications folder on your MacBook Air and start using it right away!
Installing Microsoft Access on a MacBook Air
The best way to get Microsoft Access on your MacBook Air is to purchase a subscription to Microsoft 365 Pro or higher, which includes the application. Alternatively, you can purchase a stand-alone version of Microsoft Access and download it directly from the Microsoft website. To do this, visit the Microsoft Store online and search for “Microsoft Access”. Once you have purchased the software, you will be able to access a download link that will allow you to install the program onto your Mac. Once installed, you will be able to create and manage databases using the powerful features available in Access.
Cost of Microsoft on Macbook
Microsoft Word is included in the Microsoft Office 365 subscription, which costs $69.99/year for a home/personal use version. This subscription gives you access to the latest version of Word on your Macbook, as well as Outlook, Excel, PowerPoint, OneNote, and other Office applications. It also offers 1TB of storage on OneDrive, 60 minutes of Skype calls per month, and additional services such as Office Online and more. If you don’t want to pay for a yearly subscription, you can purchase a one-time purchase of Office 2021 for $149.99 that includes Word on your Macbook.
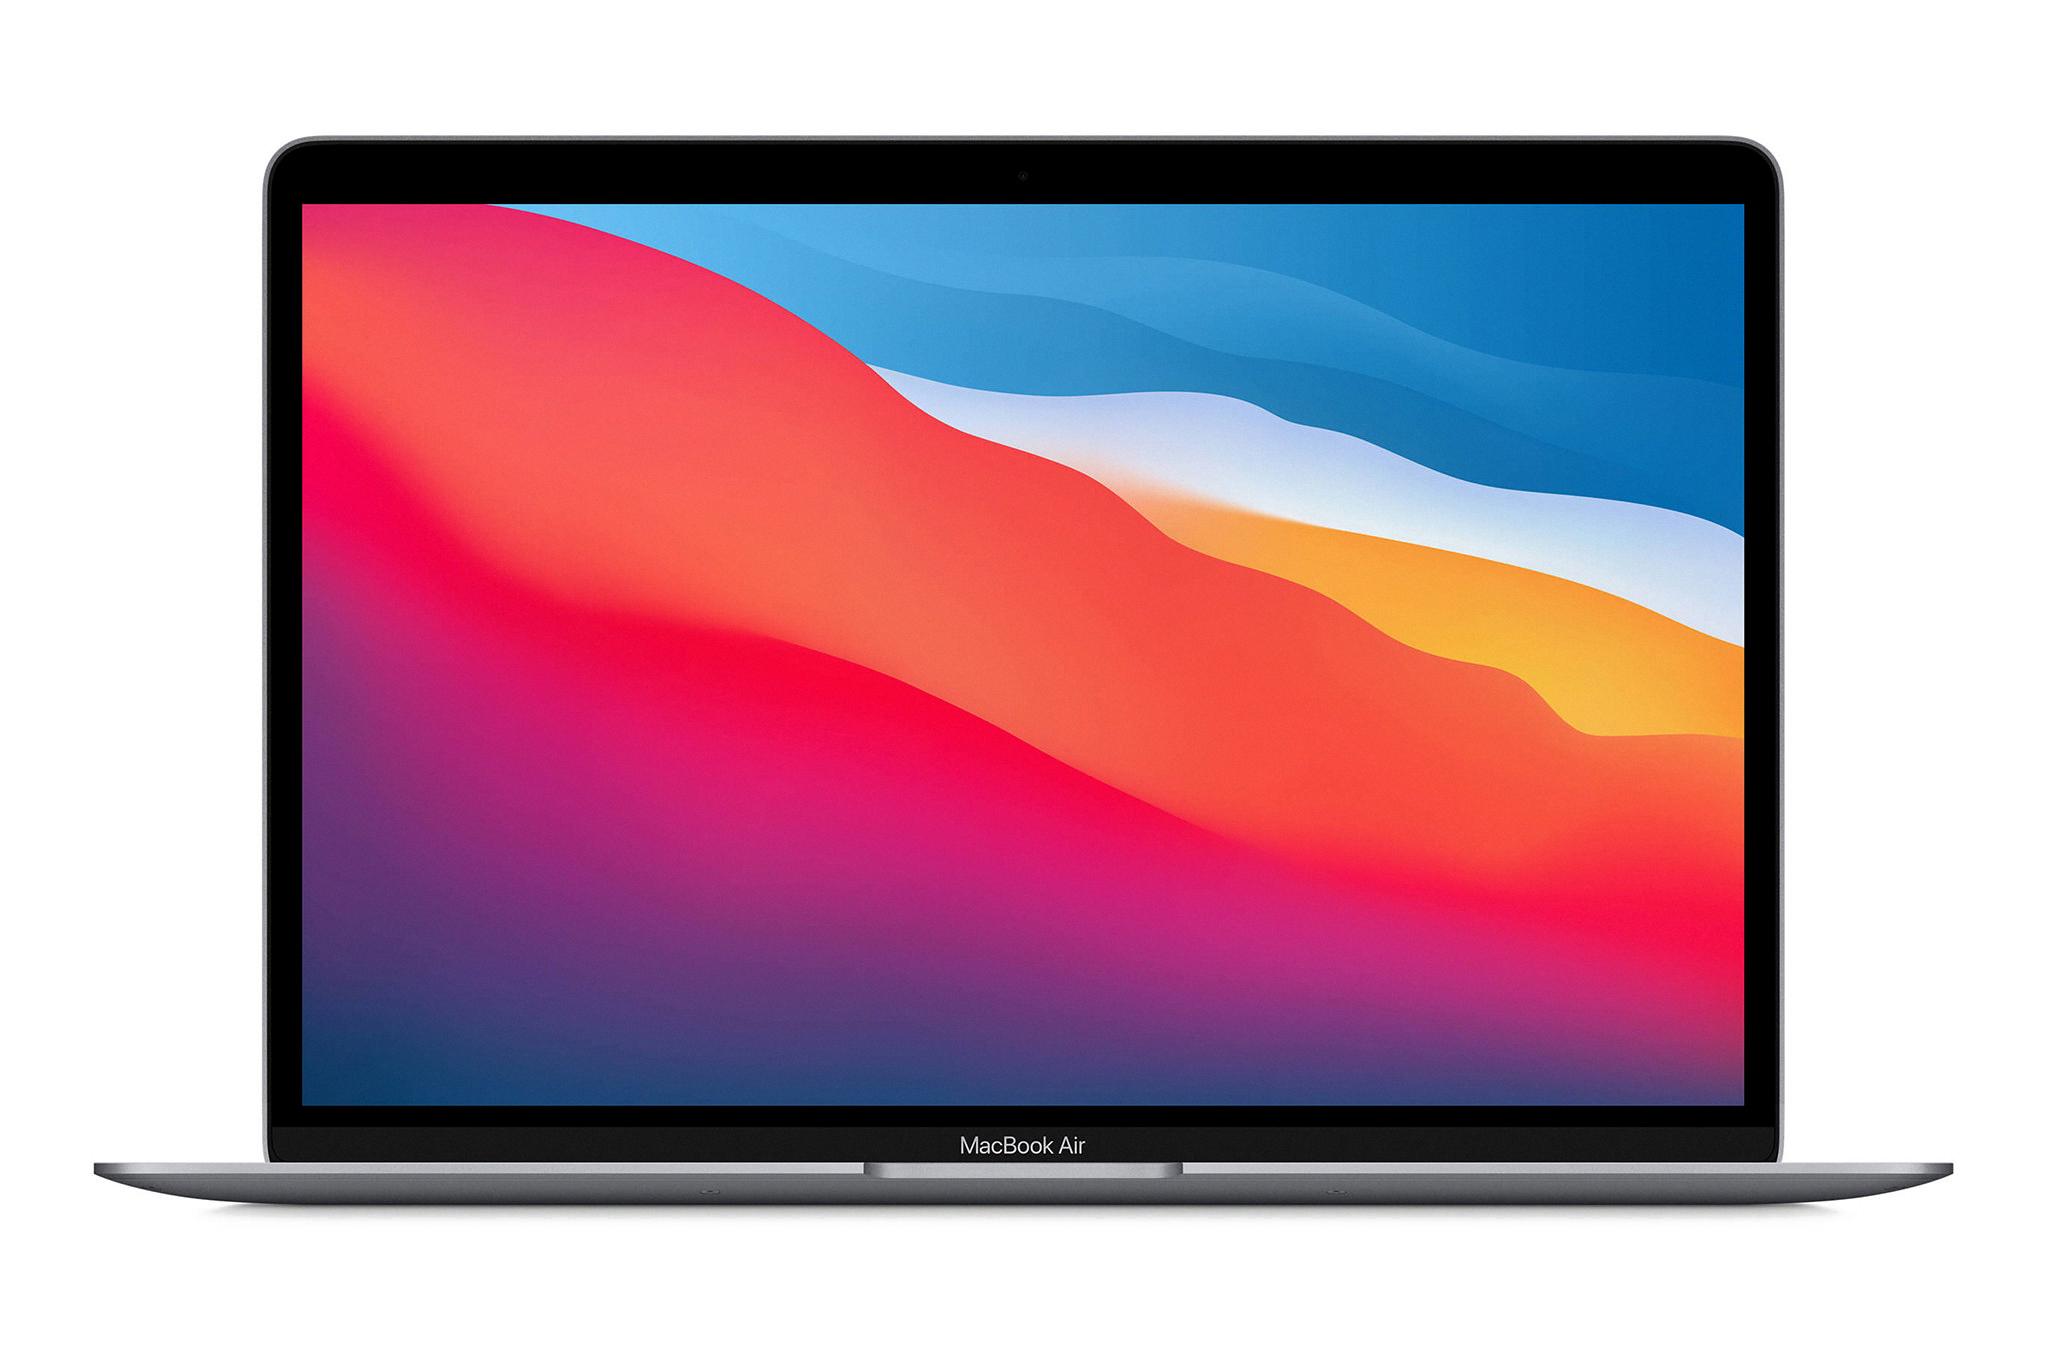
Source: photographylife.com
Do I Need to Pay for Microsoft Word on Mac?
Yes, you need to pay for Microsoft Word on Mac if you want to create and edit documents. If you download Word from the Mac App Store, you will need a Microsoft 365 subscription to use it. This subscription includes access to Word, Excel, PowerPoint, and Outlook. Outlook requires an additional Microsoft 365 subscription to send and receive emails.
Can a New Macbook Air Run Microsoft Office?
Yes, the new MacBook Air runs Microsoft Office. The latest version of Microsoft Office, 16.55.1107.0, provides native support for both Apple silicon (including the newly released M2 chip) and Intel-based Macs, so you can run Office on your new MacBook Air without any compatibility issues. Additionally, if you have an Office 365 subscription, you can also access and use the full suite of Office apps online through a web browser.
Activating Microsoft Office for Free on a Mac
Activating Microsoft Office for free on a Mac is easy! First, open any of the Microsoft Office applications installed on your Mac (such as Word, Excel, or PowerPoint). In the What’s New window that appears, select Get Started. On the Sign in to Activate Office screen, select Sign in. Enter your Microsoft account email address and password, then follow the prompts to activate your account. Once you’ve signed in successfully, you’ll be able to use all of the features of Microsoft Office for free!
Installing Microsoft Word on a Macbook
To install Microsoft Word on your Macbook, follow these steps:
1. First, open your web browser and go to Microsoft.com.
2. Sign in to your Microsoft account or create one if you don’t have one already.
3. Once signed in, press “Install Office” on the home page or head to the Office tab located in the top right corner of the page.
4. Select the download installer file that corresponds with your Macbook’s operating system and click “Download”.
5. When prompted, save the file onto your hard drive and wait for it to finish downloading completely before proceeding with the installation process.
6. After it has finished downloading, double-click on the installer file and follow through with setup instructions until you are presented with a prompt asking you to choose whether to install individual programs or all programs included in Office 365 suite at once; select “Install Individual Programs” and choose “Microsoft Word” from the list of programs presented after that step is complete.
7. Once installation is complete, launch Microsoft Word from your Applications folder and activate it using your product key or signing into your Microsoft account when prompted upon launching the program for first-time use in order for it to be fully functional on your computer.


