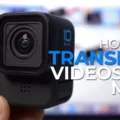
Are you looking to download GoPro photos from your Mac computer? Whether you’re an amateur or a professional photographer, GoPro cameras are a great way to capture stunning visuals. With advanced technology and sophisticated design, these powerful devices are perfect for a variety of tasks. But, the process of downloading photos from a GoPro can be confusing for those who don’t know the ins and outs of the process.
Fortunately, with just a few easy steps, you can easily download your photos from your GoPro camera to your Mac computer. Here’s how:
1. Plug the USB-C cable into both your GoPro and Mac. Turn on the device and make sure that it is properly connected to your computer.
2. Open Launchpad on your Mac and search “image” to access Image Capture.
3. Select Image Capture and you should see your GoPro appear in the left sidebar.
4. Choose which images you would like to import by clicking on them or using the Command key to select multiple items at once.
5. In the bottom right corner of Image Capture, select “Import To” from the dropdown menu and choose where you would like to store the files (i.e Desktop).
6. Click “import” and watch as all of your images transfer over from your GoPro onto your Mac computer!
It is important to note that if you have changed any folder names or structures on your SD card, it may not be recognized by Image Capture or by other programs used for transferring data between devices such as iPhoto or Photos App on Macs running macOS Mojave (10.14) or later versions of macOS Catalina (10). To avoid any issues, make sure not to rename or alter the structure of any folders on your SD card – including the DCIM folder located at the root level of most SD cards used in GoPros today!
By following these steps carefully when attempting to download photos onto a Mac computer directly from a GoPro camera, you can rest assured that all of your beautiful visuals will be safely stored away in their designated folders in no time at all!
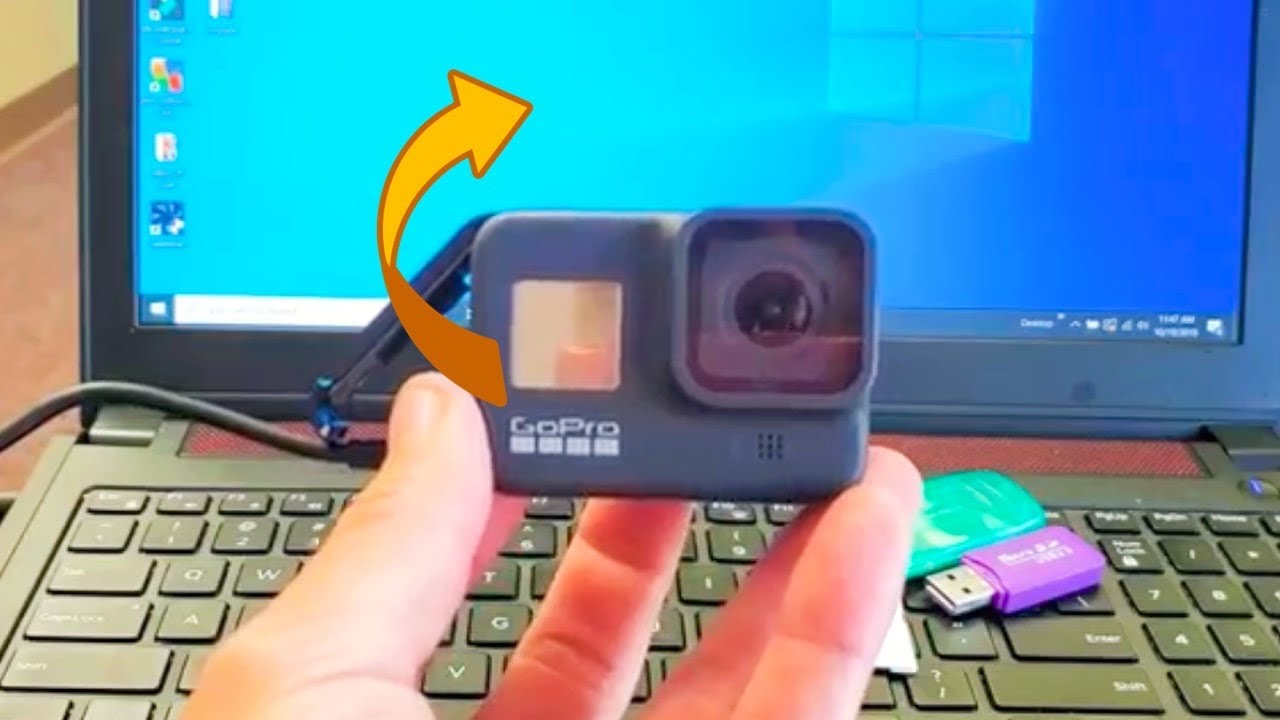
Downloading GoPro Videos to a Macbook
In order to download GoPro videos to your Macbook, you will need to connect the GoPro device to your Macbook using a USB-C cable. Once the connection is established and the GoPro is powered on, open Launchpad on your Macbook and search for ‘Image Capture’. Once Image Capture is opened, the GoPro should appear in the left sidebar.
From there, choose which images you would like to import. You can then select a destination from the ‘Import To’ drop-down menu, followed by clicking ‘Import’ at the bottom of the window. Your selected images and videos should now be downloaded to your Macbook.
Source: digitaltrends.com
Connecting a GoPro to a Mac
To connect your GoPro to your Mac, start by plugging the USB-C cable into the USB-C port of the GoPro, and then plug the other end into one of your Mac’s USB-C ports. Once both ends are connected, turn on the GoPro and open Image Capture. You can find Image Capture in your Applications folder or by clicking the Launchpad app on your Dock, typing “image” into the search field, and then clicking Image Capture. Once you’ve opened Image Capture, you should be able to access all of the photos and videos stored on your GoPro.
Troubleshooting GoPro Connectivity Issues on Mac
It is possible that your GoPro won’t show up on your Mac if there has been a change in the folder names or structure of the SD card. This is because Mac may not recognize the new structure or folder names and therefore fail to detect the GoPro device. To avoid this issue, make sure to not change or rename any folders, especially the “DCIM” folder. Additionally, it’s also possible that you may need to update the firmware of your GoPro device or make sure that all necessary drivers are installed correctly.
Transferring Files From GoPro to Laptop
Transferring your files from GoPro to your laptop is easy and straightforward. All you need to do is connect your GoPro camera to your laptop using a USB cable. Once connected, you should be able to access the files stored on your GoPro from File Explorer. Simply double-click on your camera and then double-click on the “GoPro MTP Client Disc Volume” folder. Inside this folder, there will be a folder labeled DCIM which contains all of the photos and videos were taken with your GoPro camera. You can then select the files you want to transfer and copy/paste them onto your laptop’s hard drive or an external storage device.
Are GoPros Compatible With Mac Computers?
Yes, GoPro cameras are compatible with Mac computers. To access the files on your camera, launch the pre-installed Image Capture app on your Mac. After it recognizes your camera, you will be able to freely access the files stored on it. You can also use other third-party apps to transfer and manage your GoPro media files.
Source: bhphotovideo.com
Troubleshooting Issues with Connecting GoPro to Computer
It is possible that your computer is not recognizing your GoPro due to a faulty SD card reader, cable, or port. If the components that enable communication between the GoPro and the computer are not functioning properly, the data on the SD card will not be accessible. Additionally, if the file system within your SD card has become corrupted, it can also prevent recognition of your GoPro. To ensure proper recognition of your device, we recommend checking all cables and ports connected to both devices for any signs of damage or malfunction.
Transferring Files from GoPro to Mac via USB
To transfer files from your GoPro to your Mac via USB, start by connecting the USB cable to both your GoPro and your Mac. Make sure the GoPro is turned on. Then open iPhoto or similar photo import software on your Mac. The software should detect the GoPro as an external device and launch an import process. Follow the instructions as they appear onscreen to finish importing the photos from your GoPro to your Mac.
Connecting a GoPro to a Computer
To connect your GoPro to your computer, start by powering on your camera. Then, connect the camera to your computer using a USB cable. Make sure to use a USB 3.0 port on your computer for the best results and battery life. Once connected, the GoPro icon in the status bar will display a blue dot indicating a successful connection and that the camera is now in USB Mode.
Importing Videos From Camera to Mac
To import videos from your camera to your Mac, you will need to first turn on your camera and connect it to your computer using a USB cable. Next, open the iPhoto application on your Mac and select the “Import” option located in the upper-left corner of the application window. Select the video you want to import, then click the “Import Selected” button. When your video has finished importing, a popup will appear asking whether you want to delete or keep the video on your camera. Choose whichever option is best for you, then click “OK” to complete the import process. Your imported video will now be available in iPhoto’s library.
Conclusion
In conclusion, GoPro offers a wide variety of cameras and accessories to meet your needs. It is easy to get started with the camera, as all you need to do is plug the USB-C cable into the GoPro and Mac, turn on the GoPro, open Image Capture, and select which images you want. Additionally, it is important to be aware of potential issues when transferring images from your GoPro to Mac such as ensuring that you do not change or rename any folder names or structure on the SD card. With its many features and options available for both professionals and hobbyists alike, GoPro provides an excellent way to capture quality photos and videos.

