If you’re a Mac user, you know how important it is to keep your photos organized. But deleting photos on your Macbook Pro can be a little tricky if you’re not sure what to do. In this blog post, we’ll cover the basics of deleting photos on a Macbook Pro and provide some tips for making the process easier.
First off, it’s important to understand where your photos are stored. By default, most photos are located in the Photos app that comes with macOS. You can also find them in iCloud if you have an Apple ID and iCloud account set up. Once you’ve located the photos that need to be deleted, there are two main methods for doing so: through the Photos app or by using Finder.
If you want to delete multiple photos at once, the Photos app is usually the best option. First, open Photos and select all of the photos that need to be deleted by pressing down Shift and clicking on each one individually. Then press Delete on your keyboard or click Delete from the menu bar. You’ll be asked to confirm before proceeding with deletion; click “Delete” again when prompted.
On the other hand, if you want more control over which files get deleted, Finder is often a better choice. To use Finder, first launch it from your Applications folder or dock and navigate to where your photos are stored (usually in Pictures). Then select all of the pictures that need to be deleted (again by pressing down Shift) and either press Command-Delete or right-click and choose “Move to Trash” from the menu that appears.
Finally, don’t forget about iCloud! If you have iCloud set up on your Macbook Pro, any photo deleted through either method will also be deleted from iCloud (which means it won’t show up on other devices connected to your account). To make sure this doesn’t happen inadvertently, open System Preferences and select the iCloud tab; then uncheck “Photos” if it’s checked off already. That way, any photo deletions will stay local instead of syncing across devices.
No matter what method you use for deleting photos on your Macbook Pro—Photos app or Finder—it’s always a good idea to back up important files regularly just in case something goes wrong during deletion! And remember: once you delete a photo or file from your computer permanently (meaning it’s not just moved into Trash), there’s no way of getting it back until you re-download it from a backup source like iCloud or another cloud storage service like Google Drive or Dropbox.
Deleting Multiple Photos on a Macbook Pro
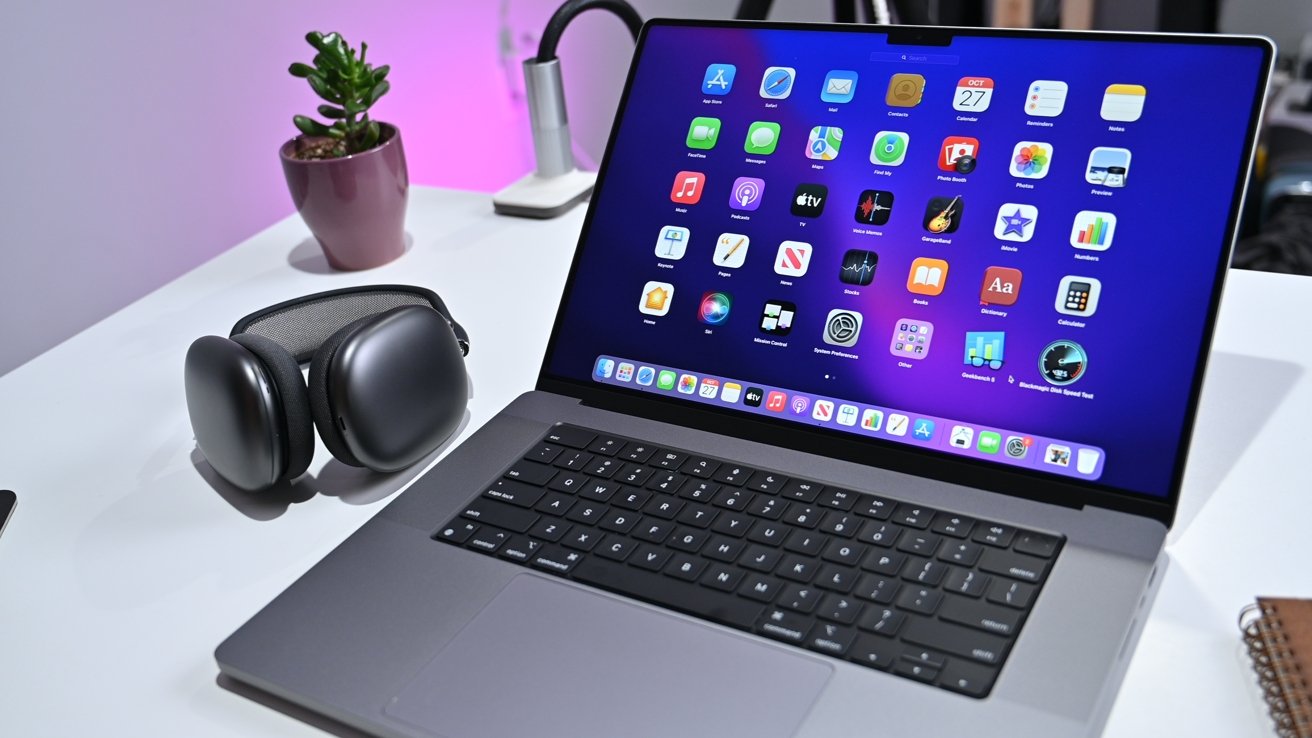
To delete multiple photos from your Macbook Pro, open the Photos app and select the photos you would like to delete. You can either click on each photo individually while holding down the Command key, or you can press and hold the Shift key and select a range of photos. Once you have selected the desired photos, press Delete on your keyboard or right-click a photo and select Delete n Selected Items. In the confirmation dialog that appears, click Delete to proceed with deleting the selected photos.
Simplifying the Process of Deleting Photos on Macbook
Yes, there is an easier way to delete photos on your Macbook. Instead of using the Delete key to delete photos, use the Command-Delete shortcut instead. This will instantly send the photo to your Recently Deleted album without having to confirm the deletion with a dialog box.
Deleting Photos from Mac but Not iCloud
To delete all photos from your Mac but not iCloud, first open System Preferences and select the iCloud tab. In the tab, you’ll see a checkmark next to Photos. Click on the checkmark to uncheck it. You will then be asked if you want to delete the photos from your Mac. Select Yes to confirm the deletion of photos from your Mac but not iCloud. The photos will remain stored in iCloud but will no longer be stored on your Mac.
The Fastest Way to Delete Photos on a Mac
The fastest way to delete photos on your Mac is to open the Photos app and select the photos or videos you want to delete. Then press Delete and click Delete again. This will remove the selected items from your library and place them in the Recently Deleted album. If you are sure you want to permanently delete the items, go to the Recently Deleted album, select them, and click Delete (found at the top right of your screen). Be aware that these actions cannot be undone so make sure you are comfortable with deleting these items before doing so.
Selecting and Deleting Photos from a Macbook
To select and delete photos from your Macbook, open the Photos app and click the Albums tab. Select My Photo Stream, then click “Select” to pick the photos you want to delete. You will see a checkmark on the photos that you have selected. Finally, click the Trash button and then “Delete [number] Photos” to complete the process.
The Impact of Deleting Photos on Mac on Photos in iCloud
Yes, deleting photos on Mac will delete them from iCloud as well. This is because both devices are linked and synced with iCloud storage by default. Whenever you delete a picture in your Photos app on Mac, it will automatically be removed from iCloud as well. You should be aware that the removal will happen immediately, so if you don’t want to lose your photos, make sure to back them up elsewhere before deleting them from either device.
Does Deleting Photos From iCloud Delete Them From All Devices?
Yes, deleting photos from iCloud will delete them from all devices that have iCloud Photos turned on. However, you still have 30 days to recover the deleted photos before they are permanently removed from your account.
Where Photos are Stored on Mac Computers
Photos taken on your Mac are stored in the System Photo Library, which is located in the Pictures folder by default. You can also create additional photo libraries on your Mac and other storage devices. To access the photos in a Photos library, you should always use the Photos app. This will ensure that all of your images are organized and backed up properly.

