If you’re like many Mac users, you’re probably used to copying files from your Mac to an external USB drive. Unfortunately, if you’re trying to copy large files from your Mac to a USB drive, you may run into an issue with the FAT32 limitation. This is because files larger than 4GB can not be stored on a FAT32 volume.
Fortunately, there are steps you can take to work around this limitation and successfully copy large files from your Mac to a USB drive. This blog post will walk you through how to do it.
The first step is to format the USB drive as exFAT or NTFS. This will resolve the issue of FAT32 limitation and allow you to store larger files on the drive.
Once the drive has been formatted, it’s time to move the large file(s) from your Mac to the USB drive. To do this, open Finder and select one or more files on the desktop or in a folder that you wish to move. Next, drag them onto the USB Drive listed in Finder’s sidebar. This will initiate the transfer process and allow you to move larger files successfully.
It’s also important to note that permission settings may also need to be changed before transferring files from your Mac. If you find that you can’t move or copy a file or folder, check its permissions settings by selecting it and choosing File > Get Info (or press Command-I). The same applies to any disk, server, or folder where you want to move the item – make sure its permissions settings are set accordingly before attempting a transfer.
By following these simple steps, moving large files from your Mac onto an external USB drive should no longer be an issue!
Transferring Large Files from Mac to External Hard Drive
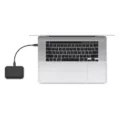
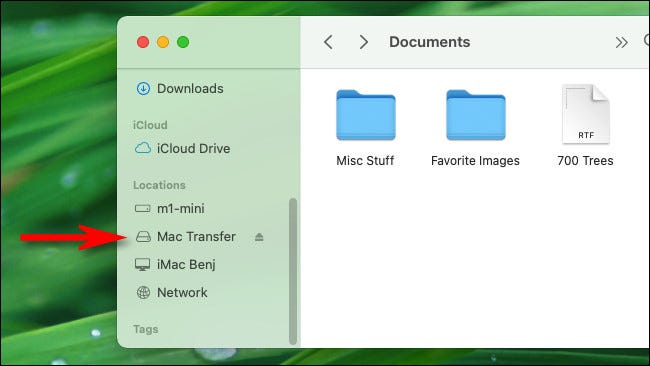
Transferring large files from your Mac to an external hard drive is quick and easy. First, connect your external hard drive to your Mac using a USB cable or other compatible connection. Once connected, open the Finder window and locate the external hard drive in the Locations section of the Finder sidebar. Then, find the files or folder you want to transfer and drag them onto the external hard drive icon. Your files will begin transferring to the external hard drive. When complete, you can safely disconnect your external hard drive from your Mac.
Transferring Large Files to a Flash Drive on a Mac
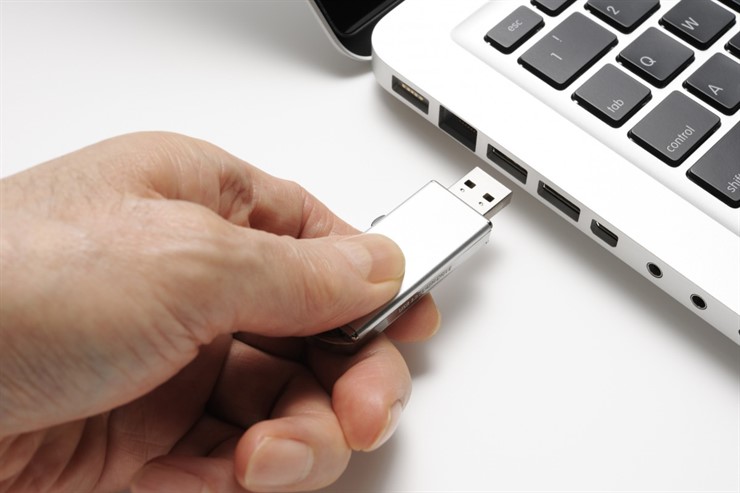
Transferring large files to a USB drive on a Mac is easy. First, plug your USB drive into an available USB port. Then, open Finder and locate the files or folders you want to move. Right-click on the item and select ‘Compress’ from the menu that appears. This will create a compressed zip file of your selection. Next, drag the resulting zip file to the USB drive listed on the sidebar to initiate the transfer. Depending on the size of your files and how fast your computer is, this may take some time; however, once completed, you will have successfully transferred your large files to your USB drive!
Transferring Files Larger Than 4GB to USB on Mac
Transferring files larger than 4GB to a USB flash drive on a Mac can be done by formatting the flash drive as exFAT or NTFS.
First, connect the USB flash drive to the Mac computer and open Finder. Then right-click (or Control + click) on the USB flash drive icon in the sidebar and select ‘Get Info’ from the menu. Under Format, select exFAT or NTFS from the dropdown menu, then click Erase. Confirm when asked if you want to erase the disk and wait for it to finish erasing. Once complete, go back into Finder, click on your USB drive’s icon in the sidebar, and drag any files larger than 4GB over to transfer them.
Keep in mind that when formatting a USB device as exFAT or NTFS, you will not be able to use it with other devices such as Windows PCs or Android phones. Therefore make sure you have backed up any important data stored on your device beforehand.
Troubleshooting Issues with Copying Files to USB on Mac
Copying files to a USB drive on a Mac can be tricky, as it requires certain permissions settings to be in place. To do this, you will need to select the file you want to copy and open its Get Info window. In the Sharing & Permissions section at the bottom of this window, make sure that your user has both Read & Write access. If not, you may need to change the permissions settings on the disk or server where the file is stored. Once these settings are correct, you should be able to copy files to your USB drive without any issues.
Copying Files Larger Than 4GB to FAT32 on Mac
Copying files larger than 4GB to FAT32 on Mac is relatively easy. The first step is to ensure that your drive is formatted as FAT32. If it isn’t, you can reformat the drive to FAT32 using Disk Utility. To do this, open Disk Utility (located in the Applications/Utility folder), select the drive you want to reformat, click ‘Erase’ and then choose ‘MS-DOS (FAT)’ from the ‘Format’ drop-down menu.
Once your drive has been formatted as FAT32, you can copy files larger than 4GB to it using Finder. To do this, open Finder, locate the file you want to copy, and drag it onto the drive icon in Finder. You may be prompted whether or not to split the file into multiple parts; if so, choose ‘Split into smaller parts’ and then click OK. Your file should now be copied onto the drive successfully.
If you need to use a command line method, you can also use cp -r which will let you copy folders recursively with all their content. In order for cp -r to work properly when copying large files over 4GB from one filesystem to another (e.g., from HFS+ to FAT32) you will need to add a flag called –sparse=always which tells cp -r that it needs to split up any large files into smaller chunks so they can fit under the maximum file size for FAT32 of 4GB per file.
To use this method, open Terminal (located in Applications/Utilities) and type ‘cp -rs [source] [destination]’ where [source] is the source directory or folder containing your large files and [destination] is your destination directory or folder on the drive which is formatted as FAT32. When finished copying all of your desired files and folders over successfully, type ‘exit’ into Terminal and press Enter/Return on your keyboard before closing the Terminal window.
Transferring Photos from Mac to External Hard Drive
Transferring 1000 photos from a Mac to an external hard drive is a relatively easy process. First, make sure your external hard drive is connected to your Mac via the appropriate cable. Next, open the ‘Finder’ application and locate the folder containing all of the photos you want to transfer. Once you have located the folder, select all of the photos by pressing ‘Command+A’ on your keyboard. Next, drag and drop all of the selected photos into your external hard drive. If you are using an older version of Mac OSX, then you may need to click ‘Copy’ after selecting all of the photos in order for them to be transferred successfully. Finally, wait for all of the files to be copied over before disconnecting your external hard drive from your Mac.
Bypassing the FAT32 4GB Limit
Bypassing the FAT32 4GB limit can be achieved through a few different methods. The most common and straightforward way is to reformat your file system in either exFAT or NTFS, as both support larger file sizes. If you’re unable to do this, then you can also try splitting the file into smaller segments or compressing the file to a smaller size. To compress, you can use software such as WinRAR or 7-Zip. Once compressed, transfer the file via your USB drive. By following these steps, you should be able to easily bypass the FAT32 4GB limit.
Transferring Files Larger Than 4GB to FAT32 Without Formatting
The most effective way to transfer files larger than 4GB to FAT32 without formatting is by using a free partition manager, such as AOMEI Partition Assistant Standard. This software offers a ‘NTFS to FAT32 Converter’ which enables you to quickly and easily convert your NTFS file system to FAT32 without formatting or losing any information. The process is simple: first, launch the program and select ‘NTFS to FAT32 Converter’ from the left panel. Then, select the target partition that you want to convert, click ‘Proceed’ and confirm your operation. Within minutes, your desired file system will be converted from NTFS to FAT32 without formatting or data loss. This makes it easy for you to transfer large files of any size onto a FAT32 drive without the need for reformatting or worrying about data loss.
Formatting a 64GB USB to FAT32 on a Mac
Formatting a 64gb USB to FAT32 on a Mac is easy and straightforward. First, insert the USB drive into your Mac PC. Then, open Applications > Utilities and double-click it to open. From there, select the drive you want to format and click on Erase. Next, rename the USB drive (optional), and choose MS-DOS (FAT) for the format. Finally, click Erase to start formatting the USB drive to FAT32. Once complete, you will be able to use your newly formatted 64gb USB drive on your Mac.
Transferring Files from Mac to USB
To transfer files from your Mac to a USB drive, first make sure the USB drive is connected to your Mac. Then open a Finder window and navigate to the location of the files you want to transfer. Select one or more files, then drag them onto the USB drive listed in the Locations section of the Finder sidebar. Your files should now be transferred to the USB drive.
Troubleshooting USB Stick Issues on Mac
It is possible that the USB stick isn’t compatible with your Mac. It may be formatted in a way that is not supported by your Mac or require a driver that isn’t available. It’s also possible there could be an issue with the power, port, or cable connections. Make sure the USB device is turned on and its cables are properly connected. If your computer has more than one USB port, switch the device’s cable to another port. If you still can’t use the device, contact the manufacturer for more information.


