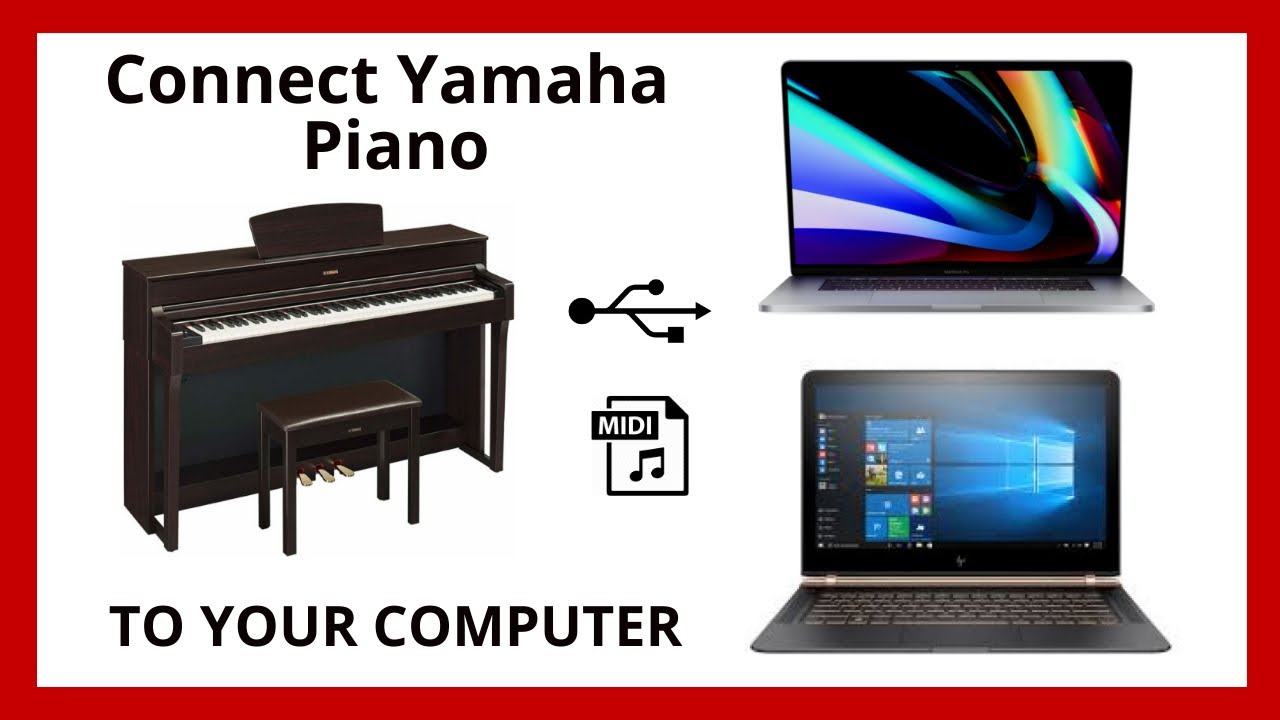
Are you interested in learning how to connect a Yamaha Keyboard to your Mac and use it with GarageBand? If so, you’ve come to the right place! In this post, we’ll go over what you need to know about connecting a Yamaha keyboard to your Mac computer, as well as give you some tips for getting the most out of the combination.
First of all, if you have a newer model Yamaha keyboard, then it should be easy to connect it to your Mac via USB. All that’s required is an appropriate USB cable and the Yamaha driver software (which can usually be found on Yamaha’s website). Once connected, GarageBand should recognize the keyboard automatically.
However, if your Yamaha keyboard is an older model that doesn’t support a direct USB connection, then connecting it to your Mac will require a few extra steps. First, you need an appropriate MIDI interface. This is basically a device that allows you to connect MIDI devices (such as keyboards) to your computer using MIDI cables. You may also need additional software depending on the type of interface you buy.
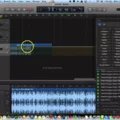
Once everything is set up correctly, all you need to do is launch GarageBand and click on “Preferences > Audio/MIDI” in order to make sure that GarageBand detects your Yamaha keyboard. Now when you hit keys on your keyboard, the notes should appear in GarageBand!
Using a Yamaha Keyboard with GarageBand can open up many possibilities for making music – from recording and arranging tracks with ease to creating unique sounds via virtual instruments or loops. With just some basic setup and configuration knowledge, anyone can get started making music with their Yamaha Keyboard and Mac in no time!
Playing a Keyboard on GarageBand for Mac
To play a keyboard on GarageBand for Mac, first, open GarageBand and select the desired software instrument from the Library. Then open the Musical Typing window by going to Window > Show-Musical Typing (or pressing Command-K). In the Musical Typing window, click the Keyboard button in the upper-left area of the window. Once this is done, you can now begin to play your keyboard by pressing down on individual notes on the keyboard with your mouse or trackpad. If you want to use a physical MIDI keyboard instead, connect it using a USB cable and then choose it as an input device in GarageBand’s preferences.
Connecting a MIDI Keyboard to a Mac
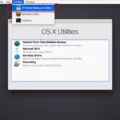
To get your Mac to recognize your MIDI keyboard, you need to make sure the device is properly connected to your Mac and that it is turned on. If this is the case, then you can open the Audio MIDI Setup app on your Mac and choose Window > Show MIDI Studio. In the MIDI Studio window, click the Rescan MIDI button. This should detect your device and add it to the list of available devices. If the device is still not recognized, then check to see if any software from the manufacturer needs to be installed in order for it to be recognized by your Mac.
Troubleshooting Mac’s Inability to Recognize External Keyboard
If your Mac is not recognizing your external keyboard, there are a few things you can try. First, make sure the connector is completely inserted into the port. If that doesn’t work, try connecting the keyboard to a different USB port or to a different Mac. If that solves the problem, then it may be an issue with your Mac and it may need to be repaired. In this case, you should contact Apple or an Apple Authorized Service Provider for service.
Connecting an External Keyboard to a Mac
To get your external keyboard to work on your Mac, first, make sure it is powered on and within range of your Mac. Then open System Preferences by choosing Apple menu > System Preferences. Click Bluetooth in the sidebar, and then make sure that the Bluetooth switch at the top is turned on. Hold the pointer over the keyboard in the list of devices, then click Connect. If you don’t see your keyboard listed, try turning it off and then back on again. Once connected, your keyboard should be ready to use with your Mac!
Troubleshooting MIDI Keyboard Issues on Mac
It’s possible that your MIDI keyboard is not working on your Mac for a few different reasons. Firstly, make sure the MIDI device is properly connected to your Mac, or to a MIDI interface that’s connected to your Mac. Secondly, make sure the device is turned on and all necessary software provided by the manufacturer has been installed. Thirdly, check the manufacturer’s website to make sure you have the latest version of the software. Finally, if none of these steps resolve your issue, it may be worth checking for any updates available for your Mac operating system and restarting your computer.
Troubleshooting MIDI Keyboard Detection Issues
If your MIDI keyboard is not detected, it could be due to a variety of issues. Firstly, ensure that the MIDI cable is properly connected to both your device and computer. It’s also possible that the USB port you are using may not be compatible with your device. To check this, try connecting the device to a different USB port and see if it is detected. If it still isn’t appearing in the utility, consider connecting it directly to your computer instead of through a hub or other external device. You can also check the Device Manager for any potential issues. Right-click the Windows icon and choose Device Manager. Select Sound, video, and game controllers and locate your device to see if there are any driver issues that need resolving.
Troubleshooting Issues with Connecting a MIDI Keyboard
It’s possible that your MIDI keyboard is not connecting because the MIDI cable is not plugged into the correct ports on the interface and the keyboard. Make sure that the MIDI cable is plugged into the MIDI out port on the keyboard and the MIDI in port on the interface. Additionally, make sure that your computer is recognizing your external MIDI interface by checking the audio settings in your system preferences. Finally, if all else fails, try disconnecting and reconnecting all cables to ensure a proper connection.

