Are you looking to add a Nintendo Switch controller to your gaming setup? With the variety of controllers available for the Nintendo Switch, it can be difficult to know which one is right for you. In this blog post, we’ll discuss different types of controllers for the Nintendo Switch and how to connect them.
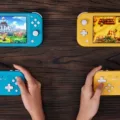
The Nintendo Switch comes with two Joy-Con controllers that attach to either side of the console. The Joy-Cons are versatile and can be used as a single controller or split into two separate controllers for multiplayer games. To connect the Joy-Cons, simply slide them onto the sides of the console until you hear a click.
For a more traditional experience, you can opt for a Pro Controller. The Pro Controller is shaped like an Xbox or PlayStation controller but sill has all of the features of a Joy-Con controller, including motion controls and HD rumble. To connect your Pro Controller, plug it into one of the USB ports on the dock or use a USB charging cable (sold separately).
Finally, thee are also third-party controllers available such as PowerA’s Enhanced Wireless Controllers and 8BitDo’s wireless controllers. These third-party controllers are designed with specific features that may not be included in a standard Joy-Con or Pro Controller, so they’re great if you want something more customised. To connect these third-party controllers, simply press and hold down their Sync Button for at least one second while on the HOME Menu screen. Once paired, the corresponding player LED(s) will remain lit up.
We hope this blog post has givn you some insight into different types of Nintendo Switch controllers and how to connect them! With so many options available, it shouldn’t be too hard to find one that suits your gaming needs.
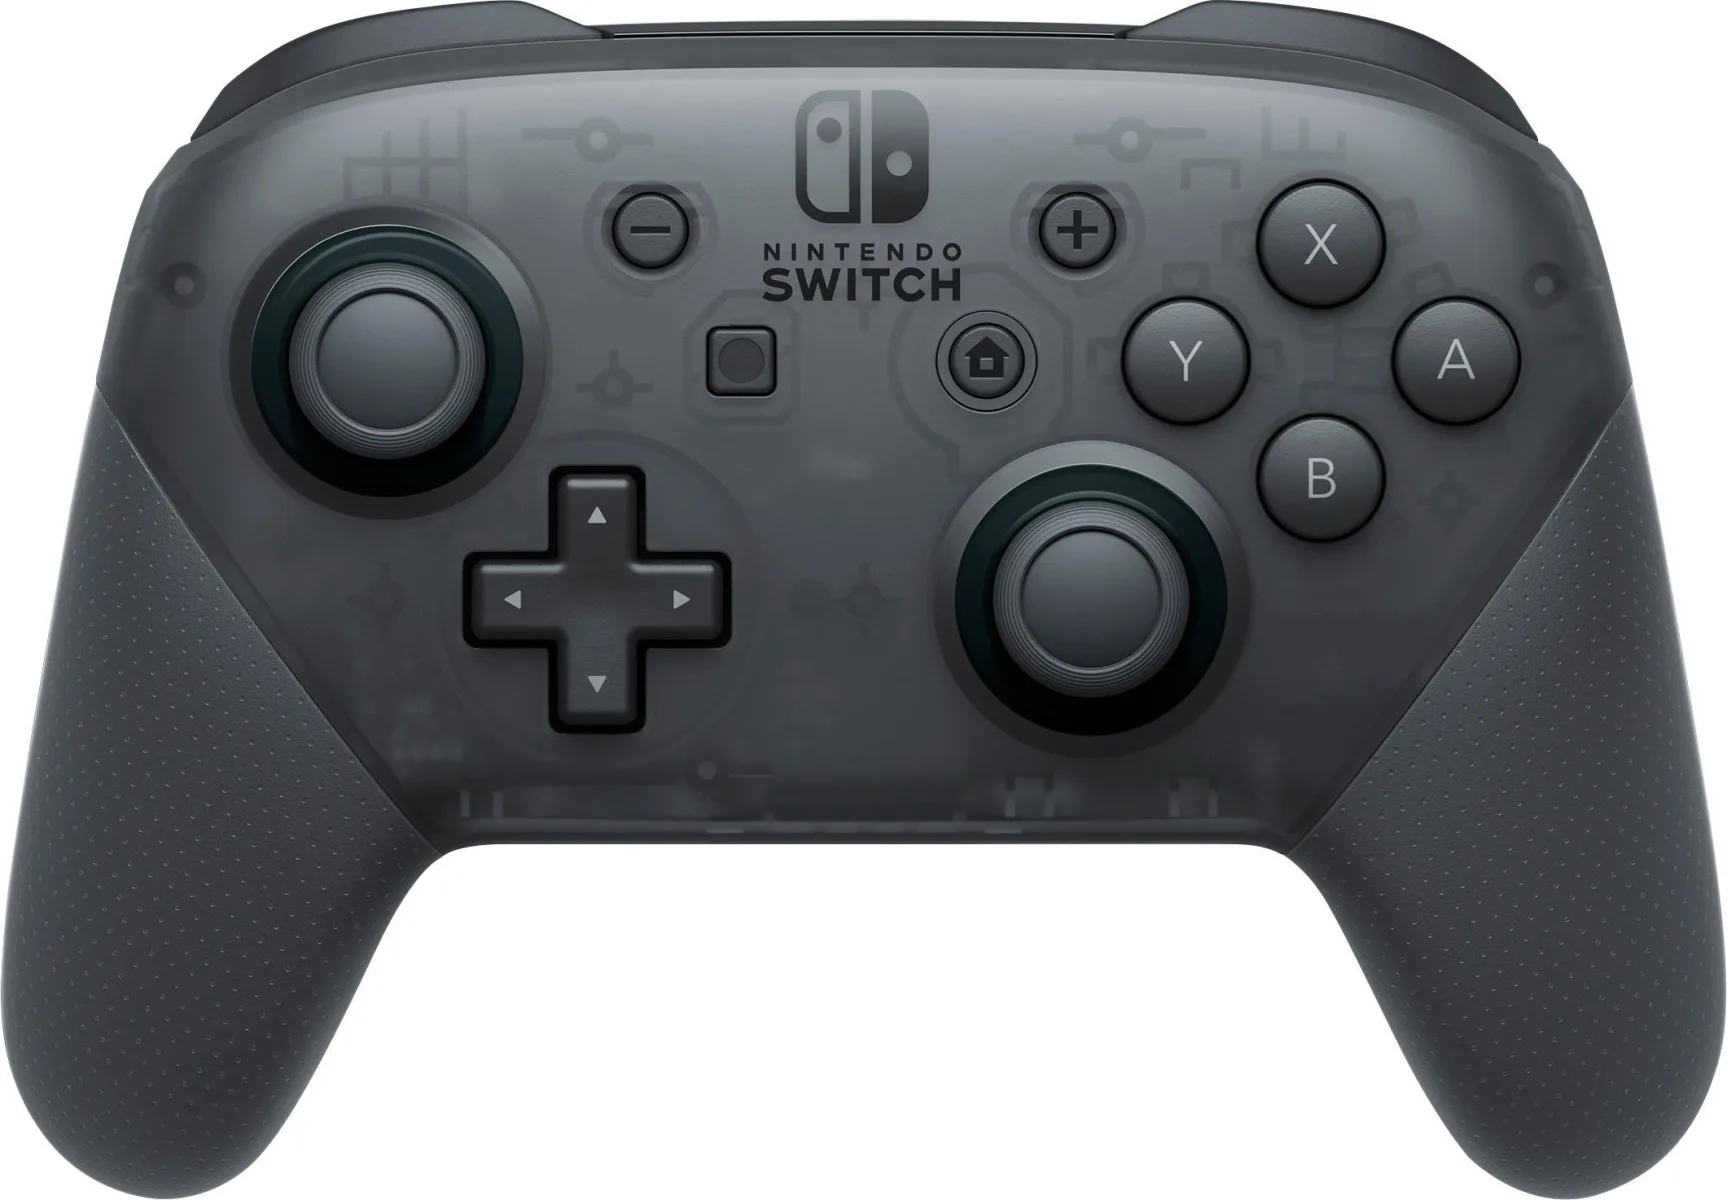
Connecting Nintendo Switch Controllers
To connect your Nintendo Switch controllers, open the HOME menu and select Controllers, then Change Grip and Order. On the followig screen, press and hold the SYNC Button for at least one second on each controller you wish to pair. Once paired, the corresponding player LED(s) on the controllers will remain lit.
Troubleshooting Issues with Connecting a Nintendo Switch Controller
There could be a few possible reasons why your Switch controller won’t connect. First, make sure that the controller is powered on and that the Joy-Con or Pro Controller is within range of the console. If it still won’t connect, try resetting the controller by pressing the SYNC Button once and then pressing any other button (such as the A Button) to power it back on. Additionally, you can try using a different USB port on the dock or a different USB charging cable. If none of these steps work, you may need to contact Nintendo for further assistance.
Connecting a Wired Nintendo Switch Controller
To connect a wired Nintendo Switch controller, frst make sure your Nintendo Switch system is powered on and connected to your TV. Then, insert the USB cable into a USB port on the Nintendo Switch Dock. Finally, connect the other end of the cable into the wired controller. Your wired controller should now be ready for use!
The Function of the Sync Button on Joy-Con
The SYNC button on Joy-Con is a small circular button, usually located on the top of the controller. When pressed and held for about five seconds, it allows the controller to pair with a Nintendo Switch console. It can also be used for re-pairing controllers that have been previously synced or for connecting additional controllers to your Switch.
Fixing an Unresponsive Switch Controller
If your Switch controller is unresponsive, there are several troubleshooting steps you can try to get it working again.
1. Start by checking the batteries. Make sure they are properly inserted and that they have eough charge.
2. Disconnect and reconnect the controller from the console. To do this, hold down the small SYNC button on the top of the controller for a few seconds until the lights on it start flashing. Then press any other button to wake it up again and test if it’s responding correctly.
3. If these steps don’t work, try resetting your Pro Controller by pressing the SYNC Button once, then pressing any oter button to wake it up again. Test the button input on the Pro Controller to make sure it’s working correctly.
4. If none of thse steps work, you may need to get a new controller as a last resort.
Locating the Sync Button on the Nintendo Switch
The sync button on the Nintendo Switch is located beteen the SL and SR buttons on each Joy-Con controller. It is a small black button that you will need to press to connect the Joy-Cons to the system.
Conclusion
In conclusion, the Switch Controller is a great way to control your Nintendo Switch console. It is easy to pair and use, has a comfortable grip, and can be used in various ways. With the Pro Controller, you can take advantage of additional features such as motion control and HD rumble. No matter what type of controller you are looking for, the Switch Controller has something for everyone.

