Are you looking for a way to connect your AirPods to your laptop? Then you’ve come to the right place! AirPods are an incredibly useful and convenient tool, allowing you to listen to music, and podcasts, and take part in video calls with ease. But before you start enjoying the convenience of your AirPods, you’ll need to get them connected to your laptop first.
In this blog post, we’ll walk you through how to connect your AirPods to a laptop via Bluetooth. Before we begin, make sure that both of your AirPods are in their charging case and fully charged. You’ll also need to make sure that Bluetooth is turned on on both devices.
Now that you’re all set up, let’s get started:
1. To initiate the pairing process on your laptop, open the Add a device window in your PC’s Bluetooth settings.
2. On the charging case for your AirPods, press and hold the small button on the back until the status light starts blinking white. Your AirPods should then show up in the Add a device window where you can click it to pair and connect them with your laptop.
3. After connecting successfully, make sure that they’re selected as your audio device before playing any audio or making calls with them.
And just like that – you’ve successfully connected your AirPods to a laptop! Now that everything is set up and working properly, you can start enjoying all of the great features of wireless earbuds hands-free!
We hope this blog post was helpful in getting your AirPods connected to your laptop! If you have any further questions or need help troubleshooting any issues related to connecting them properly, don’t hesitate to reach out for assistance from our friendly customer service team!

Troubleshooting AirPods Connection Issues With Laptops
It’s possible that your AirPods are not compatible with your laptop. To connect AirPods to a laptop, it must have Bluetooth capability. Additionally, you may need to make sure that your laptop’s Bluetooth is turned on. If the issue persists, you may need to update the software on your laptop or check to make sure that your AirPods are working properly.
Connecting AirPods to a Windows Laptop
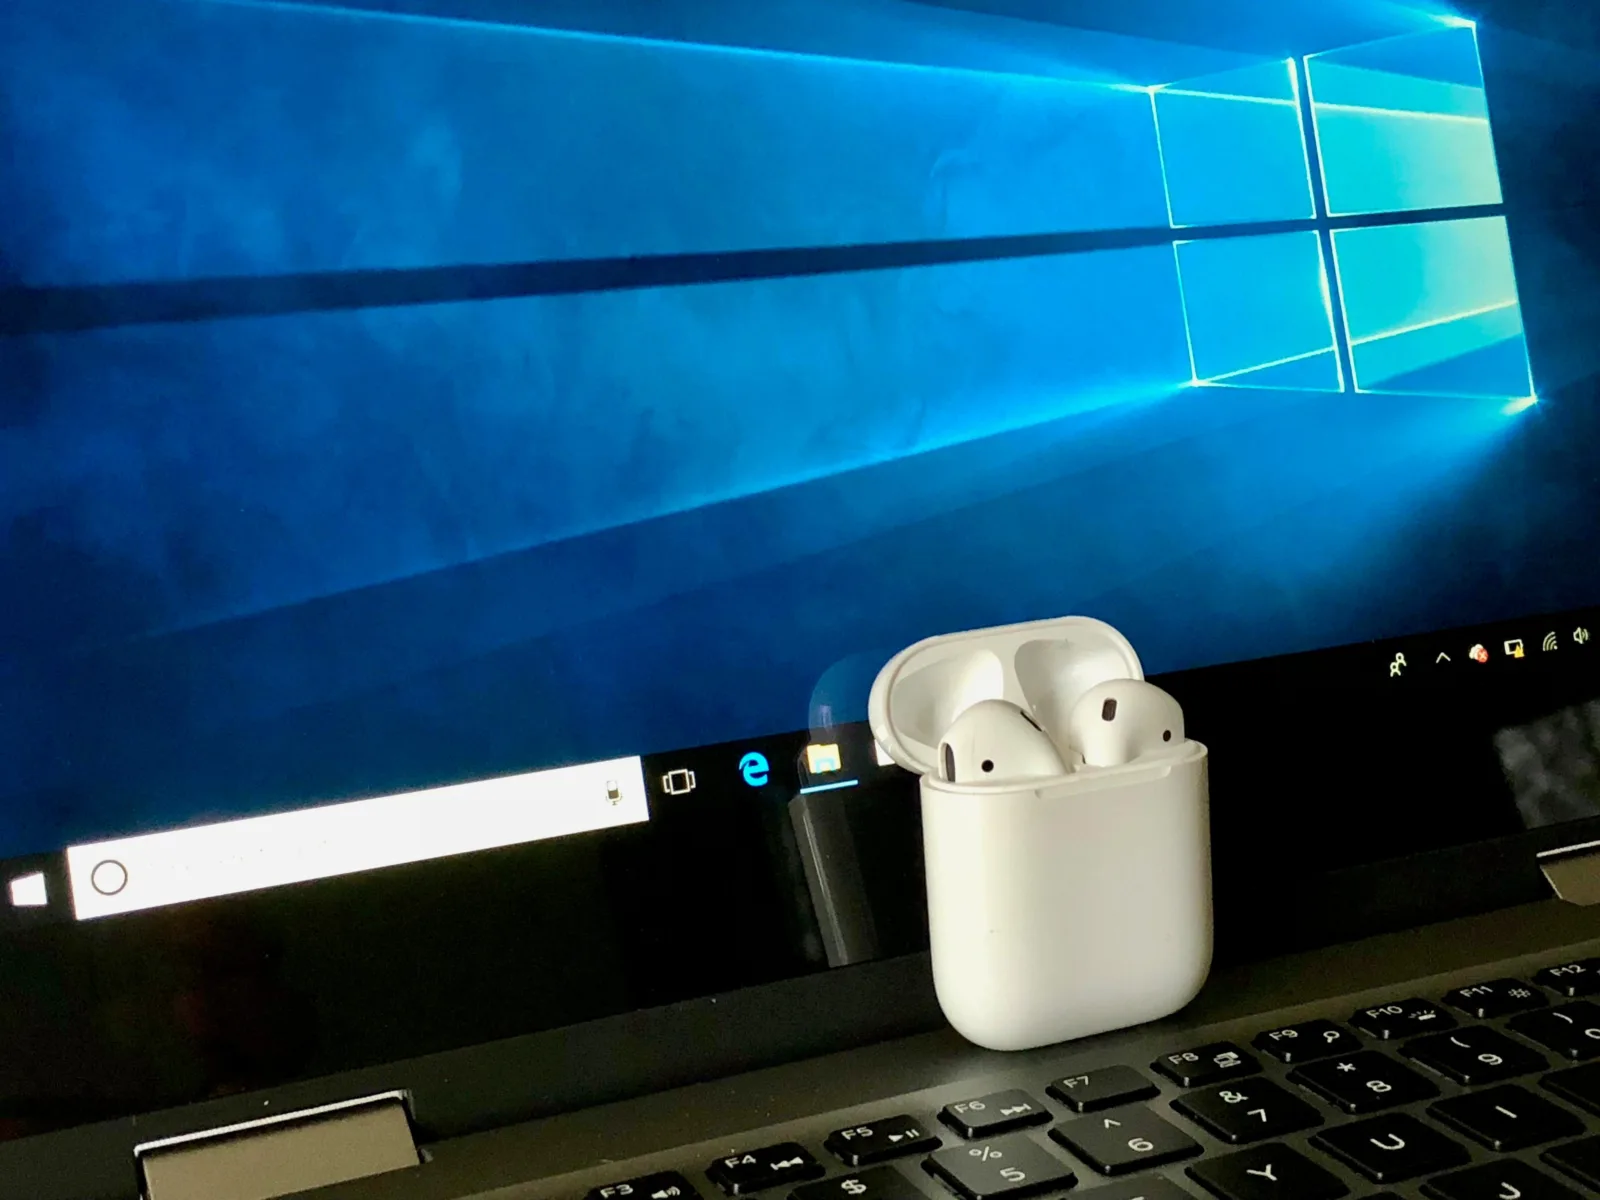
To connect your AirPods to a Windows laptop, start by opening the Bluetooth settings on your laptop. Put your AirPods in the charging case and press and hold the small button on the back until the status light starts blinking white. Your AirPods should then show up in the Add a device window, where you can click to pair and connect. Once connected, you can begin using your AirPods with your Windows laptop!
Pairing Apple AirPods with a Laptop
Yes, you can pair your Apple AirPods to your laptop. All you need to do is ensure that your laptop supports Bluetooth and then follow the pairing instructions. To start the pairing process, open the Bluetooth settings on your laptop and make sure it is switched on. Then, put your AirPods in their case and open the lid. On the outside of the case, press and hold the setup button for a few seconds until an LED light starts flashing white. Now, go back to your laptop’s Bluetooth settings and look for “AirPods” on the list of available devices. Select “AirPods” from this list and follow any other instructions that appear on your screen to complete the pairing process. Once connected, you are now ready to use your AirPods with your laptop!
Troubleshooting AirPods Connection Issues with HP Laptop
The most likely cause of your AirPods not connecting to your HP laptop is a problem with the Bluetooth connection. To troubleshoot this issue, make sure that Bluetooth is enabled on your laptop and that you are in the range of the device. Additionally, try turning Bluetooth off and then enabling it again with your AirPods shut in their case. If the issue persists, you may need to reset your AirPods or contact HP for further assistance.


