Are you looking to connect your MIDI Keyboard to a Macbook Air? Connecting a MIDI keyboard to a Macbook Air is actually quite simple. In this blog post, we’ll step you through the process so that you can get up and running as quickly as possible!
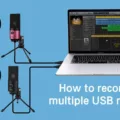
First, locate the USB ports on your Macbook Air. On most models, these are located on either side of the laptop. Once you’ve identified the USB ports, take the larger end of your USB cable and plug it into one of them. Then take the smaller end of the cable and plug it into the back of your MIDI keyboard.
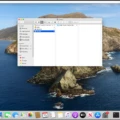
Next, open up Audio MIDI Setup on your Macbook Air. This can be found in Applications > Utilities > Audio MIDI Setup. Once open, select Window > Show MIDI Studio. In this window, click on Choose MIDI Configuration and then select Edit Configurations from the pop-up menu that appears.
Once in edit configurations mode, you will have several options such as Duplicate Configuration, Rename Configuration, or Delete Configuration. Select whatever option applies to what you wish to do with your MIDI setup and then click Done when finished making changes.
Finally, make sure that your MIDI device is properly connected to your MacBook Air or a compatible MIDI interface connected to it and turned on. You may also need to install any software provided by the manufacturer if required by doing so from their website or by unplugging and then reconnecting its USB connection for it to work properly.
And there you have it – connecting a MIDI keyboard to a Macbook Air is really quite straightforward! With just these few simple steps, you’ll be creating music in no time at all!
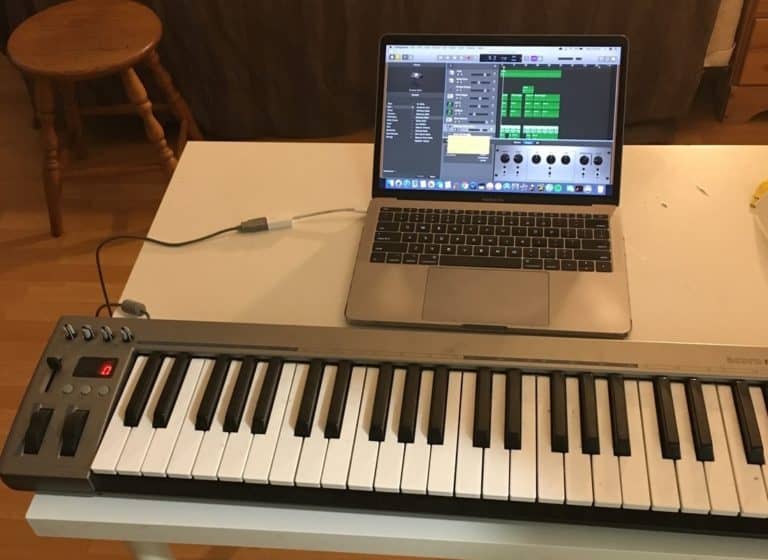
Connecting a MIDI Keyboard to a MacBook
To connect your MIDI keyboard to your MacBook, you will first need a USB cable with both a male A-type connector and a smaller male B-type connector. Start by finding the USB port on your MacBook and plugging in the bigger side of the cable. Then locate the USB port on your MIDI keyboard and plug in the smaller side of the cable. Once connected, you should see a message pop up on your screen indicating that it is ready for use. If you’re using virtual instruments or music production software, you may need to open up your program’s settings and select the MIDI keyboard as an input device. After doing so, you should be able to start playing your MIDI keyboard right away!
Using MIDI on a MacBook Air
Using MIDI on your MacBook Air is easy and straightforward. First, open the Audio MIDI Setup app, which you can find in the utility folder of your Applications folder. In the window that opens, choose Window > Show MIDI Studio.
In the MIDI Studio window, you’ll be able to view and configure your available MIDI devices. Click on the Choose MIDI Configuration pop-up menu to select a configuration or edit an existing one. If you want to create a new configuration from an existing one, click on Duplicate, Rename, or Delete as appropriate. Once you’ve made your changes, click Done to save them.
Once your configuration is set up, you can start using it by connecting any compatible external MIDI devices such as keyboards, controllers, and sound modules to your Mac via USB or a compatible audio interface. You’ll then be able to send and receive data between these devices using Audio Midi Setup’s virtual ports.
Now that everything’s connected and configured properly, you’re all set to start composing music with MIDI on your MacBook Air! Enjoy!
Troubleshooting Issues with MIDI Keyboard on Mac
It’s possible that your MIDI keyboard isn’t working on your Mac for a few different reasons. First, make sure the MIDI device is properly connected to your Mac, or to a MIDI interface that’s connected to your Mac. Next, make sure the device is turned on. Additionally, it’s important to make sure you have installed any software provided by the manufacturer and that you have the latest version of the software available. Finally, check your sound settings in System Preferences to make sure that the MIDI device is selected as an input source. If all these steps are taken and the keyboard still isn’t working, it may be a hardware issue and you should contact the manufacturer for assistance.
Connecting a MIDI Keyboard to a Computer
The first step is to ensure that your MIDI keyboard is plugged in properly. Unplug the USB cable and then plug it back into the device and your computer. If you still don’t see the MIDI keyboard listed in your computer’s Device Manager, you may need to reconfigure the USB connection and reinstall any required driver software. To do this, check your manufacturer’s website for any available downloads, install them, and then restart your computer. Once complete, open up Device Manager again and see if your MIDI keyboard is now visible. If so, you can now use it with any compatible music software!
Activating a MIDI Keyboard
To activate a MIDI keyboard, you’ll need to make sure your computer is compatible with the controller. Depending on the model, you may need to install any necessary drivers or software before connecting the controller. Once that’s done, connect the USB cable and make sure to power on the device. Finally, open up any music-making software and look for the MIDI settings to ensure it is connected and ready to use. To find out more information about setup and installation, refer to the user manual of your particular model.
Troubleshooting MIDI Keyboard Connection Issues
There could be a few reasons why your MIDI keyboard is not connecting. First, make sure the correct cables are being used. MIDI keyboards typically need a USB cable or MIDI cable in order to connect to a computer. If you are using an external MIDI interface, make sure the MIDI cable is plugged into the correct ports on the interface and the keyboard. The MIDI cable should be plugged into the MIDI out port on the keyboard, while the other end should connect to the MIDI in on the interface.
Second, it’s possible that drivers may need to be installed in order for your keyboard to communicate with your computer. Check with your manufacturer for any driver updates or installation instructions that may be needed in order for your equipment to work properly.
Third, double-check that all settings are correct within your audio software or DAW (Digital Audio Workstation). If you have any trouble with this step, it might help to consult a tutorial online or reach out to customer support from either the software or hardware manufacturer.
Finally, if all else fails, try restarting both your computer and your keyboard and then try plugging them back in again. This can often help resolve any connection issues!
Troubleshooting MIDI Keyboard Issues in GarageBand
Your MIDI keyboard may not be working in GarageBand because the MIDI drivers need to be reset. To do this, go into your Garageband Preferences, select “Audio/MIDI,” and then click the “re-set the MIDI Drivers” button. Additionally, check that your MIDI keyboard is properly connected to your computer and that it is set as the default input device in Garageband. If all of these steps have been taken and you are still having issues, there may be a compatibility issue between your MIDI keyboard and GarageBand.
Conclusion
In conclusion, a MIDI keyboard is an essential tool for any modern musician. It allows you to record, edit, and play music with ease. A MIDI keyboard is connected to your computer via USB and requires the use of driver software in order to work properly. In order to make sure your MIDI keyboard is functioning correctly, it’s important to check that the USB connection is working properly and that you have the latest version of the required driver software installed. With the right setup and a bit of practice, you’ll soon be able to create amazing music with your MIDI keyboard!


