Are you looking to connect two Macs together? Whether you’re running a business, working on a project with friends, or just interested in transferring files between your own devices, connecting Macs is possible. Using the right tools and the right connection, you can easily transfer files between any Apple computer.
The first step to connecting two Macs is to make sure they’re both on the same network. If they’re not already connected, use Wi-Fi or Ethernet to get them onto the same network. To turn on Wi-Fi, click the Wi-Fi icon located near the top-right corner of your screen and select “Turn Wi-Fi On.” Then select a network and enter the password if necessary.
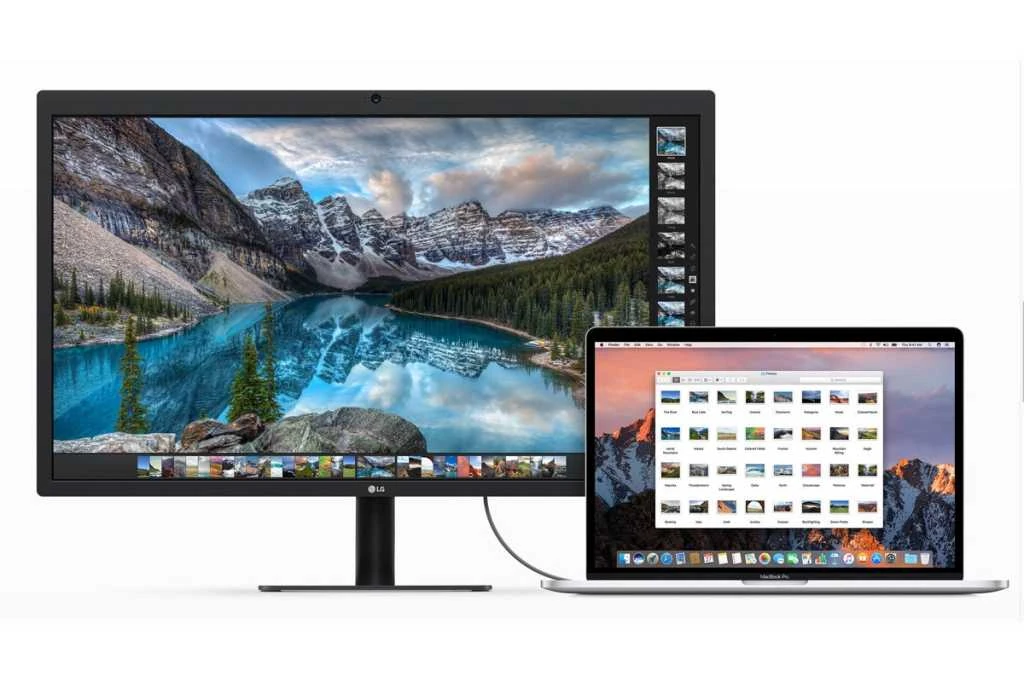
Once both Macs are connected to the same network, you can begin transferring files between them using several methods. One of these methods involves using an iMac as a display for a MacBook Pro laptop. To do this, connect your MacBook Pro to your iMac using a Mini DisplayPort or Thunderbolt cable (depending on the iMac model). Then press Command+F2 on your iMac keyboard to enter Target Display Mode and view the laptop’s desktop on your iMac monitor.
You can also transfer files directly from one computer to another without having an external monitor involved by using AirDrop or File Sharing. AirDrop makes it easy for Mac users to quickly send documents and other items wirelessly over short distances using either Wi-Fi or Bluetooth connections. File Sharing offers users more control over what is shared between their computers by providing access permissions for each folder shared across networks.
Connecting two Macs together may seem like an intimidating task at first but once you understand how it works, you can easily share data between any Apple computers without having to go through complicated processes. Whether you’re setting up an office environment or just want to transfer some data between home devices, understanding how file sharing works will save you time and energy in the long run!

Connecting a MacBook Pro to an iMac Wirelessly
To connect your MacBook Pro to your iMac wirelessly, begin by ensuring that both machines are connected to the same wireless network. On each machine, click the Wi-Fi icon near the top-right corner of the screen, and then select Turn Wi-Fi On. Select a network to join, enter the password (if necessary), and click Join. Once both Macs are connected to the same network, they shoud be able to communicate wirelessly.
Using an Old iMac as a Monitor for a MacBook Pro
To use your old iMac as a monitor for your MacBook Pro, you will need a Mini DisplayPort or Thunderbolt cable. Connect the two computers using the appropriate cable, then press Command-F2 on the keyboard of the iMac. This will enable mirroring between the two Macs, allowing you to use your old iMac as a display for your MacBook Pro. You can also use more than one iMac as a display if each iMac is using a Thunderbolt cable to connect directly to a Thunderbolt port on the other Mac (not the other iMac).
Connecting Two Macs for Dual Screen Setup
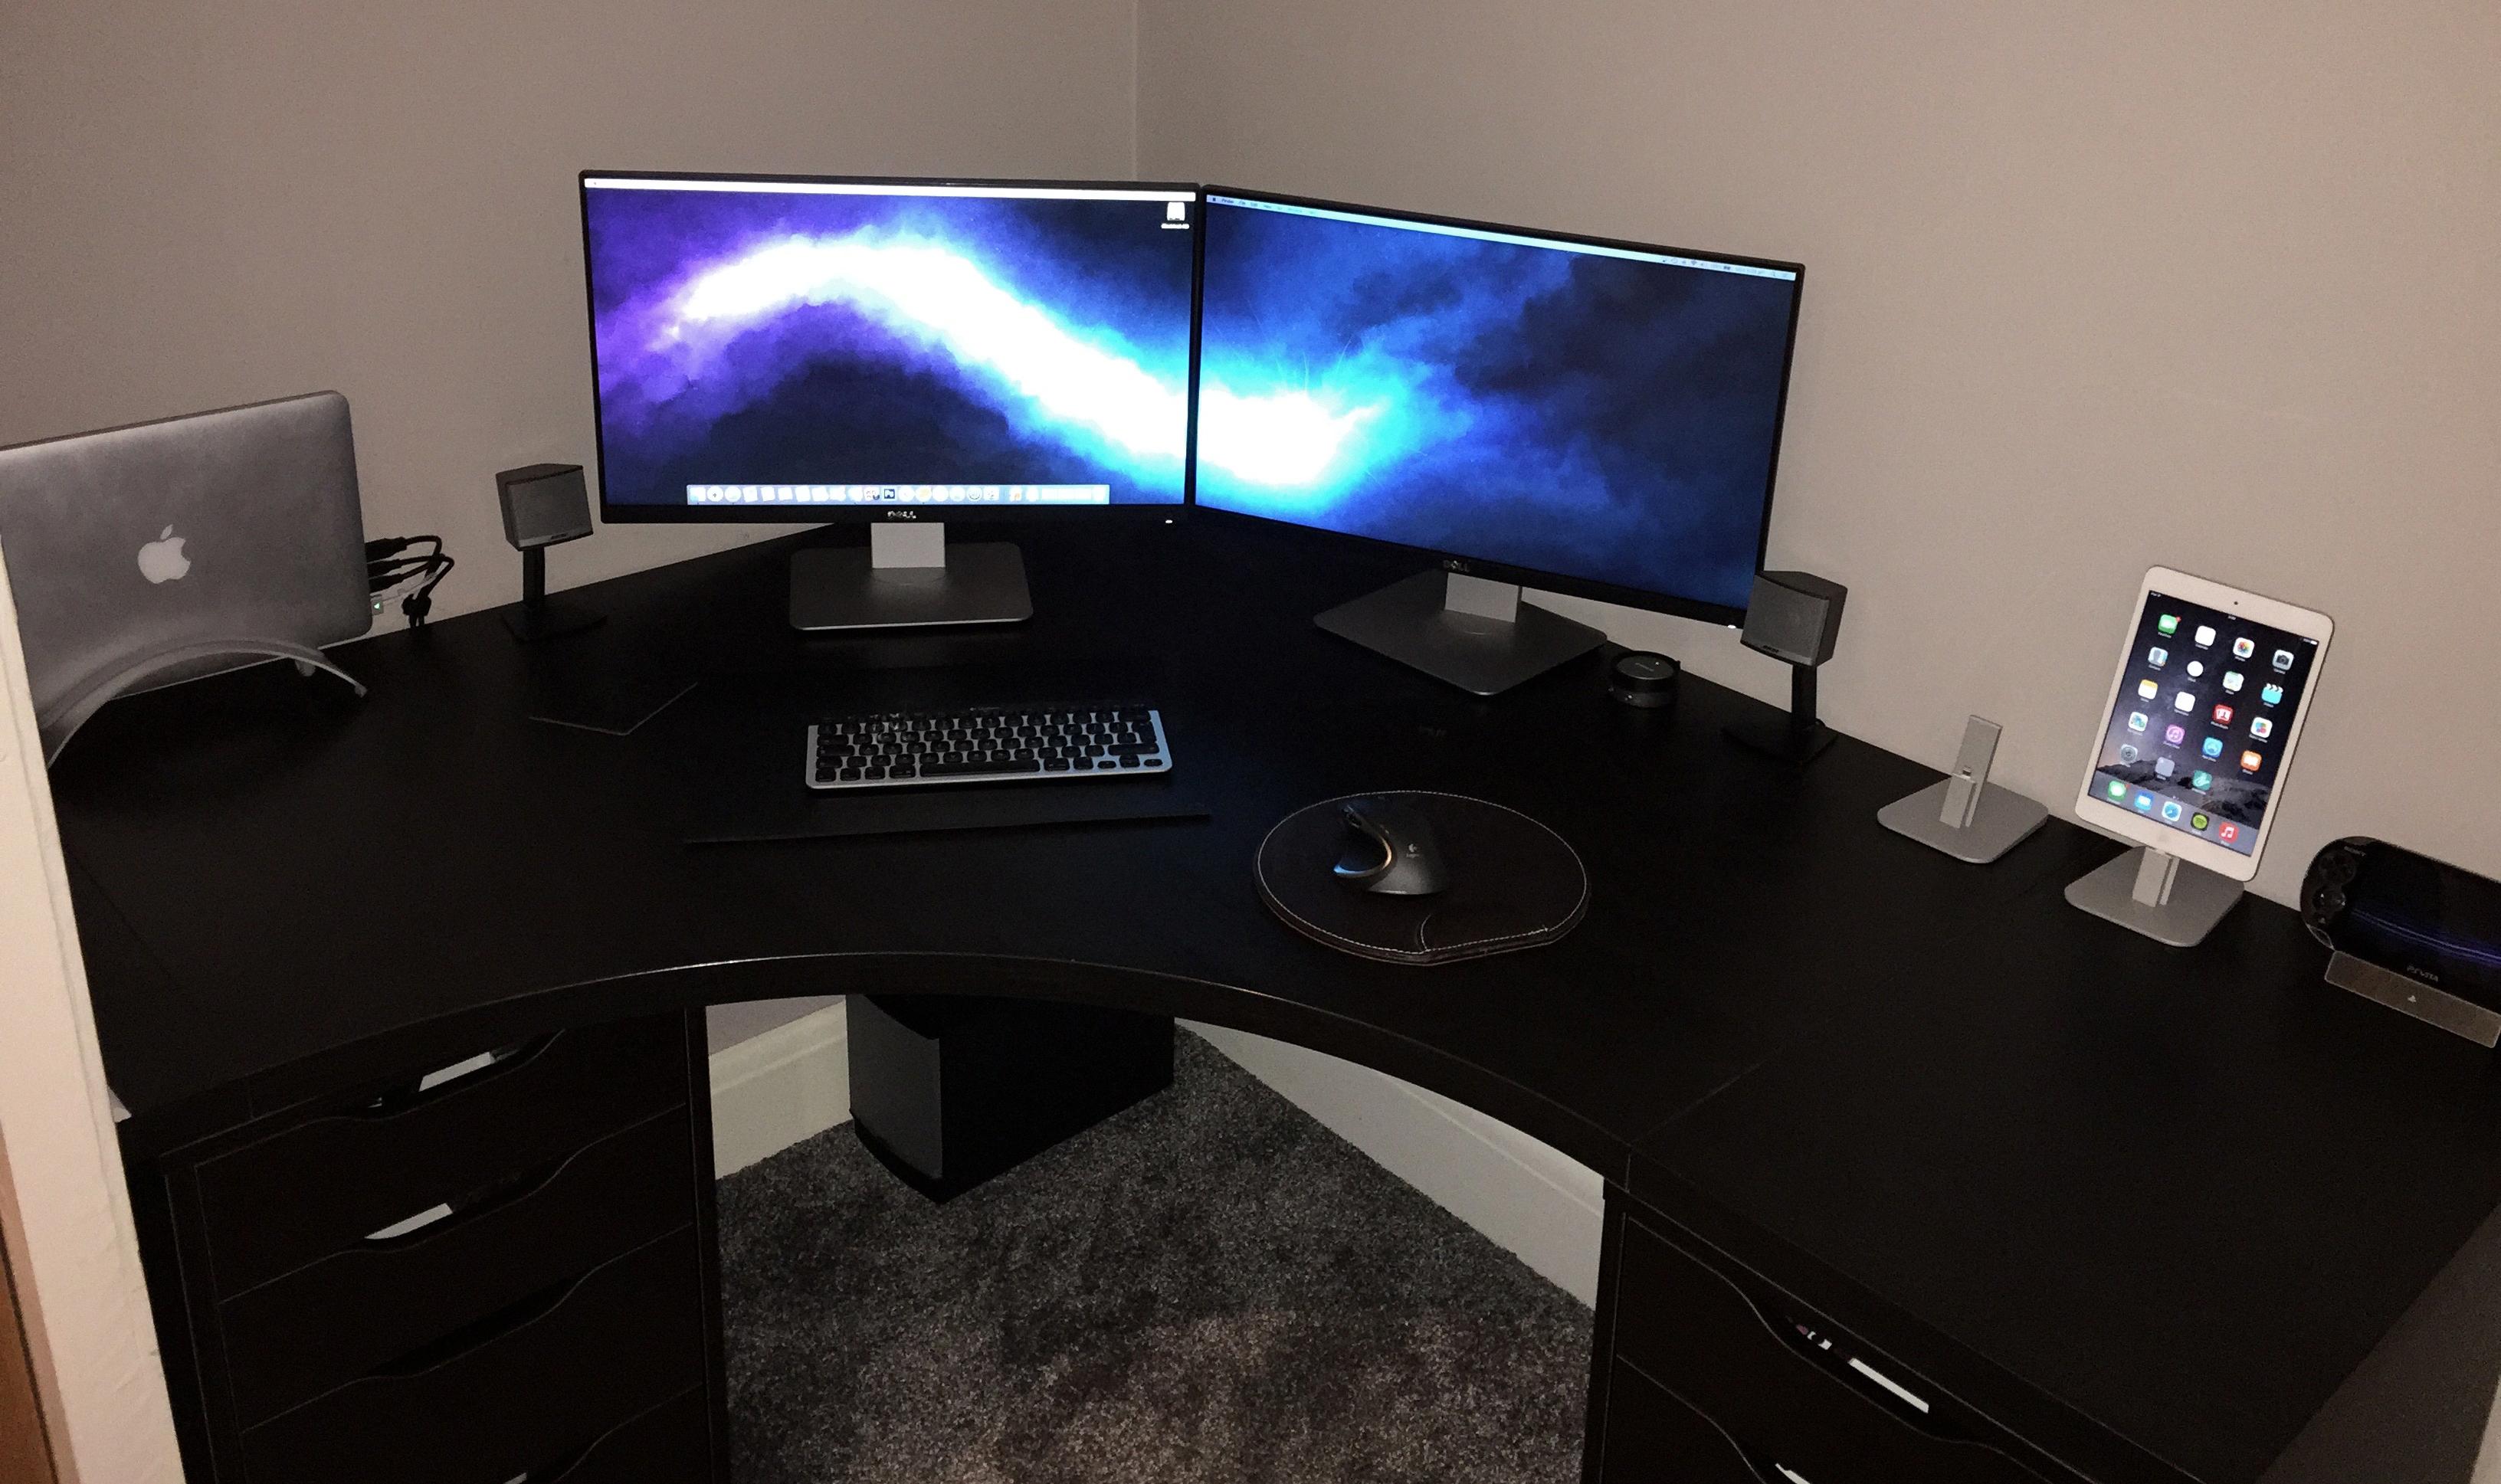
To connect two Macs to a dual screen, you will need a Mini DisplayPort or Thunderbolt cable depending on the iMac model. Start by connecting one end of the cable to the Mini DisplayPort or Thunderbolt port on your iMac and the other end to your Mac’s Mini DisplayPort or Thunderbolt port. Then press Command + F2 on your iMac to get into Target Display Mode, which allows you to use the iMac as an additional display for your Mac. You can then adjust your display settings using System Preferences on both Macs. This will allow you to have a seamless dual-screen experience with both Macs.

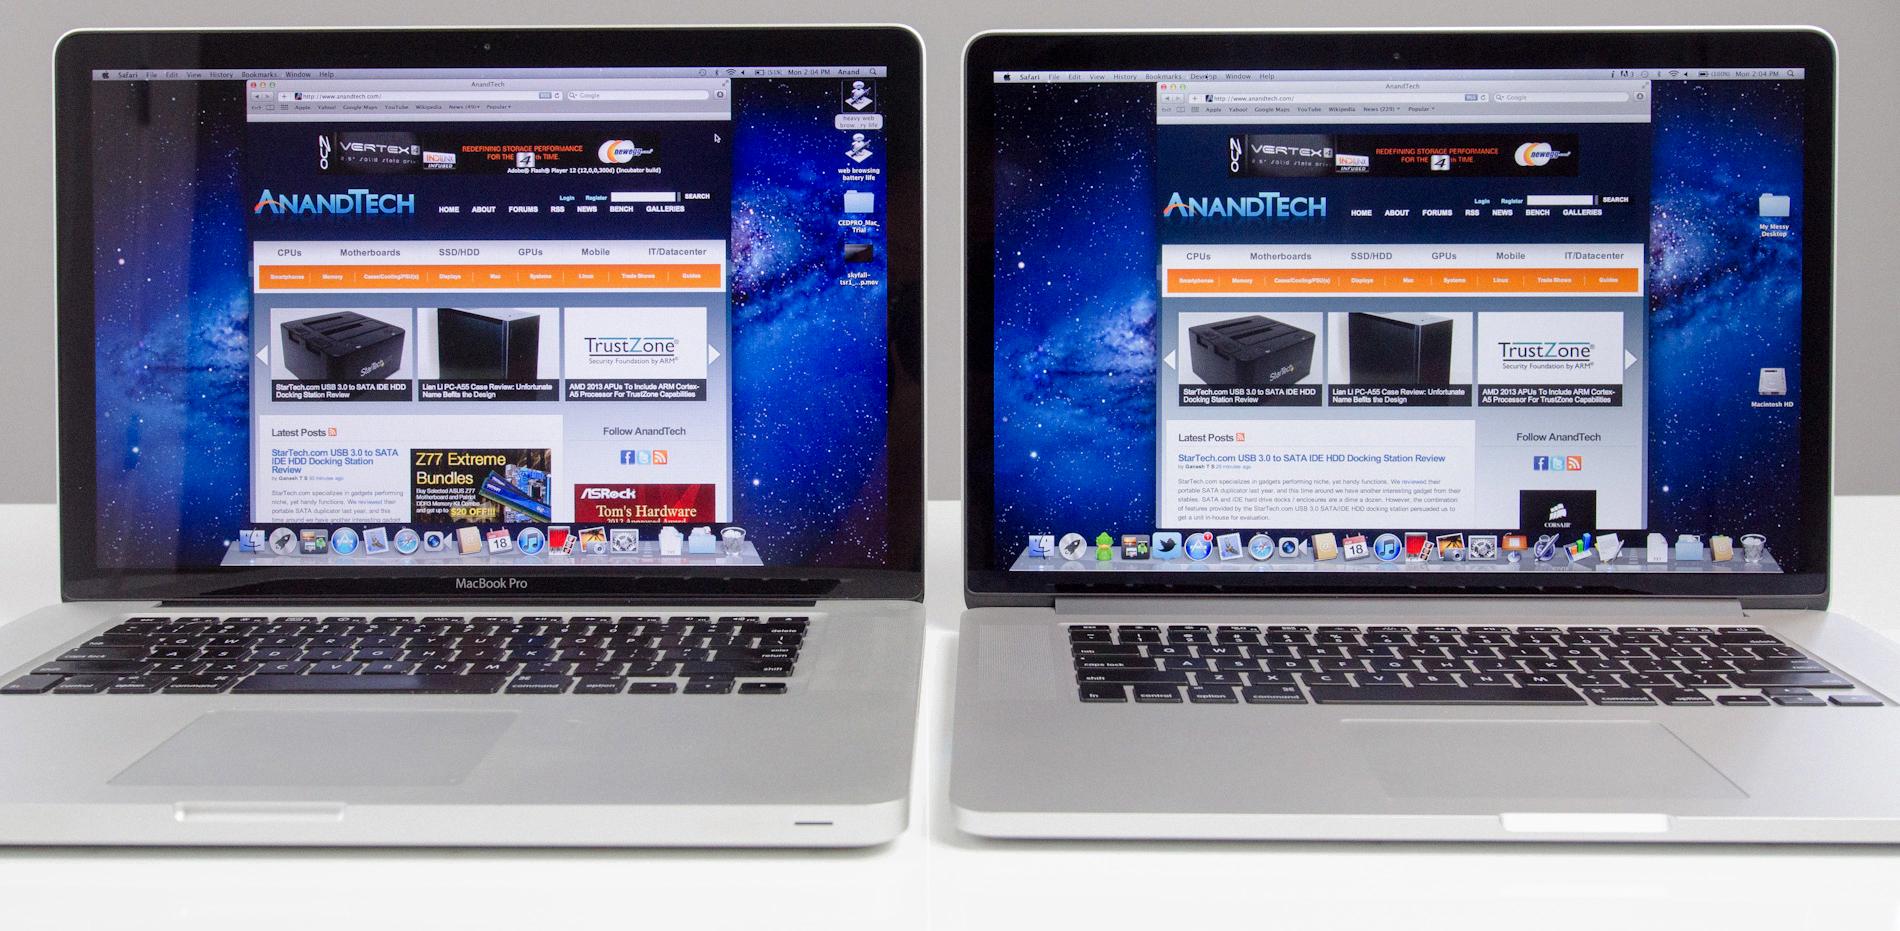
Source: anandtech.com
Connecting a Mac Desktop to a Laptop
To connect your Mac desktop to your laptop, you’ll need to first ensure that both devices have a network connection. If they’re both connected to the same Wi-Fi network or Ethernet connection, then you should be good to go.
Next, open up the System Preferences app on your Mac and navigate to the Sharing pane. Here, you’ll find an option for File Sharing. Make sure this is enabled and note down the name of the computer that appears here.
Now open up Finder on your laptop and select ‘Connect to Server’ from the Go menu at the top of your screen. You should see a dialogue box appear with a field where you can type in the name of your Mac desktop computer that you noted down earlier. Type in this name and click ‘Connect’.
You should now be able to access any folders that are shared on your Mac desktop from your laptop. You can do this by navigating to Finder > Shared > Computer Name (Mac Desktop).
And that’s it! You should now be able to access files stored on either device from either device.
Using a MacBook Pro as a Monitor for a Mac
Yes, you can use your MacBook Pro as a monitor for your Mac! Luna Display is an easy-to-use device that can turn your Mac laptop into a second monitor for any other Mac device. The device connects to the two computers wirelessly via USB-C or Mini DisplayPort, and it works with Macs running OS X 10.8 or later. Once connected, you can move windows back and forth between the two displays, giving you extra desktop space and more efficient multitasking. It’s a great way to get more out of your Mac setup without buying an extra display!
Connecting Two Macs Directly
To connect two Macs directly, you will need to use an Ethernet cable. First, locate the Ethernet ports on both computers and connect one end of the cable to each port. Once connected, open System Preferences on each Mac and select the Sharing option. Make note of the computer name for each machine. Next, open Network preferences and choose to Create a Computer-to-Computer Network from the Show menu. Select your Ethernet connection from the list of available networks and click Create. You should now be connected directly between both computers!
Connecting Two Macs Remotely
To connect two Macs remotely, you will need to use the Remote Login feature. This allows you to log in to one Mac from another computer through the SSH protocol. To do this, you must first turn on Remote Login on the Mac you want to access:
- Go to System Preferences and select Sharing.
2. Check the box next to Remote Login.
3. Take note of the computer’s IP address or domain name that is displayed in the window.
Now that remote login is enabled, you can access it from another computer:
1. Open up a terminal window or an SSH client on your other computer.
2. Type in ssh username@hostname and press return, where username is your account name for the Mac you’re trying to access and hostname is either its IP address or domain name that was displayed earlier when setting up Remote Login.
3. Enter your password when prompted, then press Return again.
4. If all goes well, you should now be connected to your other Mac!


