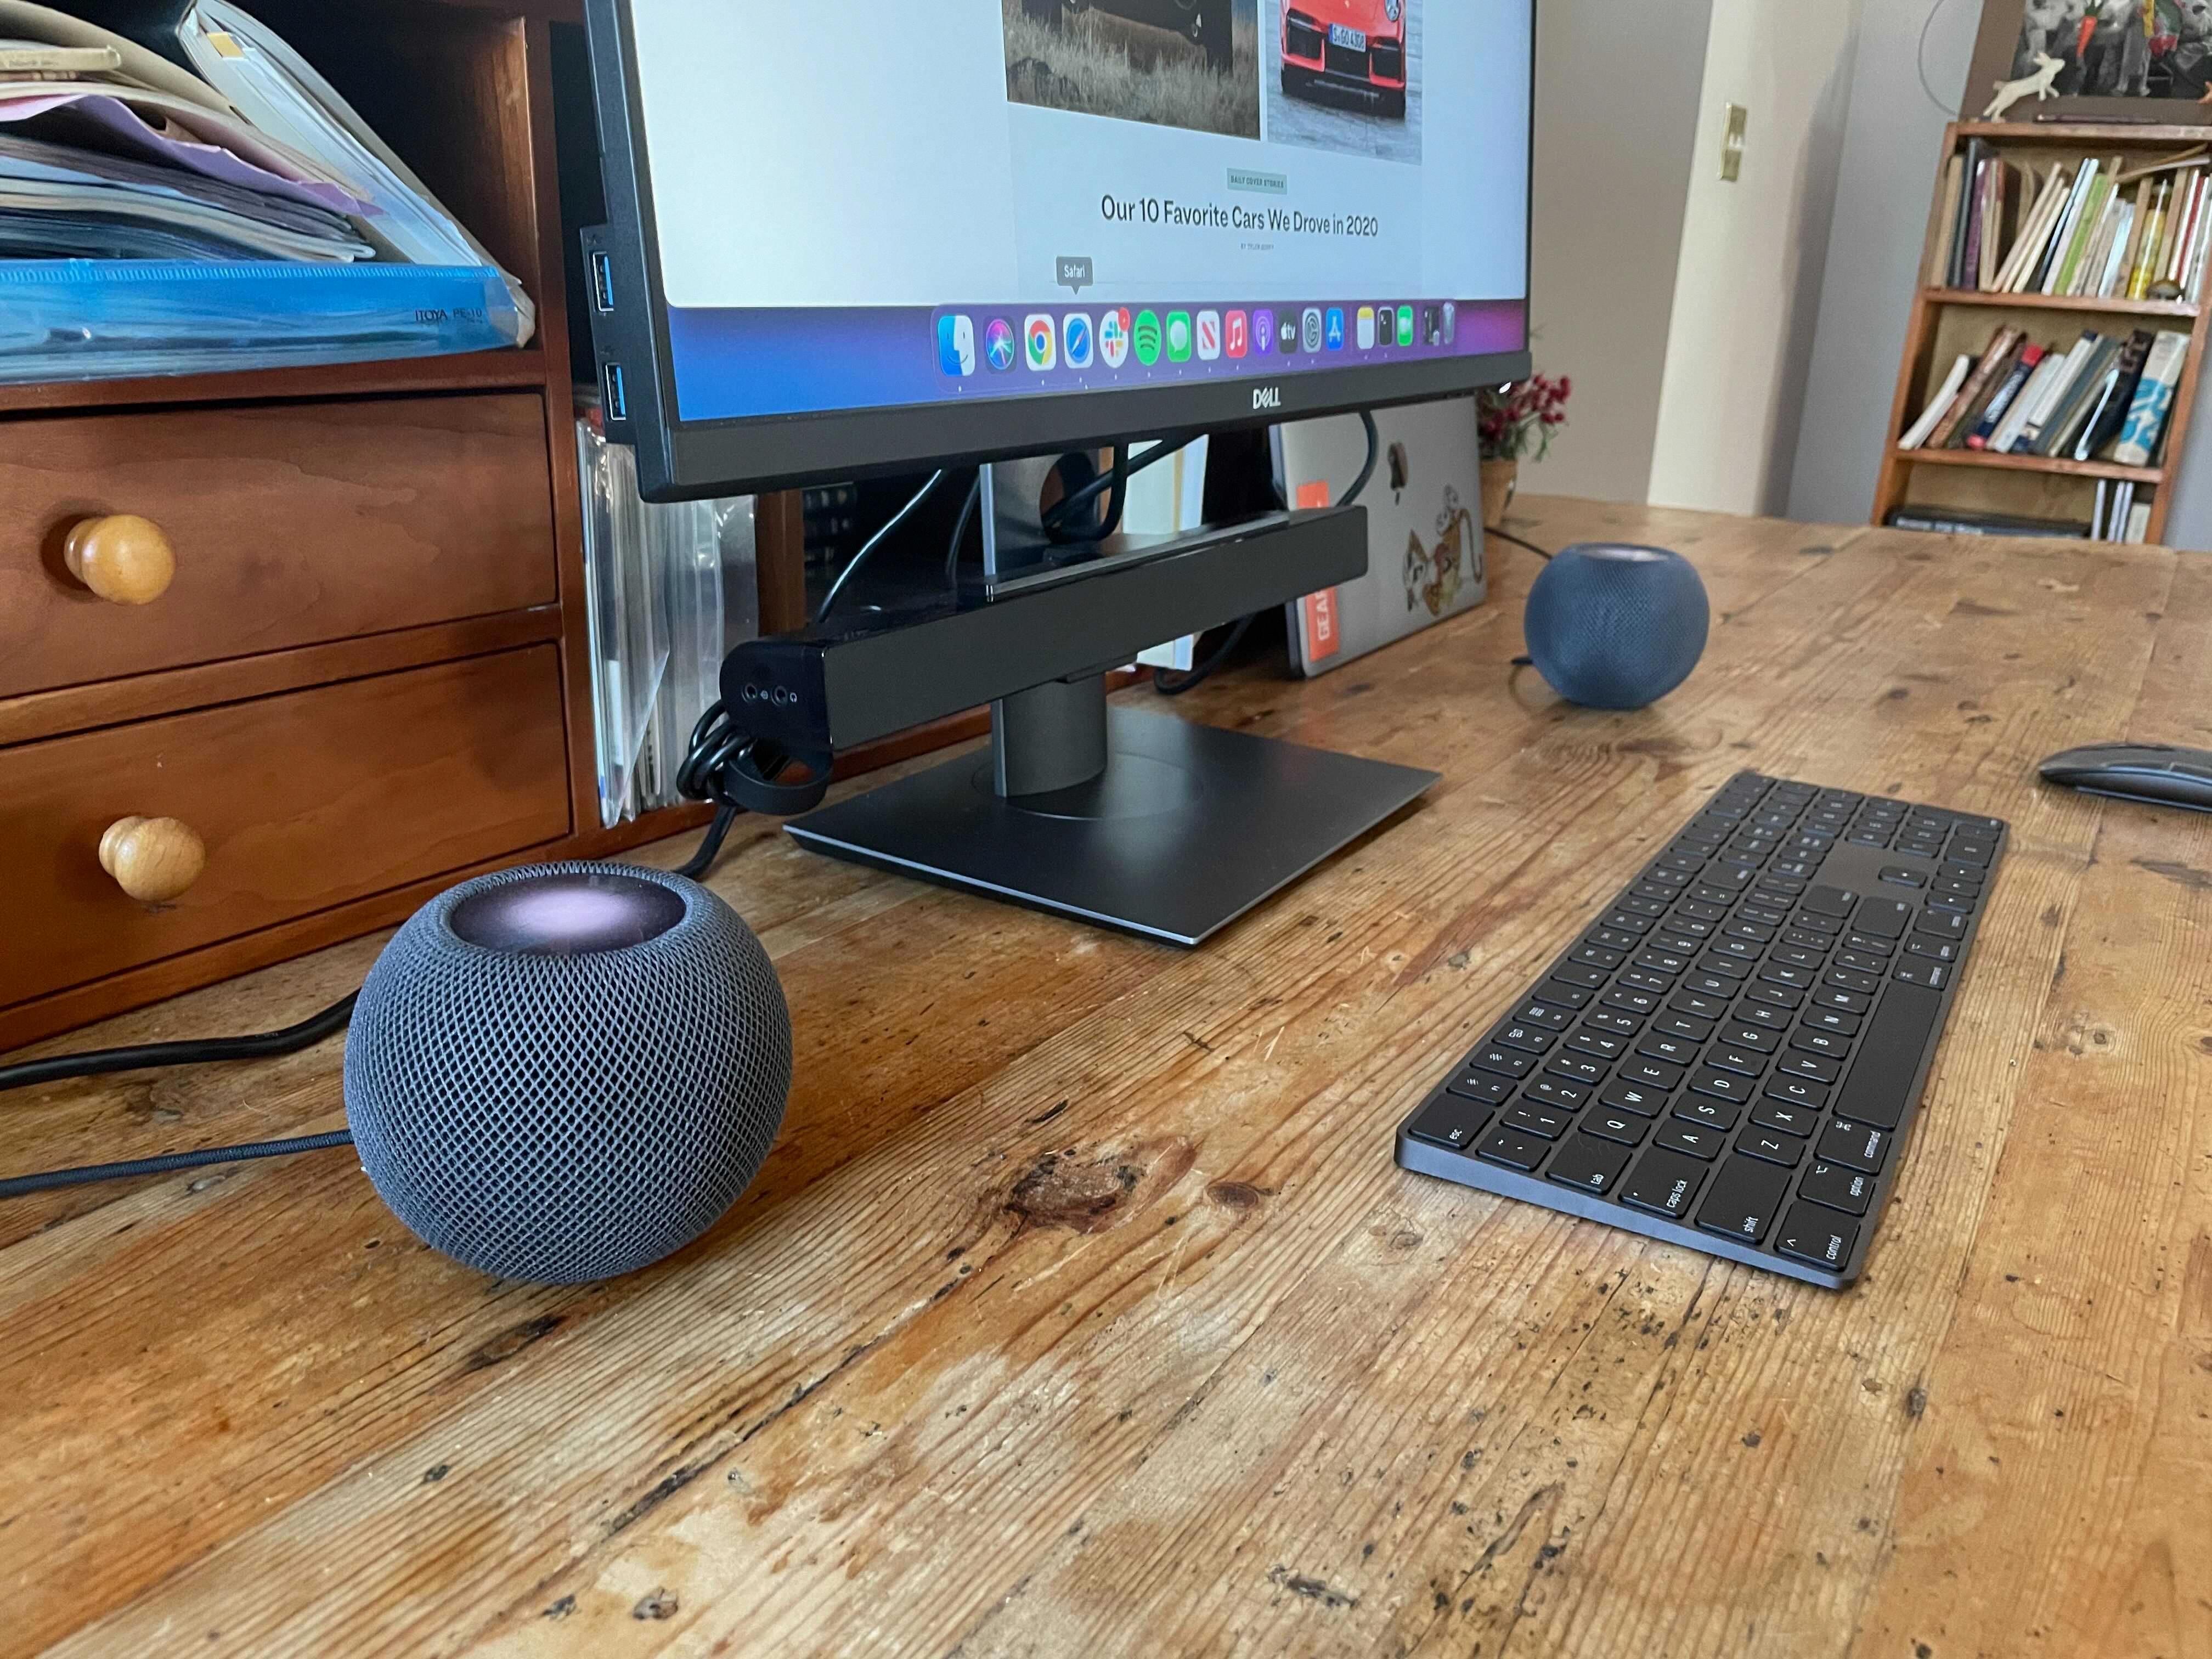
The HomePod is Apple’s latest addition to the home audio market. It is a voice-activated smart speaker with powerful sound and sophisticated intelligence that can be used to control your music, ask questions, get information, and more. This blog post will go into detail about how to connect the HomePod to Wifi for optimal performance.
The first step is connecting your HomePod to power by plugging it into an outlet. Once powered up, you should see a white light on top of the device that indicats it’s ready for setup. To begin setup, open the Home app on your iPhone or iPad and make sure you are signed in with your Apple ID account. If you don’t have the Home app installed on your device, download it from the App Store first.
Once you have the Home app open, follow thee steps:
1) Look for a card labeled “Set Up Your HomePod” in the upper right corner of the screen and tap it.
2) Select “Add Accessory” then tap “Don’t Have a Code or Can’t Scan?”. This will bring up a list of available accessories; select “HomePod”.
3) You will be prompted to enter a four-digit code displayed on your HomePod; enter this code then tap Continue.
4) You’ll now be asked if you want to use location services; select Yes or No depending on your preference.
5) Finally, you’ll need to connect your HomePod to Wi-Fi by selecting your Wi-Fi network from the list provided then entering its password when prompted. Tap Join when finished and wait for confirmation that it has successfully connected before moving on.
Once you’ve follwed these steps and successfully connected your HomePod to Wi-Fi, enjoy all that it has to offer! Ask questions, play music, set reminders – let your creativity lead you! The possibilities are endless with Apple’s new HomePod!
Troubleshooting Wi-Fi Connection Issues with HomePod
There could be a few reasons why your HomePod is not connecting to Wi-Fi. First, check that your network hardware is working properly and the Wi-Fi signal is strong enough for the HomePod to connect. If it’s still not connecting, try resetting your network hardware. Additionally, make sure the HomePod is running the latest software version and that you’re signed in with your Apple ID. If you are still having trouble, contact Apple Support for further assistance.
Source: support.apple.com
Resetting HomePod to a New Wi-Fi Network
To reset your HomePod to a new Wi-Fi network, start by unplugging the power adapter or HomePod itself. Wait 10 seconds, then plug it back in. Once plugged in, touch and hold your finger to the top of the HomePod until you see the white spinning light turn red. You’ll then hear Siri say that your HomePod is about to reset.
Once you hear this message, open the Home app on your iOS device and select “Settings” at the bottom of the screen. Select “Software Update” and you shoud see an option to “Reset Network Settings” appear. Tap this option and confirm that you want to reset your network settings. Your HomePod will then disconnect from its current Wi-Fi network and you can connect it to a new one by following the steps on screen.
Does HomePod Require Wi-Fi Connection?
No, your HomePod does not need to be connected to Wi-Fi in order to work. However, you will need a Wi-Fi connection during the initial set up and configuration of your HomePod. Once your HomePod is configured, you can use AirPlay to stream audio content from anothr Apple device, such as an iPhone or iPad, without the need for a Wi-Fi connection.
Accessing HomePod Settings
To access the HomePod settings, open the Home app on your device, then long-press on the tile for your HomePod Mini. Scroll down past the now playing screen, and you’ll find all of the settings you can adjust. Here, you can customize a range of options, from blocking explicit music to knowing when Siri is acually listening. Take a few minutes to tailor it to your liking!
Troubleshooting IPhone Connection Issues With HomePod
There are several possible reasons why your iPhone won’t connect to HomePod. First, make sure that both devices are updated to the latest version of iOS or iPadOS. You should also check that the Music app and Home app are installed on your device. Additionally, if you have an iPhone with Face ID, make sure that you’re using the same Apple ID on both devices. If your iPhone is stil not connecting to HomePod, try resetting your network settings or restarting both devices. If these steps don’t work, try connecting your iPhone to HomePod using a different Apple ID or contact Apple Support for additional help.

Source: macrumors.com
Restoring HomePod
To restore your HomePod, start by plugging it into your computer uing the USB-C cable that came with it. Wait a few seconds for your device to appear in the Finder window (on Mac) or iTunes (on PC). Then select your HomePod from the sidebar and click the blue “Restore HomePod” button. This will reset the device and you’ll be able to set up and use it as normal.
Pairing an iPhone with HomePod
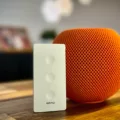
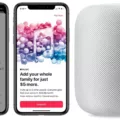
To pair your iPhone with HomePod, start by unlocking your iPhone, iPad, or iPod touch. Hold it next to HomePod mini or HomePod and wait for a chime and a pulsing white light to appear on the top of it. Once you see this, tap Set Up when it appears on your device’s screen and follow the onscreen instructions to choose your settings. After that, you’ll be able to connect your iPhone with HomePod.
Finding the 8 Digit Code on HomePod
The 8 digit code is located on the bottom of your HomePod. This code is usualy referred to as the serial number and can be used to register your HomePod with Apple or to set it up with your Apple ID. The 8 digit code should be printed directly onto the bottom of your HomePod, near the power cord.
Connecting to HomePod via Bluetooth
Yes, you can connect to HomePod with Bluetooth. To do this, both your iPhone and HomePod must be in the same HomeKit home and on the same Wi-Fi network. You must also be signed in with the same Apple ID on both devices. Additionally, you’ll need to make sure that Bluetooth is turned on in Settings on both devices and that they are within Bluetooth range of one another, which is about 33 feet or 10 meters.
Source: rtings.com
Troubleshooting HomePod Non-Responsiveness
It’s possible that your HomePod is not responding because it has not been turned on. To turn it on, you can check the volume controls and play some music. Alternatively, you can also open the Home app on your iOS device and tap on the HomePod tab to make sure it is powered up. If this doesn’t work, try resetting your HomePod by pressing and holding the top of it for 10 seconds until you hear a chime.
Updating HomePod
To update your HomePod, first make sure that your device is running the latest version of iOS, iPadOS, or macOS. Then open the Home app and select Home > Home Settings > Software Update. From there you can turn automatic updates on or off. If there’s a new update available, select Update to begin the process. The update may take a few minutes to complete.
Factory Resetting a HomePod Mini
To factory reset your HomePod mini, start by opening the Home app on your iPhone or iPad. Then tap and hold the HomePod that you want to reset. Next, scroll down and tap Reset HomePod, then select Remove Accessory. Finally, tap Remove and wait for your HomePod to sound a chime bfore it resets itself.
Identifying the Version of HomePod
To find the version of your HomePod, you’ll need to open the Settings app on your iPhone, iPad or iPod touch. Once you’ve opened the app, tap your registered Apple ID name at the top of Settings. Then scroll down and tap your HomePod in the list of devices associated with your Apple ID. The serial number and version for your HomePod will apear at the bottom of this page. By checking this information, you will be able to see which version of HomePod you have.
Connecting HomePod Mini Without Wi-Fi
In order to connect your HomePod mini without Wi-Fi, you first need to make sure that your iPhone or iPad is running iOS 14.5 or later. Once you have updated to the latest version of iOS, open the Home app and select the HomePod mini from the list of devices. Tap on the Settings icon and then select “Set Up Without Wi-Fi”. The HomePod mini will then be ready to use without needing a Wi-Fi connection. You can now play music, control your smart home devices, and more using just your iPhone or iPad.
The Future of Apple’s HomePod
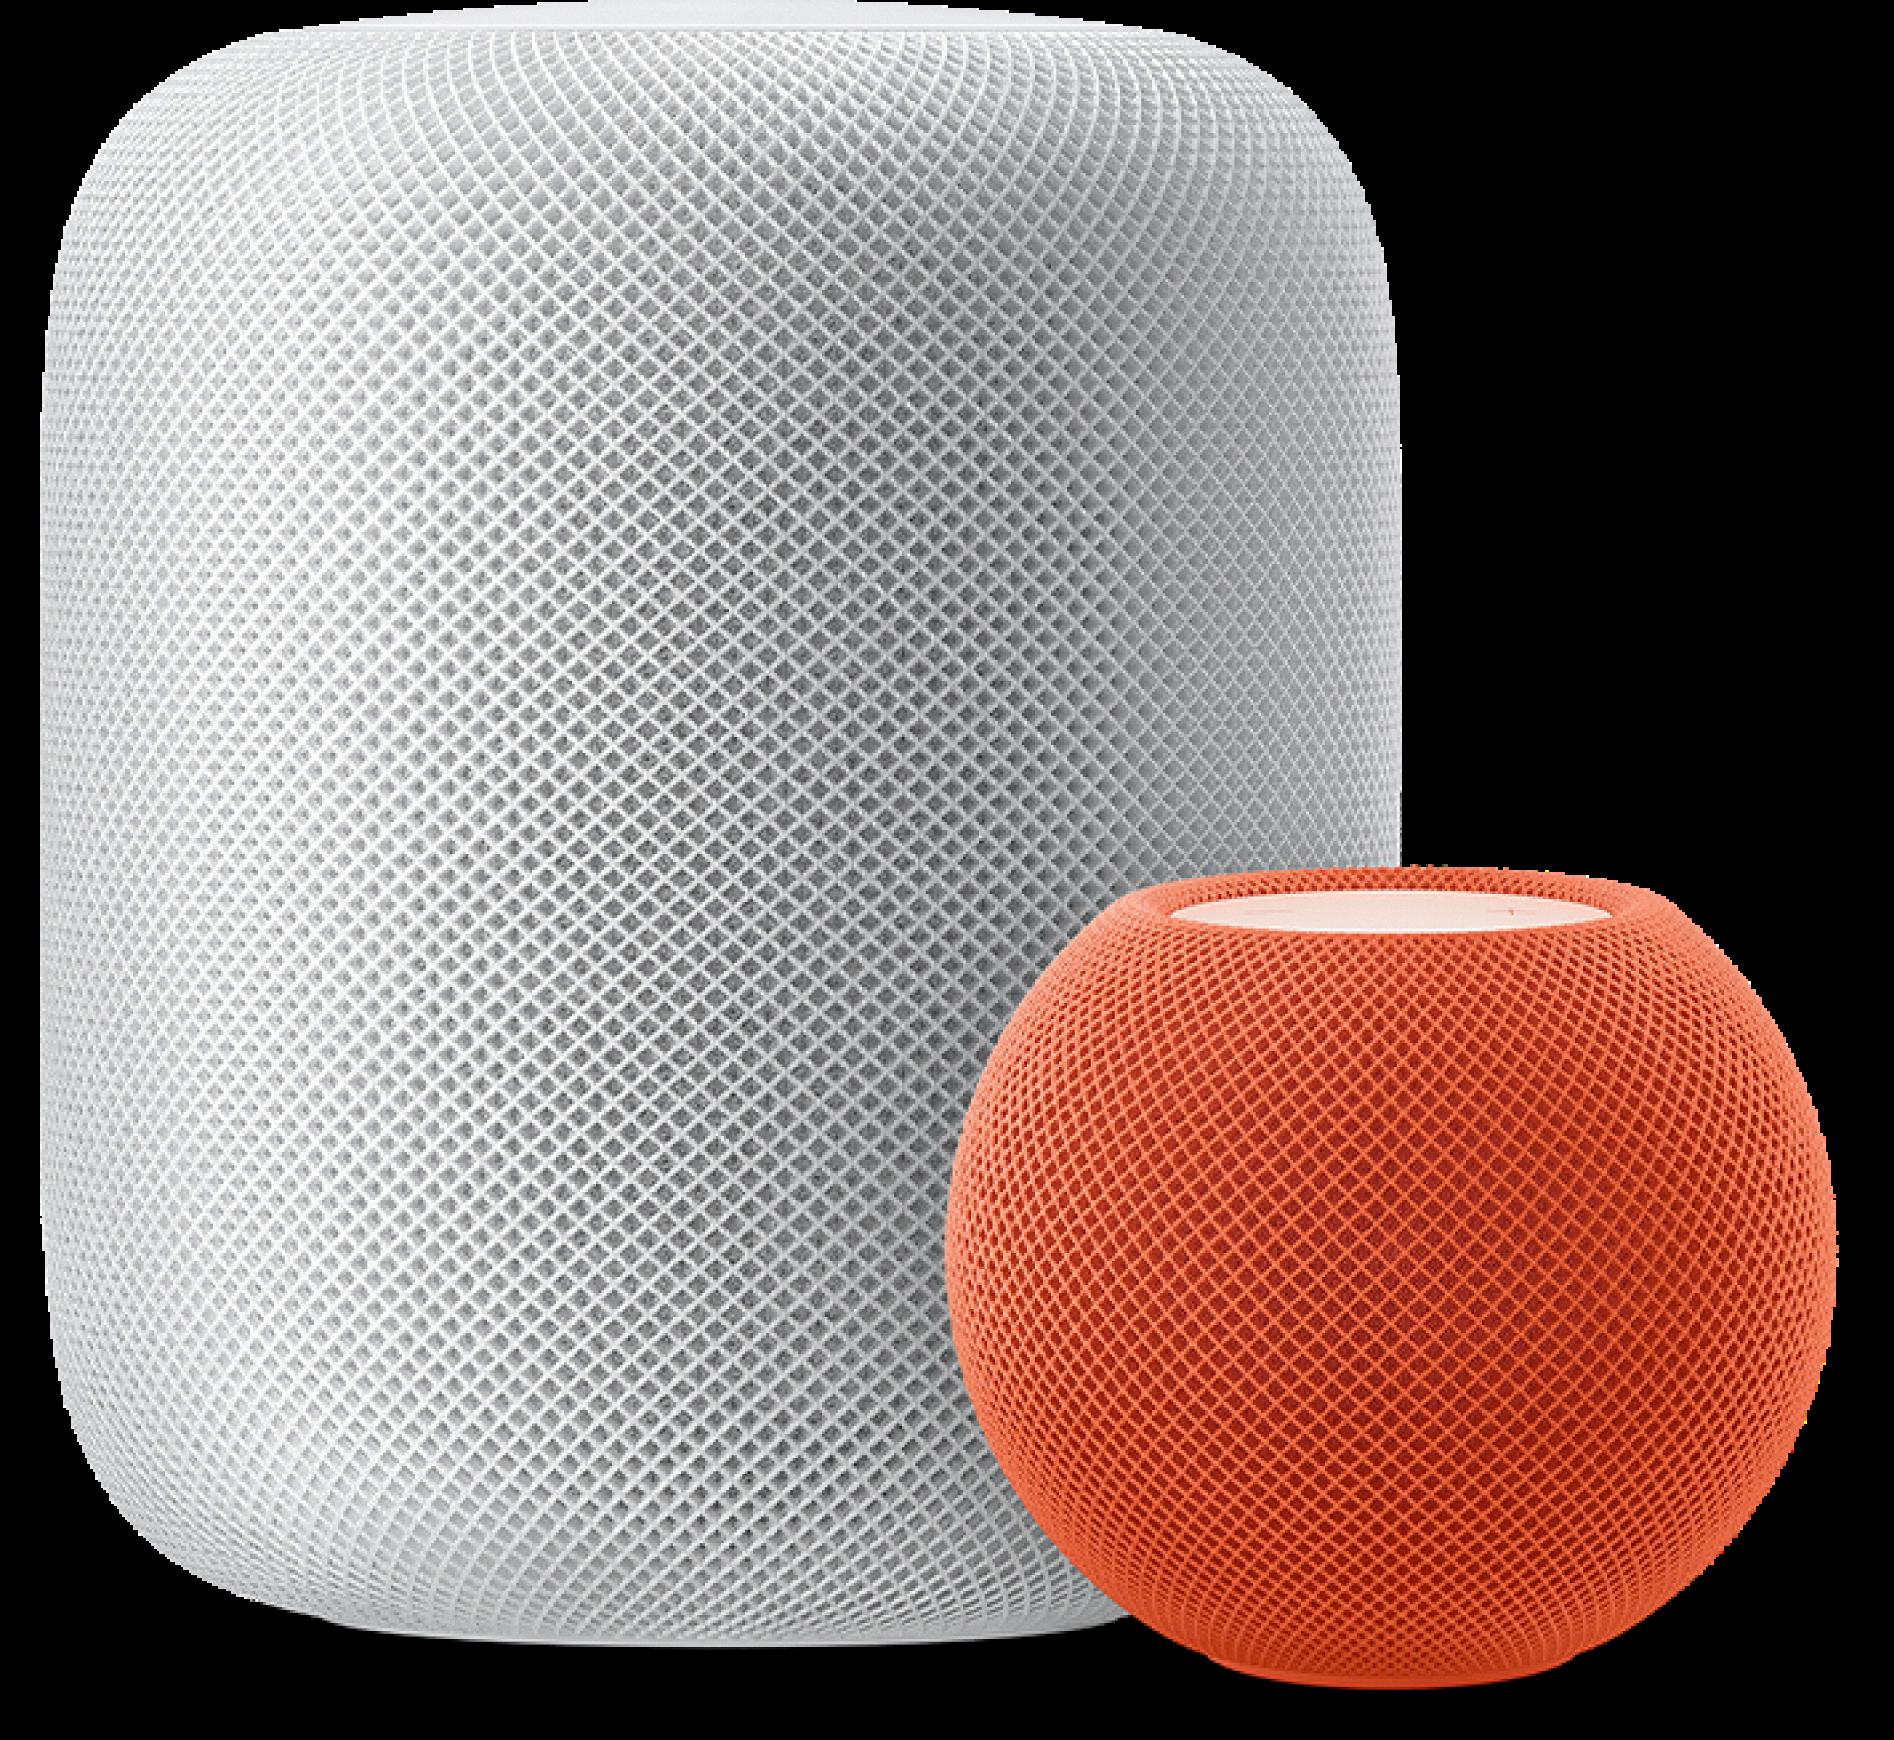
Currently, Apple has discontinued the original HomePod model. The HomePod mini is still available, but thre is no product in Apple’s current lineup that serves as a direct replacement for the original HomePod. This means that if you are looking for a larger device with features like spatial awareness and stereo sound, the original HomePod is no longer an option. However, the HomePod mini provides some of the same features in a smaller package.
Conclusion
The Homepod is a powerful, innovative device that has revolutionized the way we listen to music. It is a powerful system with an impressive sound quality, allowing users to enjoy their favorite songs with clarity and depth. Its intuitive design makes it easy to control and customize settings, allowing each user to tailor sound settings to their own preferences. With its Siri integration, users can ask questions, set reminders, and access other information hands-free. Additionally, Homepod has impressive security features that keep data safe and protect privacy. All in all, Homepod is an impressive device that provids a wealth of features for music lovers of all ages and skill levels.

