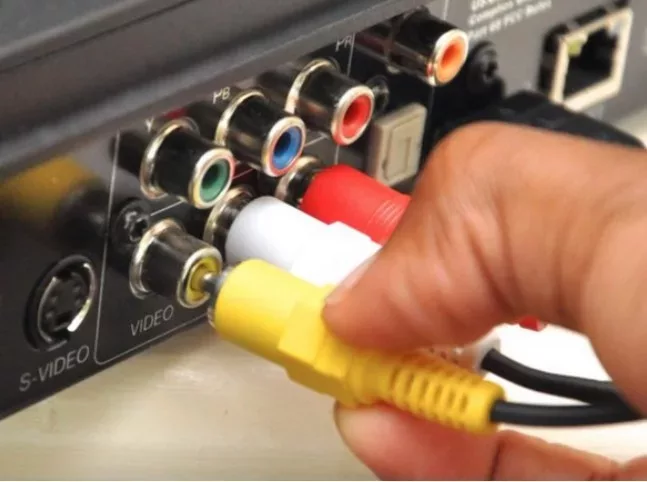
The DVD player remains a cherished staple in many homes, not just for its nostalgia but for its simplicity and reliability in delivering quality video content.
While newer connection technologies exist, many still rely on RCA cables for their DVD players because these legacy connections are not only widely compatible with older TV sets but also straightforward to set up. These cables, carrying composite video signals, are color-coded as red, white, and yellow, making them user-friendly for non-tech-savvy individuals.
Locating the Cables and Ports
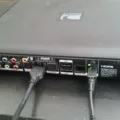
When setting up your DVD player, the first step is to identify the correct cables and ports to ensure everything connects properly. The RCA cables, often referred to by their red, white, and yellow color coding, are crucial for this setup.
The yellow cable handles the video input, transmitting the picture from your DVD player to the TV. The red and white cables, on the other hand, are for the audio input—red for the right audio channel and white for the left.
To connect, locate the RCA ports on your TV, which are usually grouped together and color-matched to your cables. This makes it easy to plug each cable into the corresponding colored port, setting up your DVD player for a movie night in no time.
Connecting the Cables
Hooking up your DVD player to your TV using red, white, and yellow cables is straightforward once you match each cable to its corresponding port.
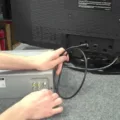
Start by locating the color-marked RCA connections on your DVD player and television. Insert the yellow cable into the yellow port on each device for video transmission. Next, plug the red and white cables into their corresponding red and white audio ports; red handles the right audio channel, and white covers the left.
This setup ensures a reliable connection for enjoying your favorite DVDs with clear picture and sound quality. Just remember to double-check that each cable is firmly plugged into the right port to avoid any loose connections.
Turning on Your Devices and Selecting Input
First, ensure that both your TV and DVD player are turned off. Once everything is connected, power up your DVD player and load a DVD into it.
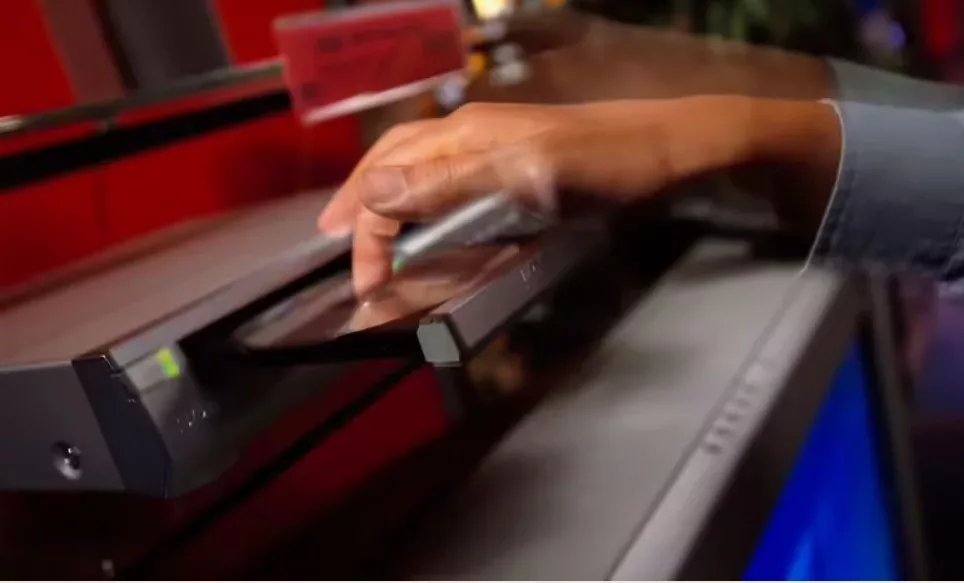
Next, power on your TV and grab the TV remote. To view the output from your DVD player, make sure to switch to the appropriate input source on your TV.
Use the remote to navigate to the input or source menu, and select either the AV input or composite input, which corresponds to the red, white, and yellow cable connections. This will display the video from your DVD player.
Troubleshooting (Optional)
When connecting your DVD player to a TV using red, white, and yellow cables, sometimes you might encounter issues like no picture or no sound. To troubleshoot these common problems, first check connections to ensure that each cable is firmly plugged into the correct port on both your TV and DVD player.
It’s surprisingly easy for cables to become loose, especially if the setup is frequently moved or adjusted. If everything seems well connected but the problem persists, ensure your TV is configured to the correct input setting.
Often, simply selecting the correct input channel on your TV will restore both picture and sound, getting you back to enjoying your favorite movies without hassle.
Connecting an Old DVD Player to a TV
Understanding Connection Options
When it comes to connecting an old DVD player to a modern TV, understanding your connection options is crucial.
Traditional DVD players often rely on legacy connections like RCA cables, which transmit video through the yellow cable and audio through the red and white cables. However, these older connections lack the clarity and sharpness provided by newer technologies.
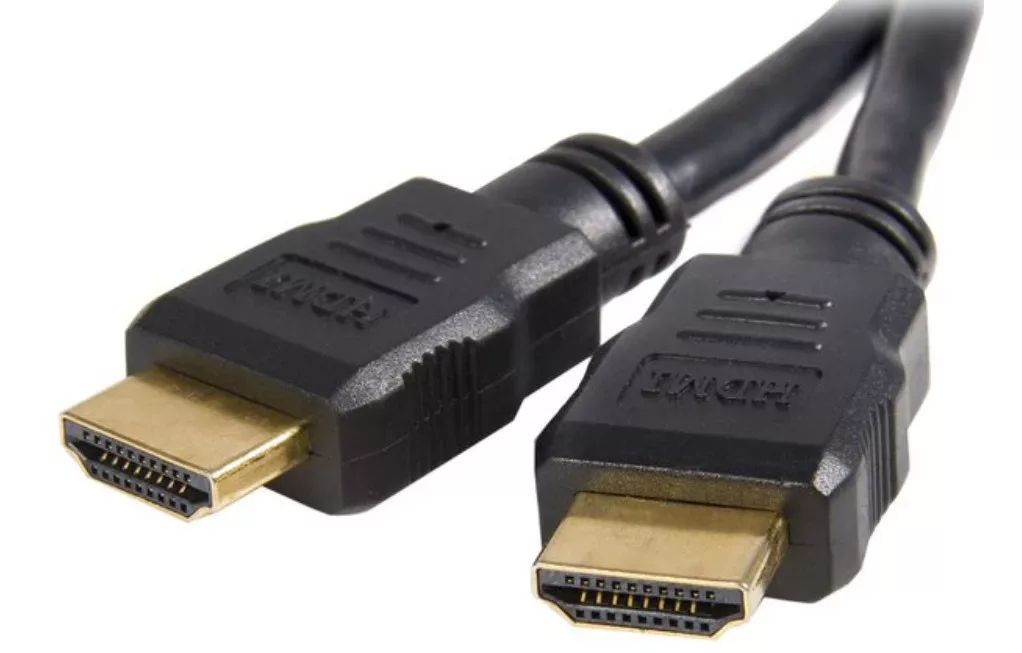
For instance, HDMI offers a significant upgrade by conveying audio and video through one integrated cable, ensuring higher quality with less clutter.
Another option is component video, which splits the video signal into three separate cables (red, green, and blue) for improved video quality compared to RCA, though still falling short of HDMI’s performance.
Connecting with the Available Cables
Here’s a step-by-step guide to ensure you’re equipped with the right connections: Firstly, examine the available ports on both your DVD player and TV. If your TV lacks RCA inputs, you’ll need an adapter to bridge the gap.
This is where a component to the HDMI converter comes into play, transforming the analog signal from your DVD player into a digital format that your HDMI-equipped TV can accept.
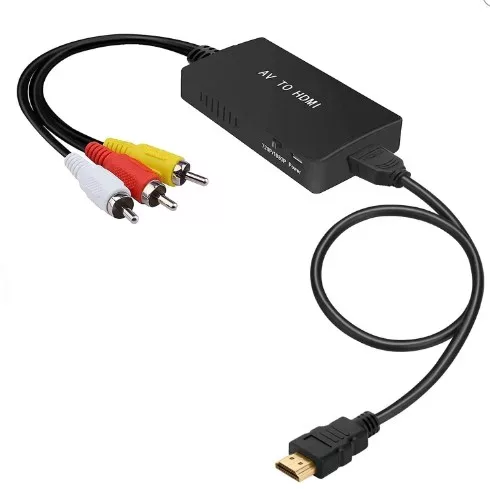
For an even more streamlined setup, consider an HDMI converter that directly converts RCA output to HDMI, ensuring compatibility with the latest TV models without compromising video or audio quality.
Understanding the Red, Yellow, and White Cables of a DVD Player
Explaining RCA Cables
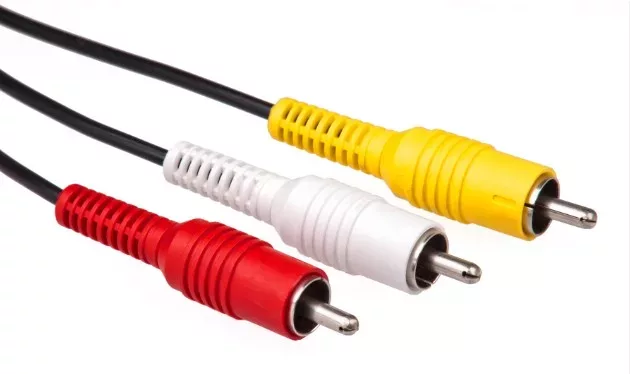
When setting up your DVD player to connect with a TV, it’s essential to understand the function of RCA cable, which includes the familiar red, yellow, and white connectors.
The yellow cable is dedicated to carrying composite video signals. This single cable transmits the entire video signal in an analog format, providing a straightforward and easy-to-use solution for transferring video from your DVD player to your television.
Alongside the yellow cable, the red and white cables handle analog audio; the red cable transmits the right audio channel, and the white cable covers the left.
Outdated Technology Note
When considering how to connect your DVD player to a TV, it’s important to note that using red, white, and yellow cables, known as RCA connectors, is somewhat outdated. These legacy cables transmit analog signals, which often results in lower quality compared to modern digital connections like HDMI, which provides enhanced digital video clarity.
Additionally, many new TV models no longer include RCA ports, reflecting a shift towards more advanced, high-definition interfaces.
Connecting Colors to a DVD Player
When setting up your DVD player for a high-definition experience, using a component cable is key. These cables are typically split into five color-coded connectors: three cables (green, blue, and red) are designated for video, and two (red and white) are used for audio.
It’s crucial to match each cable with the port of the same color on both the TV and the DVD player. The Green, Blue, and Red connectors carry the video signal, which delivers a clearer and more vibrant picture compared to standard cables, perfect for enjoying high-definition content.
Meanwhile, the separate Red and White cables are responsible for transmitting the audio, ensuring that you get high-quality sound to accompany your viewing.
The Value of a DVD Player
Despite the surge in streaming services, many people still find value in owning a DVD player. One significant reason is the possession of physical media, such as a cherished DVD collection that might contain rare or personal titles not available online.
DVD players serve as a reliable alternative to streaming, especially in areas with limited internet access or for those who prefer the simplicity and reliability of physical discs.
Conclusion
Mastering how to connect a DVD player to your TV with red, white, and yellow cables is straightforward and essential for enjoying your favorite movies and shows in excellent quality. Ensure you select the correct RCA cables, characterized by their distinctive red, white, and yellow plugs, to transmit audio and video signals effectively.
Secure each connector to the matching color-coded sockets on both your DVD player and television. By following these simple steps, you’ll create a reliable connection that brings your DVDs to life on your screen, all while ensuring a setup free of technical hitches.

