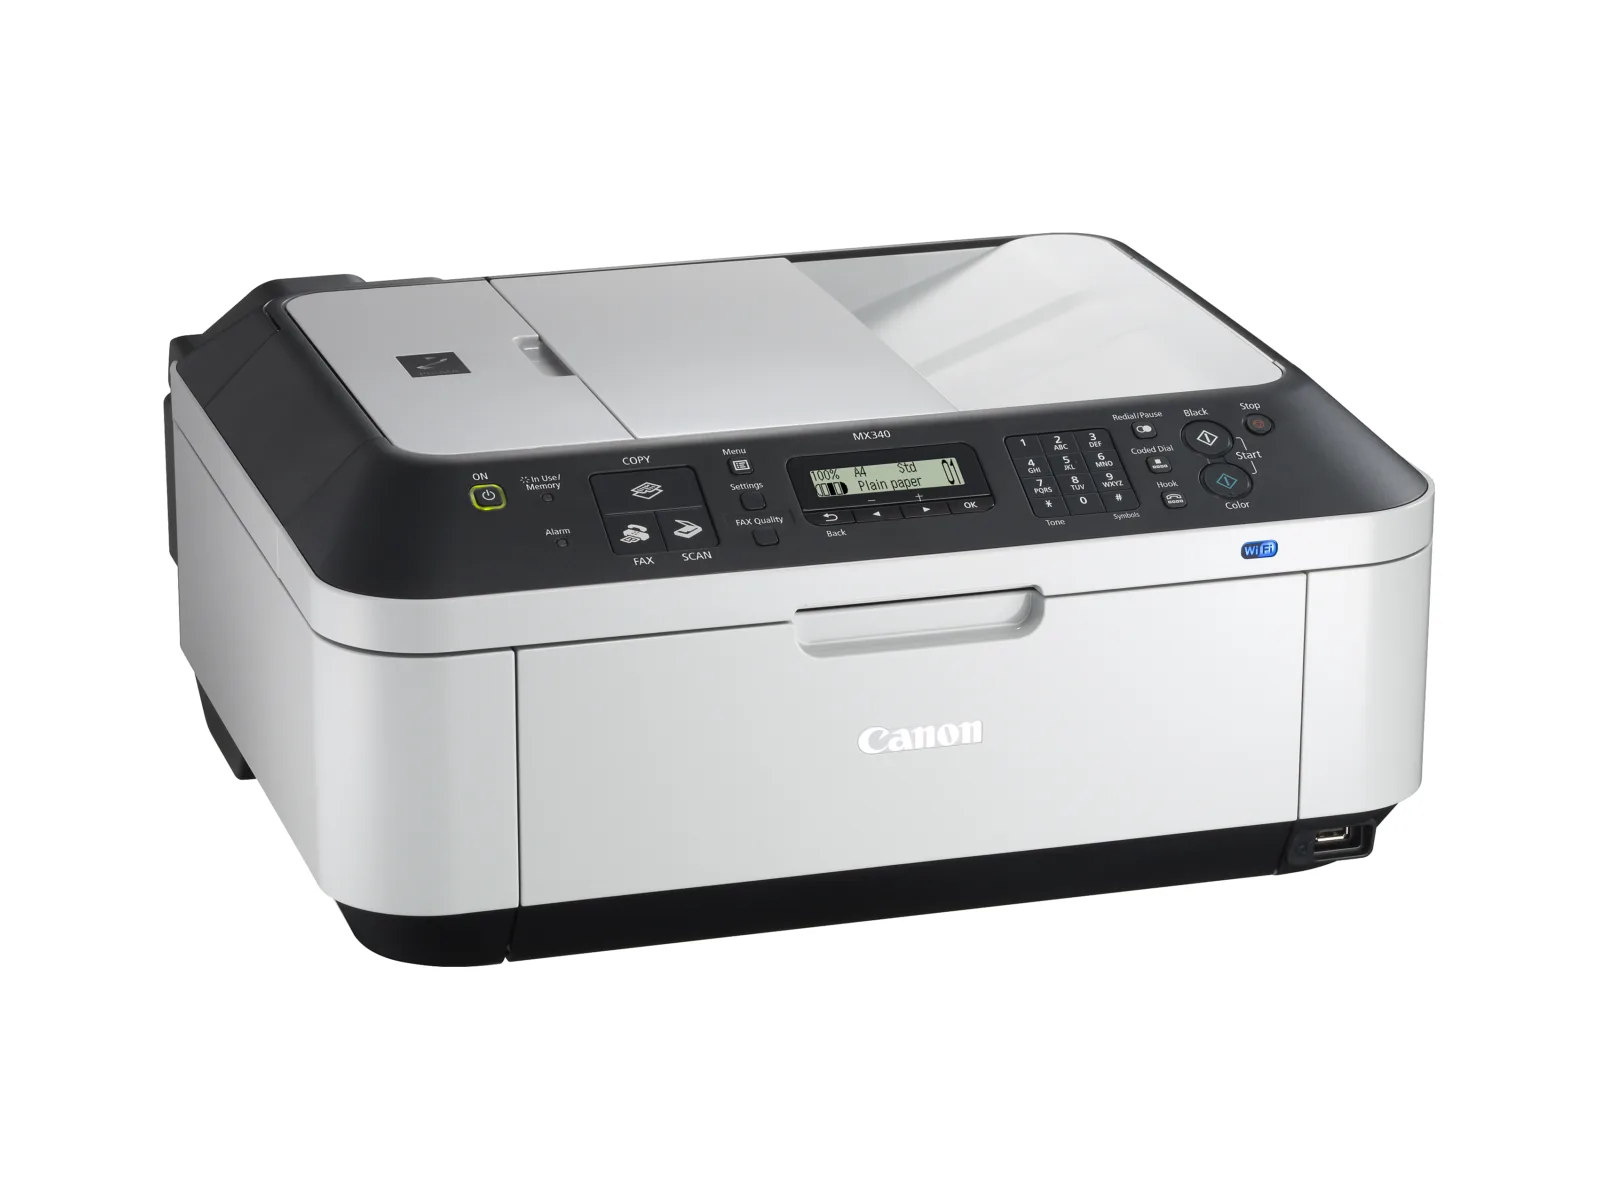
Are you looking for a printer to meet all your home and office needs? The Canon MX340 is an excellent choice! This all-in-one printer is capable of printing, scanning, copying, and faxing documents with ease. Plus, it has built-in wireless connectivity so that you can easily connect to both PCs and laptops.
In this blog post, we’ll provide step-by-step instructions on how to connect the Canon MX340 to a laptop. First, you’ll need to ensure that the printer is powered on and connected to your wireless network. To do this, press the Menu button on the printer until Device Settings appears. Then press the right arrow key to display LAN settings and press OK. Next, choose Easy Setup from the Wireless LAN setup menu and enter your password when prompted. Once the blue wireless light on the printer goes solid blue, you know that it’s successfully connected to your network.
Next, you’ll need to connect your laptop and the Canon MX340 via USB cable. To do this, plug one end of a USB cable into the type-A receptacle in your laptop and plug the other end into the type-B receptacle in your printer. Make sure that it fits securely so that no data is lost during transmission.
If you ever need to reset or reinstall your network settings on the MX340 at any time, simply open up Device Settings again from the Menu button and then select Reset LAN settings from the LAN settings menu before pressing OK twice more.
With these simple steps in mind, connecting any new device should be a breeze! All you have to do now is install compatible drivers for Canon MX340 on your laptop so that it can recognize it as a print device!
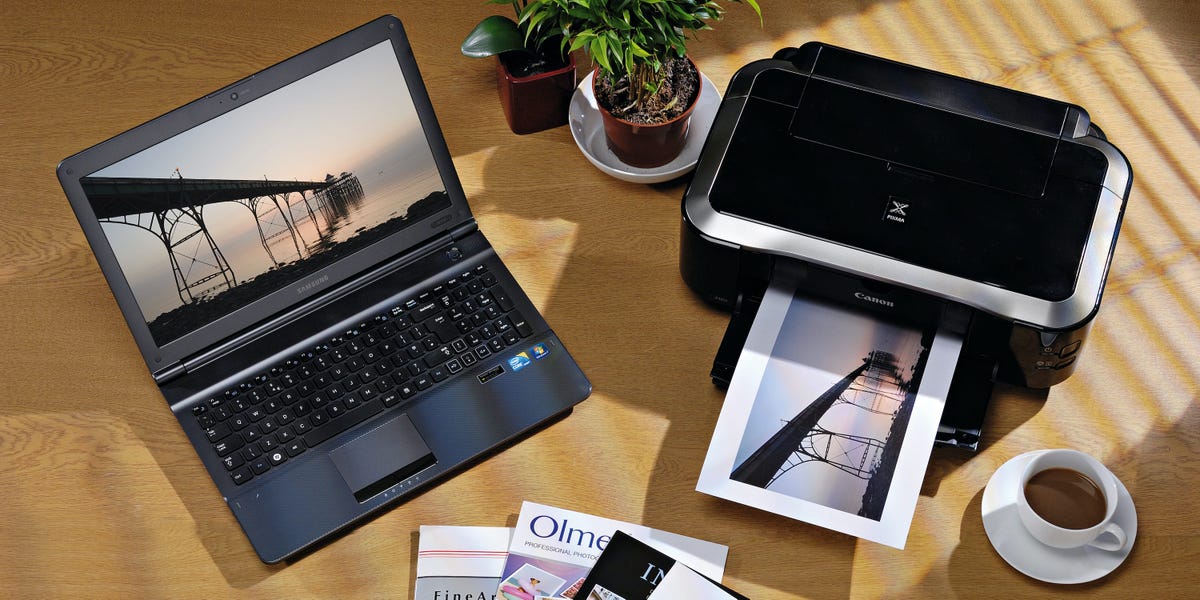
Connecting a Laptop to a Canon MX340 Wireless Printer
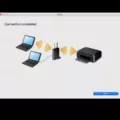
To connect your laptop to your Canon MX340 wireless printer, first, ensure that the printer is connected to a wireless network. Then, on your laptop, open the Start menu and select Settings. In Settings, select Network & Internet, then select Wi-Fi from the list of options. Select the name of your wireless network from the list of available networks and enter the password to connect. Once your laptop has connected to the same network as your printer, you can use an app such as Canon Print Service or Easy-PhotoPrint Editor to print documents from it.
Connecting a Canon Pixma Printer to a Laptop Wirelessly
To connect your Canon Pixma printer to your laptop wirelessly, first make sure that the printer is switched on and in range of your wireless network. Then open the control panel on your laptop and select ‘Network & Internet’. Next, choose ‘Change Adapter Settings’ and then select ‘Wireless Network Connection’. You should then see a list of available networks – click on the name of your wireless network and enter the required password. Once connected, open the start menu on your laptop and type ‘Devices & Printers’. Click on the option to add a printer and follow the instructions to install your Canon Pixma printer. Once installed, you should be able to print wirelessly from your laptop!
Resetting the Wi-Fi on a Canon MX340 Printer
To reset the wifi on your Canon MX340 printer, you will need to press the Menu button three times to display Device settings. Use the right arrow key to select LAN settings, then press the OK button. Next, use the right arrow key to select Reset LAN settings, then press the OK button. Finally, use the right arrow key to select Yes and press OK to confirm the reset. Your printer should now be reset and ready to connect to a new wifi network.
Troubleshooting Printer Not Detected by Laptop
It’s possible that there is an issue with the connection between your laptop and printer. To troubleshoot, first make sure that the printer’s USB cable is properly connected from the printer to your PC. If your USB isn’t recognized, try running the Windows Troubleshooter to diagnose and fix any USB problems automatically.
If you’re using a wireless printer, make sure the wireless connection is established correctly and that both devices are on the same network. You may need to reinstall or update your printer driver if it hasn’t been updated in a while. Finally, check your firewall settings or antivirus software to ensure they aren’t preventing your laptop from detecting the printer.
Making Canon Printer Discoverable to Laptop
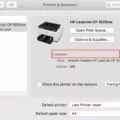
To make your Canon printer discoverable to your laptop, you’ll need to connect it to the same local network as your laptop. If the printer is connected via Wi-Fi, go to the Start menu and click Settings, Devices, then Printers & scanners. Select Add a printer or scanner and wait for your Canon printer to appear in the list. Select it and hit Add device, which should make it discoverable on your laptop. If you’re having trouble finding or connecting to the printer, you may need to enter its exact model number in the search field.
Setting Up a Canon Printer to a Laptop
To setup your Canon printer to your laptop, you will need to connect them with a USB cable. First, make sure that the printer and laptop are both powered on. Then, connect one end of the USB cable to the USB port on the printer and the other end to an available USB port on your laptop. Once connected, your computer should automatically detect and install any necessary drivers for the printer. Finally, open up your computer’s Control Panel and go to Devices and Printers. You should see a new icon named after your Canon printer in this list. Right-click on this icon and select Printer Properties to customize any settings (e.g. paper orientation or paper size) before you start printing!
Troubleshooting Canon Printer Connection Issues with Laptop
There are several possible reasons why your Canon camera is not connecting to your laptop. It could be due to an outdated driver, a faulty USB cable or port, or an incompatible operating system. To troubleshoot this issue, try using a different USB cable recommended by Canon and plugging it into a different USB terminal on your PC. Additionally, make sure that you have the latest drivers installed for your camera and that your laptop is running the most recent version of the operating system. If these suggestions don’t work, then you may need to contact Canon support for further assistance.
Does the Canon MX340 Have a USB Port?
Yes, the Canon MX340 does have a USB port. This port is located on the front of the printer and can be used to connect the printer to your computer or laptop. Additionally, it can also be used to insert a USB flash drive for printing documents or photos directly from the drive.
Troubleshooting Canon Printer USB Connection Issues
It’s possible that the printer driver may not have been installed correctly. To try and resolve this issue, you can try uninstalling and reinstalling the printer driver. Additionally, make sure there is a direct connection between the printer and the USB port of the computer. Lastly, you can try rebooting the computer with the printer’s USB cable disconnected, then reconnecting it once the computer has restarted.
Connecting a Canon MX340 Printer to the Internet
Using your Canon MX340 printer with your computer should be straightforward. To get your printer online, follow these steps:
1. Hold the Windows key on your keyboard and press the letter R. This will bring up the Run box.
2. Type ‘control printers’ and press OK.
3. Right-click on the icon for your Canon MX340 printer, then click ‘See what’s printing.’
4. Click on the Printer menu, then make sure that ‘Use Printer Offline’ is unchecked.
5. Try to print again to confirm that your printer is now online and working correctly.
If you continue to experience issues with getting your Canon MX340 printer online, contact Canon customer support for further assistance.
Connecting Canon Printer to Wireless Network
To get your Canon printer to recognize your wireless network, make sure the printer is turned on and within range of the router. Then, open the Wi-Fi setup menu on the printer’s display screen. Select the WPS (push-button method) option and then press OK. Within two minutes, press and hold the WPS button on your router for at least five seconds. You’ll see a confirmation message when the connection is successful. Finally, select OK on your printer’s display screen to finish setting up the connection.
Conclusion
In conclusion, the Canon MX340 Printer is a great all-in-one printer that offers features such as wireless connectivity and easy setup. With its versatile range of functions, this model is suitable for both home and office use. It also has impressive print quality and economical ink consumption. Additionally, users can connect to their wireless network easily with the operation panel or reset their LAN settings with a few simple steps. All in all, the Canon MX340 Printer is an excellent choice for anyone looking for a reliable and affordable printer.

