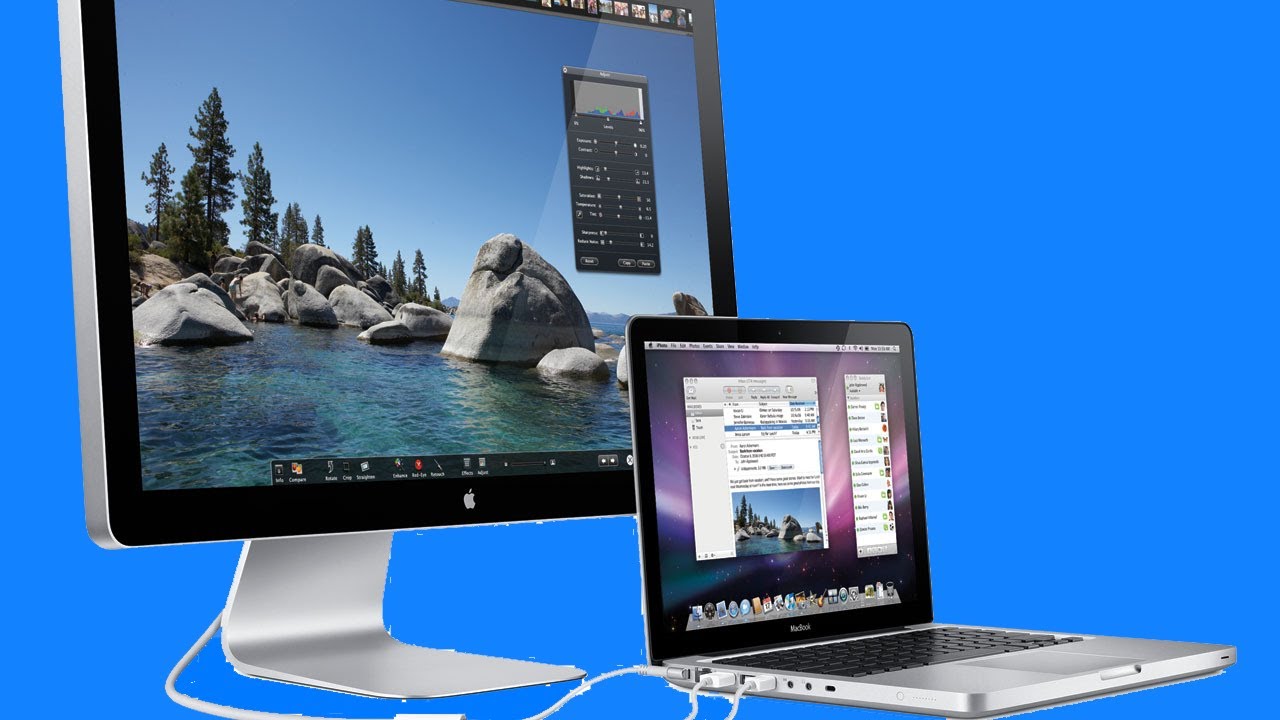
Are you looking for a way to connect your Apple monitor to your Macbook Pro? If so, you’ve come to the rigt place! In this blog post, we’ll discuss the different types of connections available and how to get your Apple monitor up and running with your Mac.
When it comes to connecting an Apple monitor to a Macbook Pro, there are several options available. The most common connection is via a Thunderbolt 3 (USB-C) or HDMI cable. You’ll need an adapter if your Macbook Pro doesn’t have one of these ports. With the right adapters, you can also connect an Apple Studio Display or a projector to your Macbook Pro.
Once you have all the necessary cables and adapters for connecting your Apple monitor, it’s time to get started. First, plug one end of the cable into either the Thunderbolt 3 (USB-C) port or HDMI port on your Macbook Pro. Then, plug the other end into the corresponding port on your Apple monitor. If you are using an adapter, plug the adapter into either port on your Macbook Pro and then connect it to the corresponding port on your Apple monitor.
When everything is connected correctly, turn on both devices and wait for them to boot up completely before attempting any further setup steps. After that’s done, open System Preferences on your Macbook Pro and select Displays in the sidebar menu. This will bring up a window with several options related to display settings such as resolution and refresh rate. Select whichever settings you prefer and click Apply when finished.
And there you have it – now you know how to connect an Apple monitor to a Macbook Pro! With just a few simple steps, you can enjoy a larger display with better quality visuals than what is possible with just a laptop screen alone. Just remember that if you are using an adapter or different type of cable than what was mentioned above, make sure it is compatible with both devices before purchasing!
Connecting an Apple Monitor to a Computer
To connect your Apple monitor to your computer, you will need a Mac connector cable. You’ll also need either a female or male Mac to PC converter, depending on whether the opposite end of your Mac connector cable has pins or holes. Once you have these two components, simply insert the Mac connector cable into its corresponding port on the monitor and plug the other end into the Mac to PC converter. Finally, use a standard PC VGA cable to connect the converter to your computer’s VGA port.
Connecting an Apple Monitor to a Mac
To connect your Apple monitor to your Mac, you will need to use either a Thunderbolt port or a Thunderbolt 3 (USB-C) to Thunderbolt 2 adapter.
If your Mac has a Thunderbolt port, simply plug the display’s cable directly into the Thunderbolt port. If your Mac has a USB-C port, you’ll need to use an adapter to connect the display. To do this, plug one end of the adapter into the USB-C port on your Mac and the other end into the display’s cable. Once connected, you should be able to use your Apple monitor with your Mac.
Using an Apple Monitor with HDMI
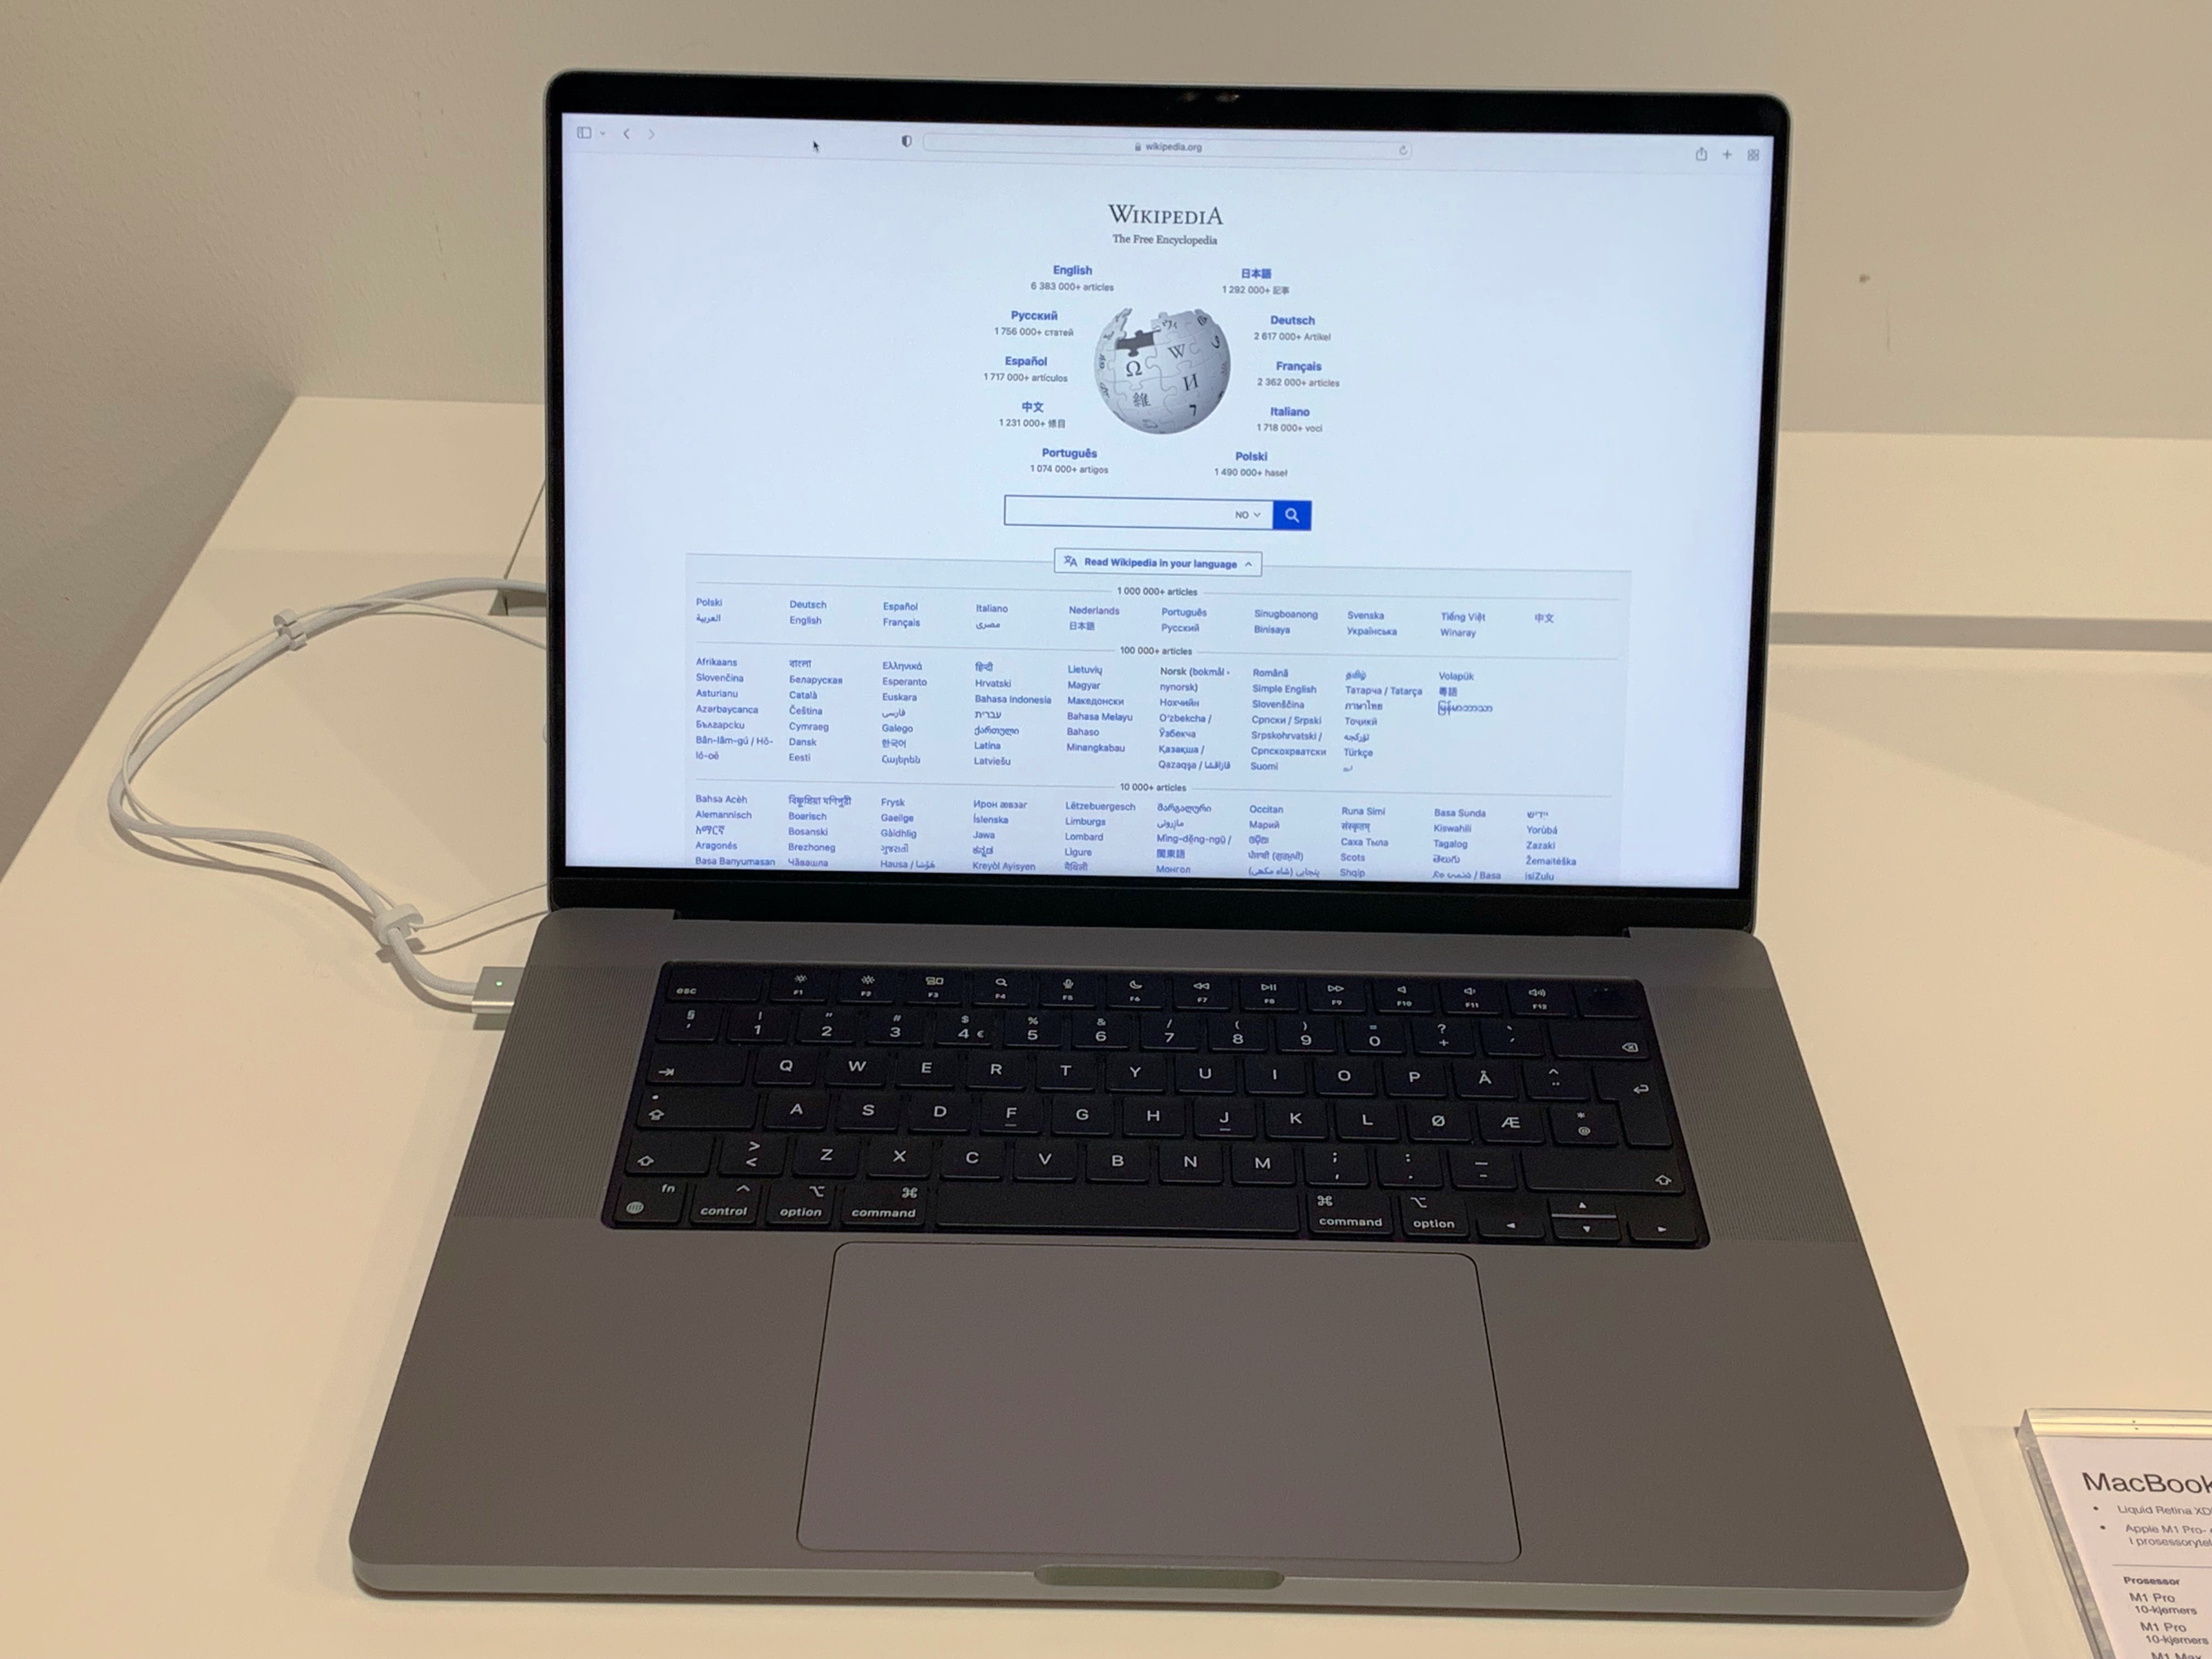
Yes, you can use an Apple monitor with HDMI on your 14-inch and 16-inch MacBook Pro. To do so, simply connect the HDMI port on the monitor to the corresponding port on your Mac usig an HDMI cable. Once connected, you can select the monitor in System Preferences > Displays as your primary display. You can also use this connection to extend your desktop to a second screen or mirror it for presentations or viewing content from multiple angles.
Troubleshooting Mac Connection Issues With Monitors
Your Mac may not be connecting to your monitor due to a variety of possible issues. It could be a faulty cable or adapter, an incorrect setting on the monitor, an outdated driver, or even a hardware issue. To diagnose and fix the problem, try disconnecting and reconnecting the cable from your external display to your Mac. If that doesn’t work, make sure both devices are up-to-date with the latest software and drivers. You may also need to check your system preferences to ensure the correct settings are selected for your monitor. If all else fails, it’s possible that the problem is caused by a hardware issue with eiher your Mac or monitor. In this case you should contact Apple or whatever manufacturer made your external display for further assistance.
Activating a Mac Monitor
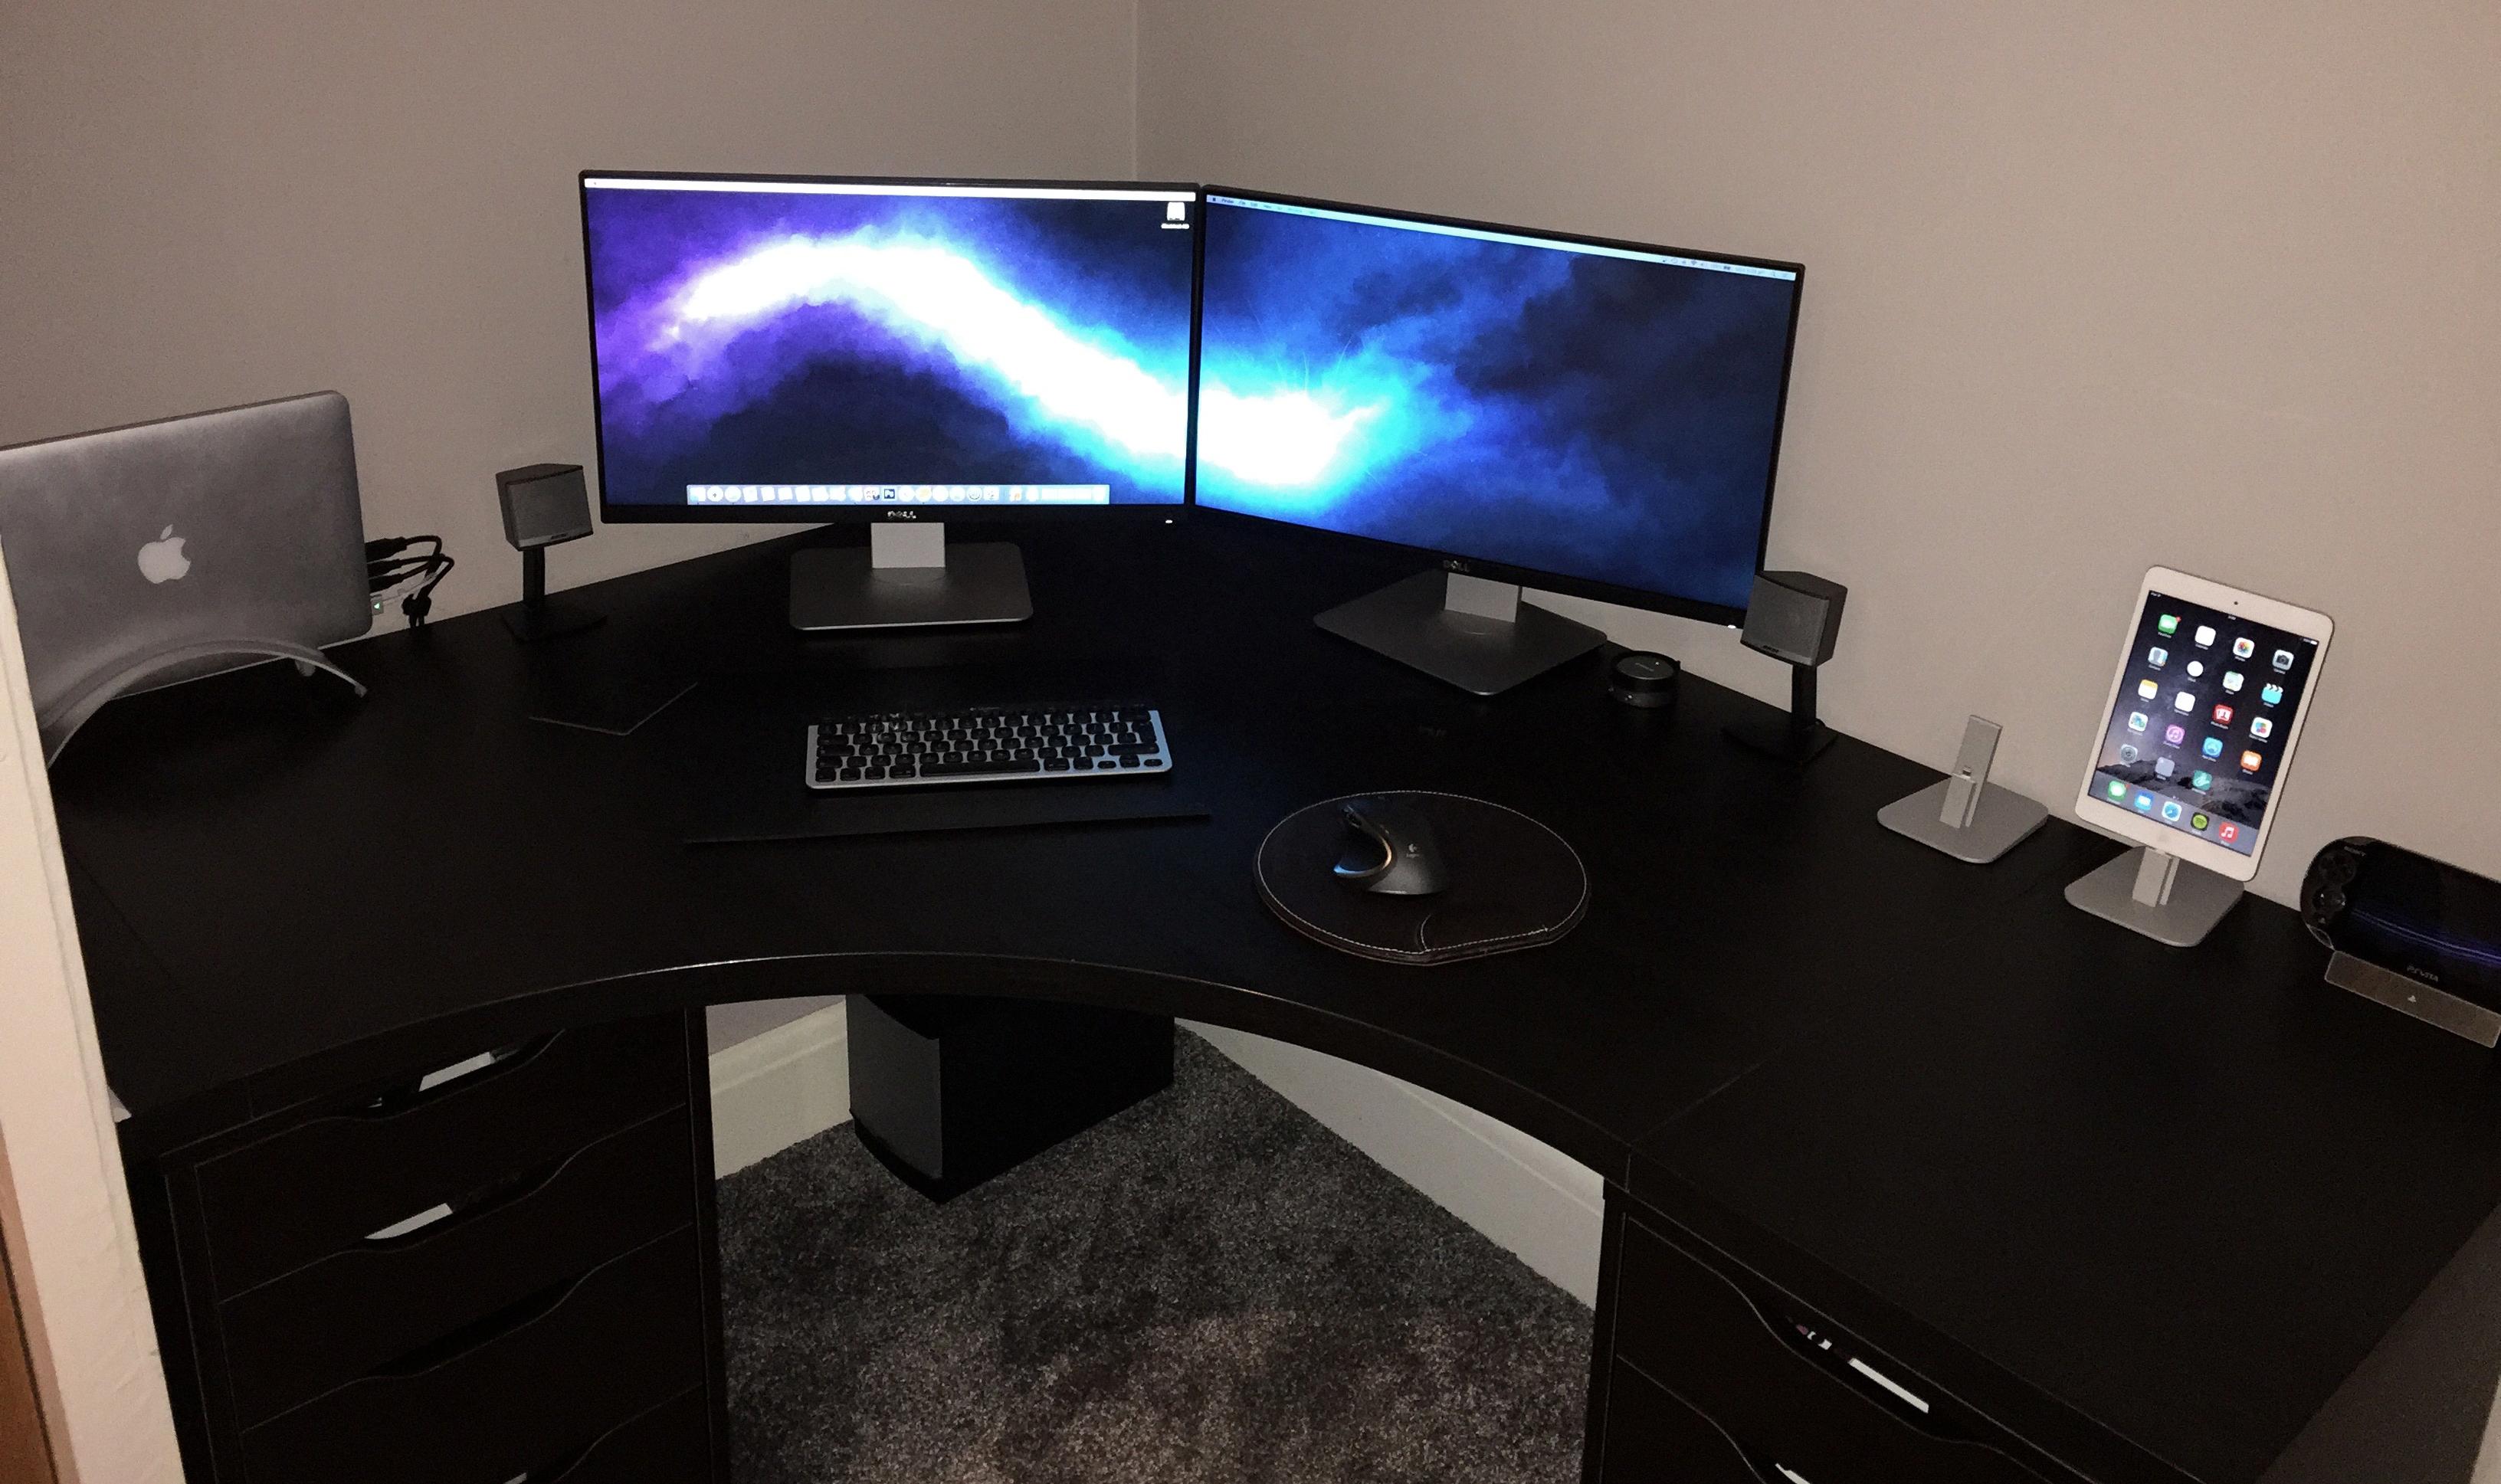
To activate your Mac monitor, first connect the monitor to the Mac using an appropriate cable. Once connected, open System Preferences > Displays. Press the Alt/Option key to make the Detect Displays button appear. Click on Detect Displays, and your Mac should recognize the external monitor. You can adjust the resolution and other settings by selecting the Arrangement tab and dragging the displays to rearrange them. Finally, click Apply to save your changes.
Connecting a Mac to a Monitor
To connect your Mac to a monitor, you will need an HDMI cable or adapter. The HDMI cable is a long, thin cord that can be used to connect your Mac to any monitor, HDTV, or oher HDMI device. If you have a Mac with a Mini DisplayPort or Thunderbolt port, then you can use an appropriate adapter to connect your Mac to an HDMI device. For example, if you have a Mini DisplayPort on your Mac, then you can use an Apple Mini DisplayPort to HDMI Adapter.
Troubleshooting Mac HDMI Connection Issues
There are several potential reasons why your Mac may not be connecting to an HDMI display. The most common issue is that the HDMI cable is not properly connected to your computer or display. Check both ends of the cable and make sure it’s securely attached. Another potential issue could be that the resolution settings on your Mac don’t match the resolution of your HDMI display. You can adjust these settings in the “Display” section of System Preferences. If you’re still having issues, try restarting both your Mac and HDMI display as this can often resolve any compatibility issues.
Connecting a Laptop to a Monitor
Connecting your laptop to a monitor is a straightforward process. Depending on the type of laptop you own, you’ll want to use either an HDMI cable, USB cable, or Thunderbolt cable. For Windows laptops, use the HDMI or USB cable. For MacBooks, use the USB or Thunderbolt cable. Once connected, go to the Display Settings window (Windows) or System Preferences (Mac) and choose whether you want to duplicate or extend the display on your laptop. If there are any furter issues with connecting your laptop and monitor, consult your device manuals for more information.
Appearance of Thunderbolt Port
A Thunderbolt port looks like a standard USB-C port, which can be found on many laptops and desktop computers. The key difference is that the Thunderbolt port can be distinguished by a lightning bolt icon printed next to it. If the USB-C port doesn’t have the icon, then it likely does not support the expanded capabilities of a Thunderbolt cable. Additionally, Thunderbolt ports are usually labeled with “TB” or “TBLT” to indicate that it is a Thunderbolt port.
Conclusion
In conclusion, Apple monitors are a great choice for any Mac user. They offer superior image quality, durable design, and a wide range of ports for connecting to other devices. With their Thunderbolt 3 and HDMI ports, you can easily connect your MacBook Pro to an external display or projector for an even beter viewing experience. Plus, their slim design makes them perfect for any workstation or home setup.

