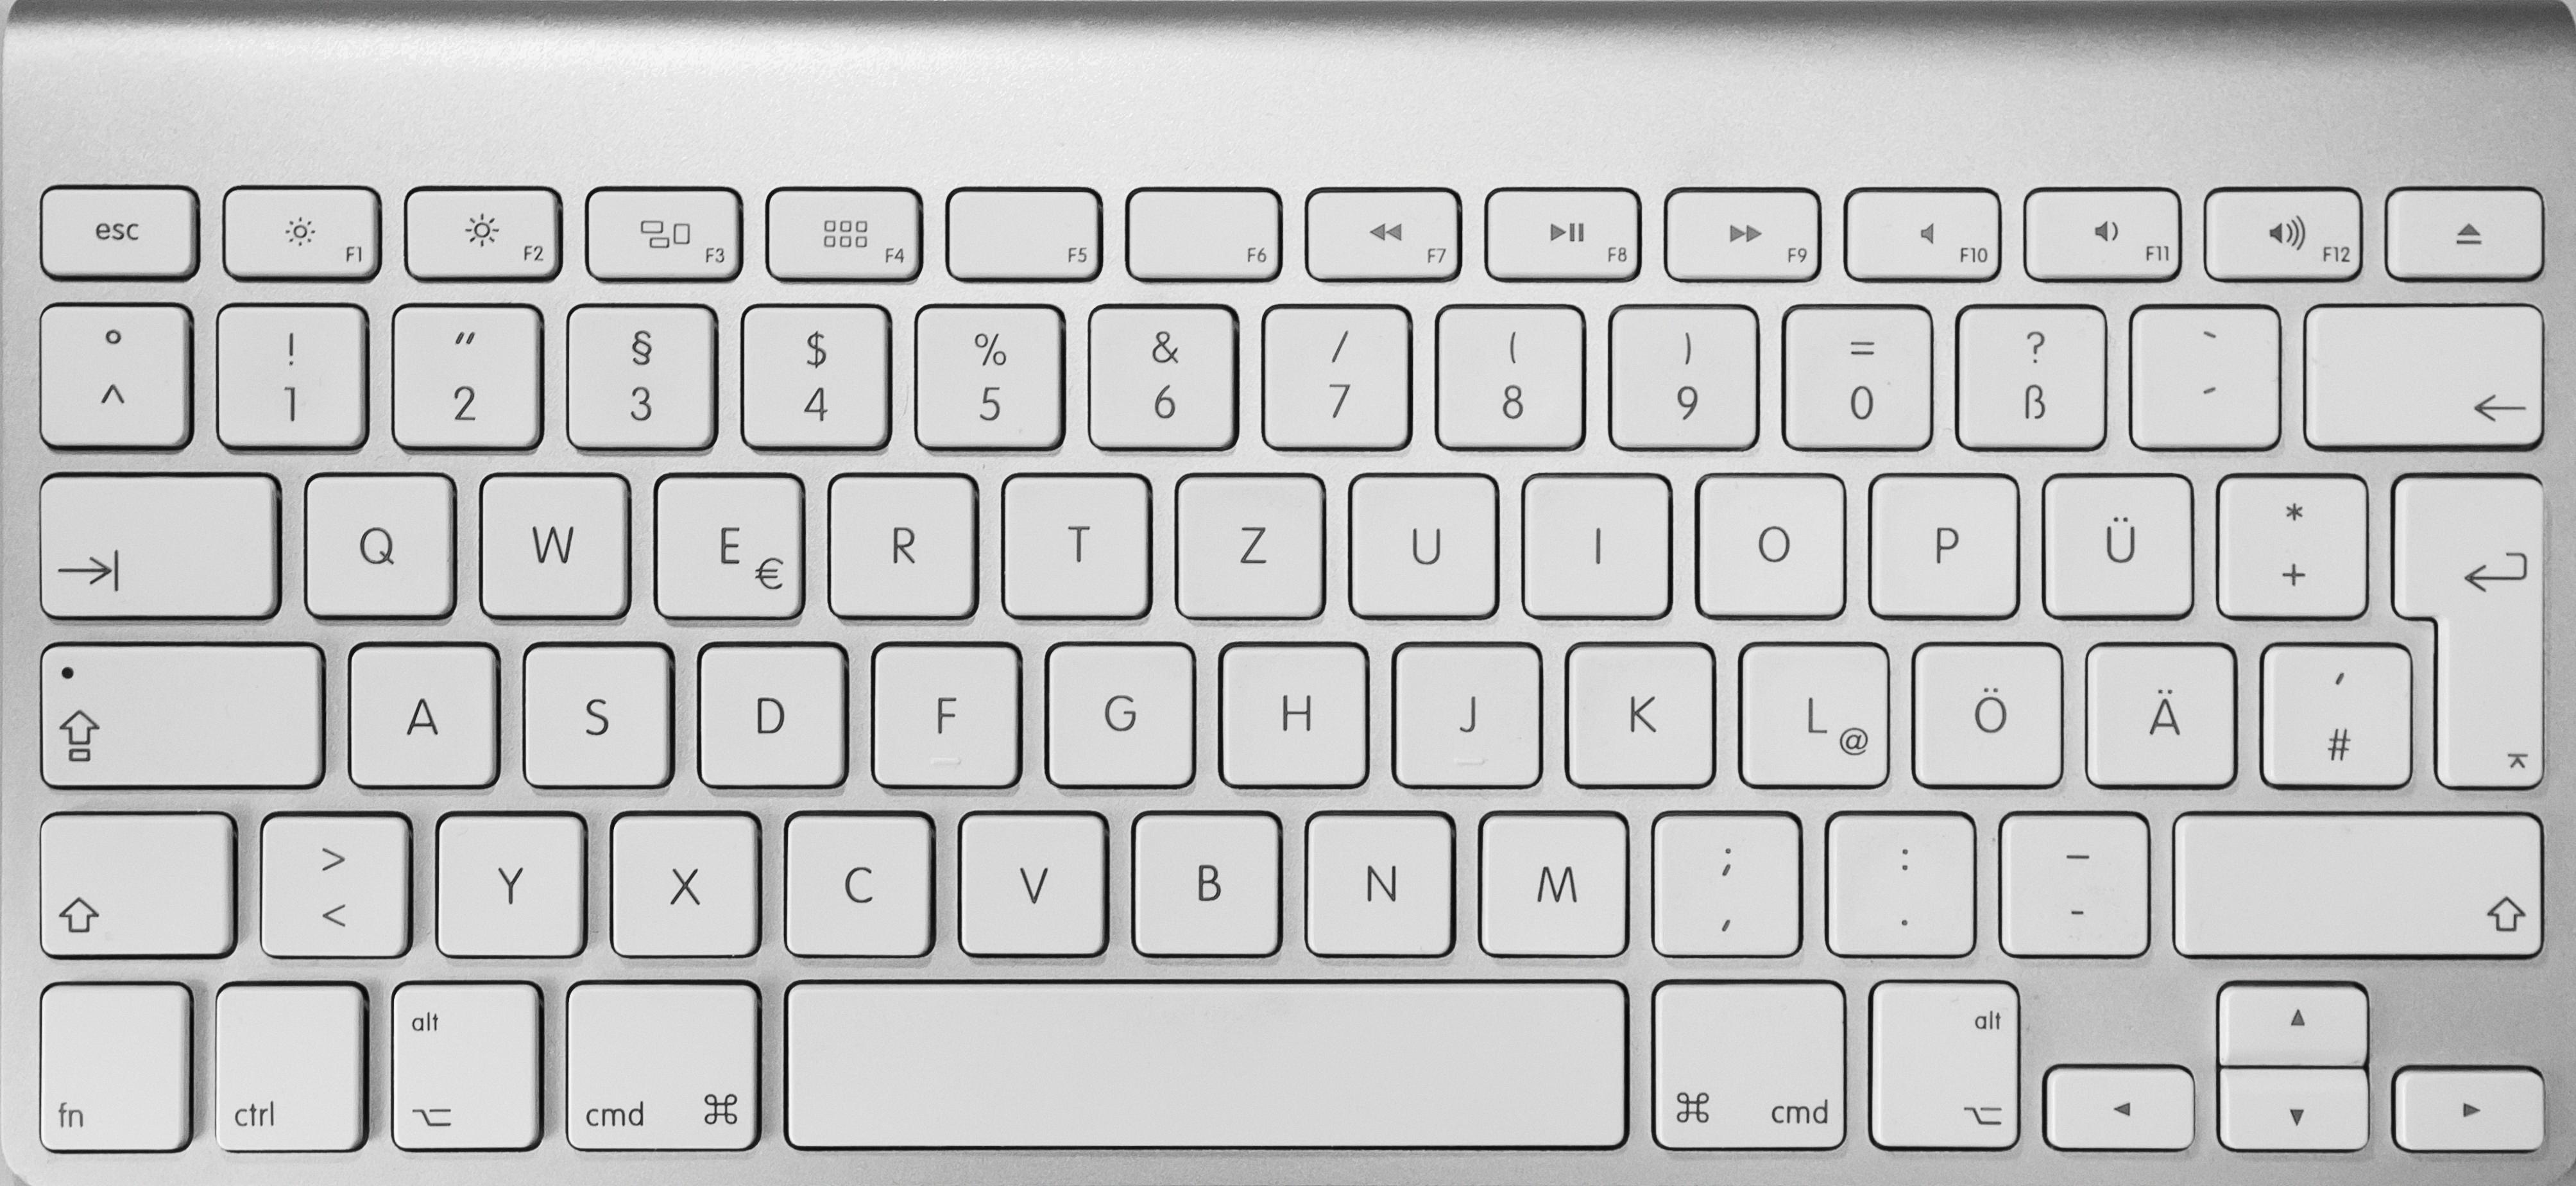
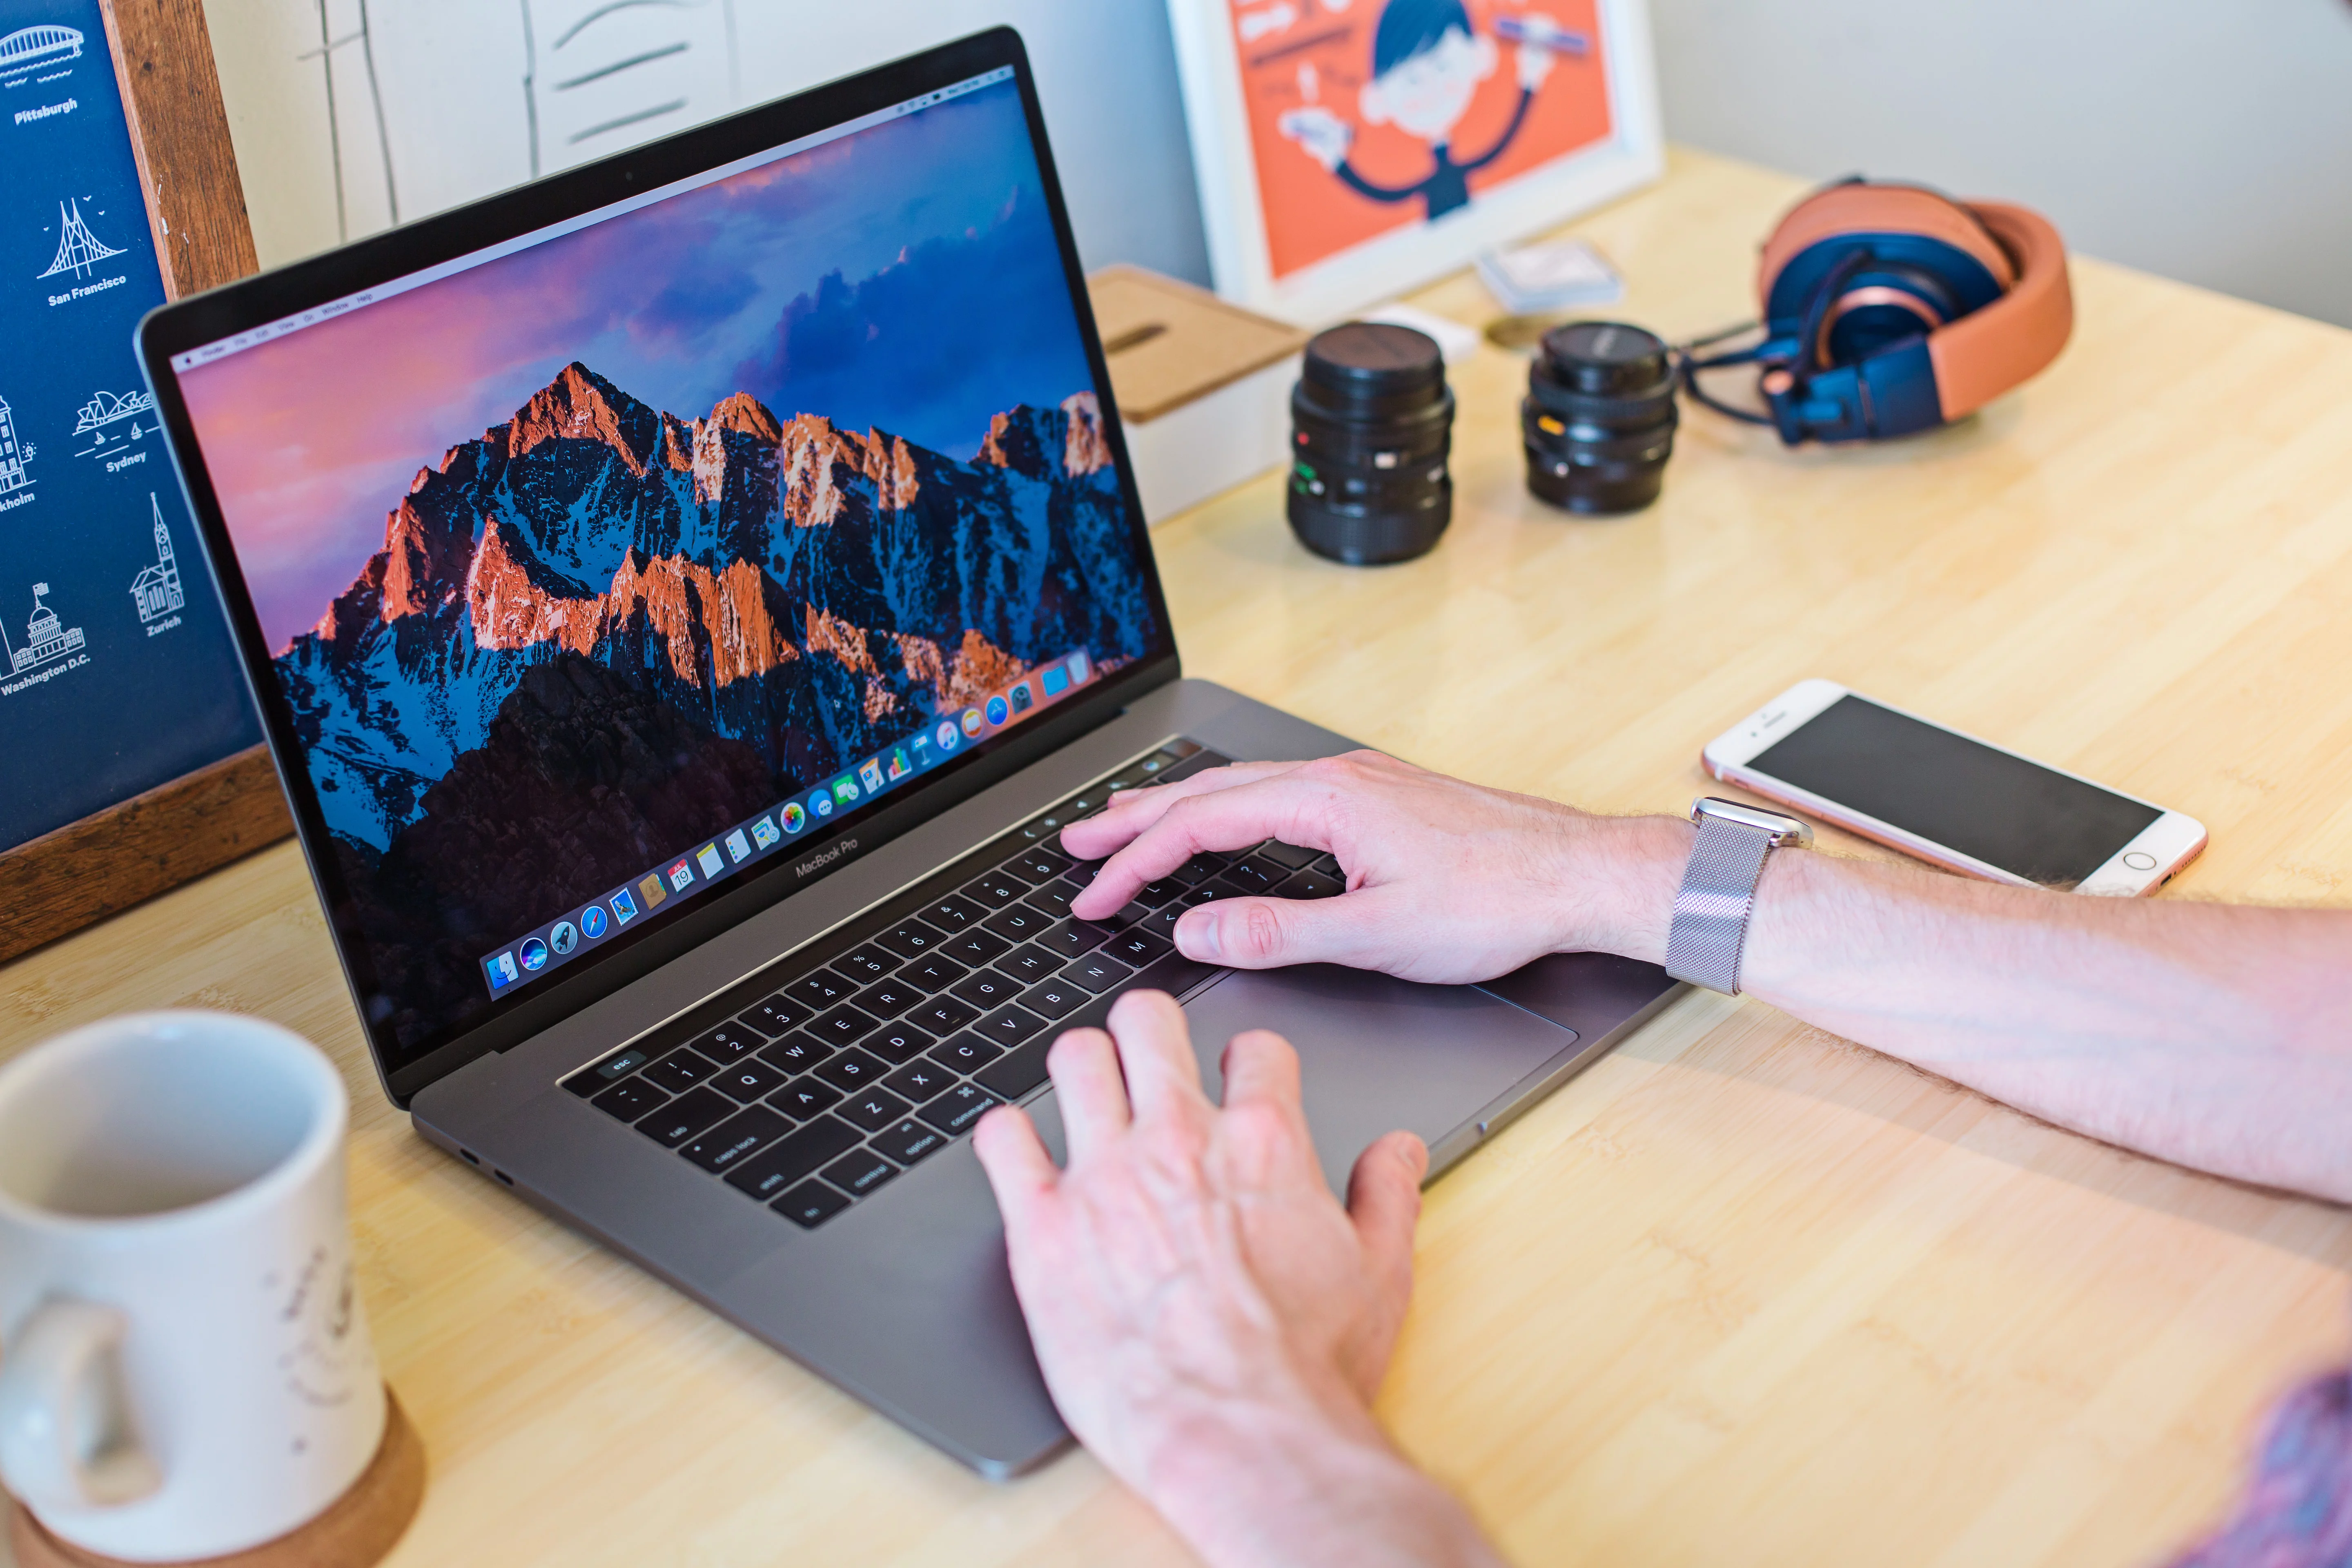
Are you looking to add an Apple keyboard to your Mac? An Apple keyboard can be an excellent addition to any Mac, adding convenience and flexibility when typing. In this blog post, we’ll show you how to connect an Apple keyboard to a Mac and provide tips on getting the most out of your new setup.
The first step in connecting an Apple keyboard to your Mac is to make sure that your Mac has Bluetooth enabled. To do this, open System Preferences and click “Bluetooth”. If the Bluetooth icon does not appear or if the menu bar indicates that Bluetooth is off, restart your computer and try to turn it on again. Once Bluetooth is enabled, you can look for the Apple keyboard in the list of available devices.
Once the device is found, click “Connect” or “Pair” next to it. If you are asked for a passcode, enter it on the keyboard that is being set up and press Return on the same keyboard. After this is done, open System Preferences again and click “Keyboard” in the sidebar (you may have to scroll down). Under Input Sources, check that “Show Input Menu in Menu Bar” is selected by clicking edit next to it. This will allow you to select different keyboards from the input menu in the menu bar.
At this point, your Apple Keyboard should be fully connected and ready for use with your Mac! It may take some time to get used to a new keyboard layout but once you become familiar with it you will find that typing on an Apple Keyboard can be much faster and more efficient than before! Additionally, many third-party keyboards are compatible with macOS so if an Apple Keyboard isn’t for you there are plenty of other options out there as well!
We hope this blog post has given you all the information necessary for connecting an Apple Keyboard with your Mac! With a few simple steps, you can get started enjoying all of its features right away!
Troubleshooting Apple Keyboard Connection Issues on Mac
It is possible that there is an issue with the connection between your Apple keyboard and your Mac. First, make sure that both the Mac and the keyboard are turned on and that Bluetooth is enabled on both devices. Then, make sure they are close enough together so they can pair properly. If you have multiple Bluetooth devices connected, try disconnecting them to ensure that the Apple keyboard will connect without interference. If none of these steps work, try resetting both the Mac and the keyboard by turning them off and then on again. If you continue to experience issues connecting your Apple keyboard to your Mac, you may need to contact Apple Support for further assistance.

Source: forums.macrumors.com
Connecting an Apple Wireless Keyboard to Pairing
To connect your Apple wireless keyboard to pairing, first, open the System Preferences menu by selecting the Apple menu (?) at the top-left of your screen. Then click on Bluetooth. Your device should appear in the list of Bluetooth devices; click Connect (or Pair) next to it. You may be asked to enter a passcode; if so, use the keyboard you’re setting up and enter the passcode, then press Return on that same keyboard. Once that’s done, your Apple wireless keyboard should now be connected.
Making a Mac Recognize a Keyboard
To get your Mac to recognize your keyboard, you will need to configure the Input Sources in System Settings. To do this, open the Apple menu and select System Preferences. Then click Keyboard in the sidebar. On the right side of the window, click Edit next to Input Sources. From here, you can turn on “Show Input menu in menu bar” so that you can access it from anywhere. Once this is enabled, open the Input menu from the top of your screen and select the correct keyboard layout for your device. You should now be able to use your keyboard with your Mac as expected.
Connecting a Keyboard to a Mac
Yes, you can use any keyboard with your Mac. To connect it, you can plug it directly into your Mac’s USB port (or use a USB-A–to–USB-C adapter) or pair it over Bluetooth. Once connected, the keyboard will be ready to use and its basic typing functions will just work.
Troubleshooting Issues with Connecting an Apple Wireless Keyboard
The most likely reason why your wireless Apple keyboard isn’t connecting is that the connection between your Mac and keyboard has been lost. This can happen for several different reasons. First, make sure that Bluetooth is enabled on your Mac, and that the keyboard is powered on and within range of the Mac. Also, try restarting both devices and pairing them again. If that doesn’t work, the batteries in the keyboard may need to be replaced or recharged if it’s a Magic Keyboard. Additionally, you can try a different USB port on your Mac or a different charging cable.

Source: en.wikipedia.org
Turning On an Apple Wireless Keyboard
To turn on your Apple wireless keyboard, press and hold the power button located on the right side of the device. You should see a green light indicating that your keyboard is powered on. If you don’t see a green light, try replacing the batteries or checking the connection between the keyboard and the dongle. Once your keyboard is powered on, you can use it with your Mac or other Bluetooth devices.
Troubleshooting Issues with Magic Keyboard Discoverability
It’s possible that your Magic Keyboard is not discoverable because it might not be powered on or the battery may be dead. Additionally, if you have a wireless keyboard, make sure that the Bluetooth radio is turned on and that you’re in range of the device. Finally, check to see if your Magic Keyboard has been paired with another device already; if this is the case, it won’t be discoverable by other devices.
Resetting an Apple Magic Wireless Keyboard
To reset your Apple Magic wireless keyboard, begin by holding down the Shift and Option keys (‘Alt’ on some keyboards). Once you have done this, click on the Bluetooth icon in the menu bar. After the menu is showing, release the keys and select Debug > Remove All Devices from the Bluetooth menu. After this is complete, reboot your Mac and setup your keyboard again as normal.
Getting a Computer to Recognize a Keyboard
To get your computer to recognize your keyboard, you’ll need to update the driver for it. To do this, first right-click on the Start menu and select Device Manager. Then, expand the Keyboards section and right-click on the affected keyboard. Select Update Driver from the menu that appears, then choose Search Automatically for Updated Driver Software. This will search online for any available updates for your keyboard driver and install them if found. Once complete, your computer should now recognize your keyboard.
Connecting an Apple Keyboard to a Mac Without Bluetooth
Connecting an Apple keyboard to your Mac without Bluetooth is a straightforward process. First, check to make sure you have the necessary components. You will need an Apple keyboard and a USB cable that is compatible with both the keyboard and Mac.
Once you have these items, plug one end of the USB cable into the Apple keyboard and the other end into one of your Mac’s USB ports. Your Mac should recognize the keyboard automatically, and it should be ready to use in no time.
If you experience any issues connecting your Apple keyboard to your Mac, you may need to update your Mac’s operating system or try a different USB port on the computer. Additionally, if you are using an older version of macOS, you may need to install additional drivers for your keyboard before it can be used with your Mac.

Source: apple.com
Conclusion
In conclusion, the Apple Keyboard is an excellent choice for Mac users. It is easy to set up and use, and it offers a great typing experience. It has a slim design that fits perfectly with your Mac setup, and it comes with a variety of features such as shortcut keys, backlit keys, and more. As long as you have Bluetooth enabled on your Mac, you can easily connect the keyboard to your computer in no time. With its excellent design and features, the Apple Keyboard is definitely worth the investment.


