If you’re new to Mac, one of the firt things you’ll need to do is connect a mouse. Fortunately, it’s a fairly simple process that won’t take too long. In this blog post, we’ll discuss the different types of mice available, how to connect them to your Mac, and tips for setting up your mouse properly.
There are several types of mice avaiable for purchase: wired or wireless, mechanical or optical, and ergonomic or traditional shaped. Wired mice are connected directly to your Mac with a USB cable and remain stationary when used. Wireless ones can be operated from further away and don’t require any cables; however, they will need to be charged periodically. Mechanical models use a roller ball that moves the cursor on the screen while optical models use an LED light instead. Ergonomic mice are designed for comfort and usually feature a curved design that fits the contours of your hand better than traditional ones do.
To connect a mouse to your Mac, simply plug in the USB cable (if using a wired model) or turn on the device (if using a wireless one). Then open System Preferences in the Apple menu and select “Mouse” undr “Hardware.” This will open up the Mouse settings window where you can adjust various aspects such as scroll speed and double-click speed. You can also enable “secondary click” if you want to use two fingers instead of one to click on items.
Once you have connected your mouse and adjusted its settings, it’s important to make sure it is placed properly so that it is comfortable to use. If you have an ergonomic mouse, make sure it is positioned so that your wrist is in a neutral position when using it; if not, consider switching backrests so that there is no pressure on your wrist while using the mouse. If possible, try using an adjustable desk or an angled desk mat so that you can easily adjust the height of your mouse depending on whether you want it lower or higher for more comfortable usage. Finally, make sure there is adequate space arond your mouse so that there are no obstructions – this will help ensure smooth movement without any interference from other objects on your desk such as pens or pencils.
We hope this blog post has been helpful in explaining how to connect a mouse to Mac! With just a few simple steps outlined above, you should have no trouble getting started with connecting yours today!
Troubleshooting Mouse Connection Issues on Mac
Your mouse may not be connecting to your Mac because the Bluetooth connection is not properly established. To fix this, try going to System Preferences > Bluetooth and toggle Bluetooth off and on again. If that doesn’t work, try unpairing and then pairing your wireless mouse with macOS. If that still doesn’t work, you may need to check if the batteries for your wireless mouse are charged or replace them.
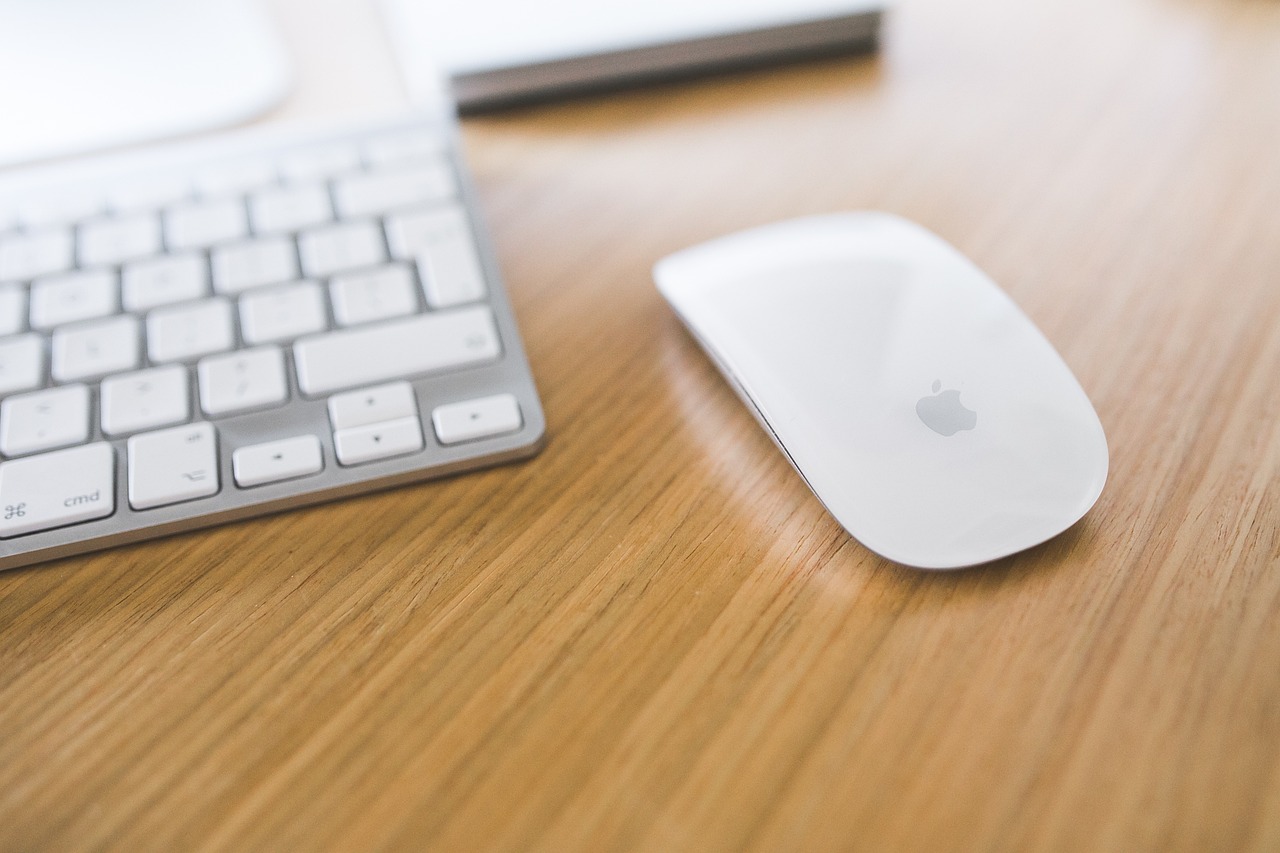
Connecting a Wireless Mouse to a Mac
You can connect a wireless mouse to your Mac withot a mouse by using Bluetooth. First, you will need to turn on Bluetooth on your Mac. To do this, hold the Command (?) key then press the spacebar to open Spotlight Search and type “Bluetooth” then use your keyboard’s arrow keys to highlight “Bluetooth File Exchange” and press the enter or return key. Your Mac will recognize that Bluetooth is disabled and ask if you want to reenable it. Once Bluetooth is enabled, turn on the wireless mouse and make sure it’s in pairing mode. Then select the mouse from the list of devices that appears in the Bluetooth window. Your Mac will then connect to your wireless mouse and you can start using it with your Mac.
Can a Mouse be Connected to a Mac?
Yes, you can connect any mouse to a Mac. You can use either a USB or Bluetooth mouse, including wireless mice that connect through a USB dongle. When plugged in, the mouse will work exactly as it did under Windows with the ability to click and right-click as well as scroll using a scroll wheel.
Syncing a Wireless Mouse to a Mac
To sync your wireless mouse to your Mac, you’ll first need to make sure it’s powered on and withn range of your Mac. Then, open the System Preferences app on your Mac and click on the Bluetooth tab. You should see your mouse listed in the Devices list. Select it and click Connect. Your mouse should now be paired with your Mac and ready for use!
Troubleshooting a Non-Functioning Wireless Mouse
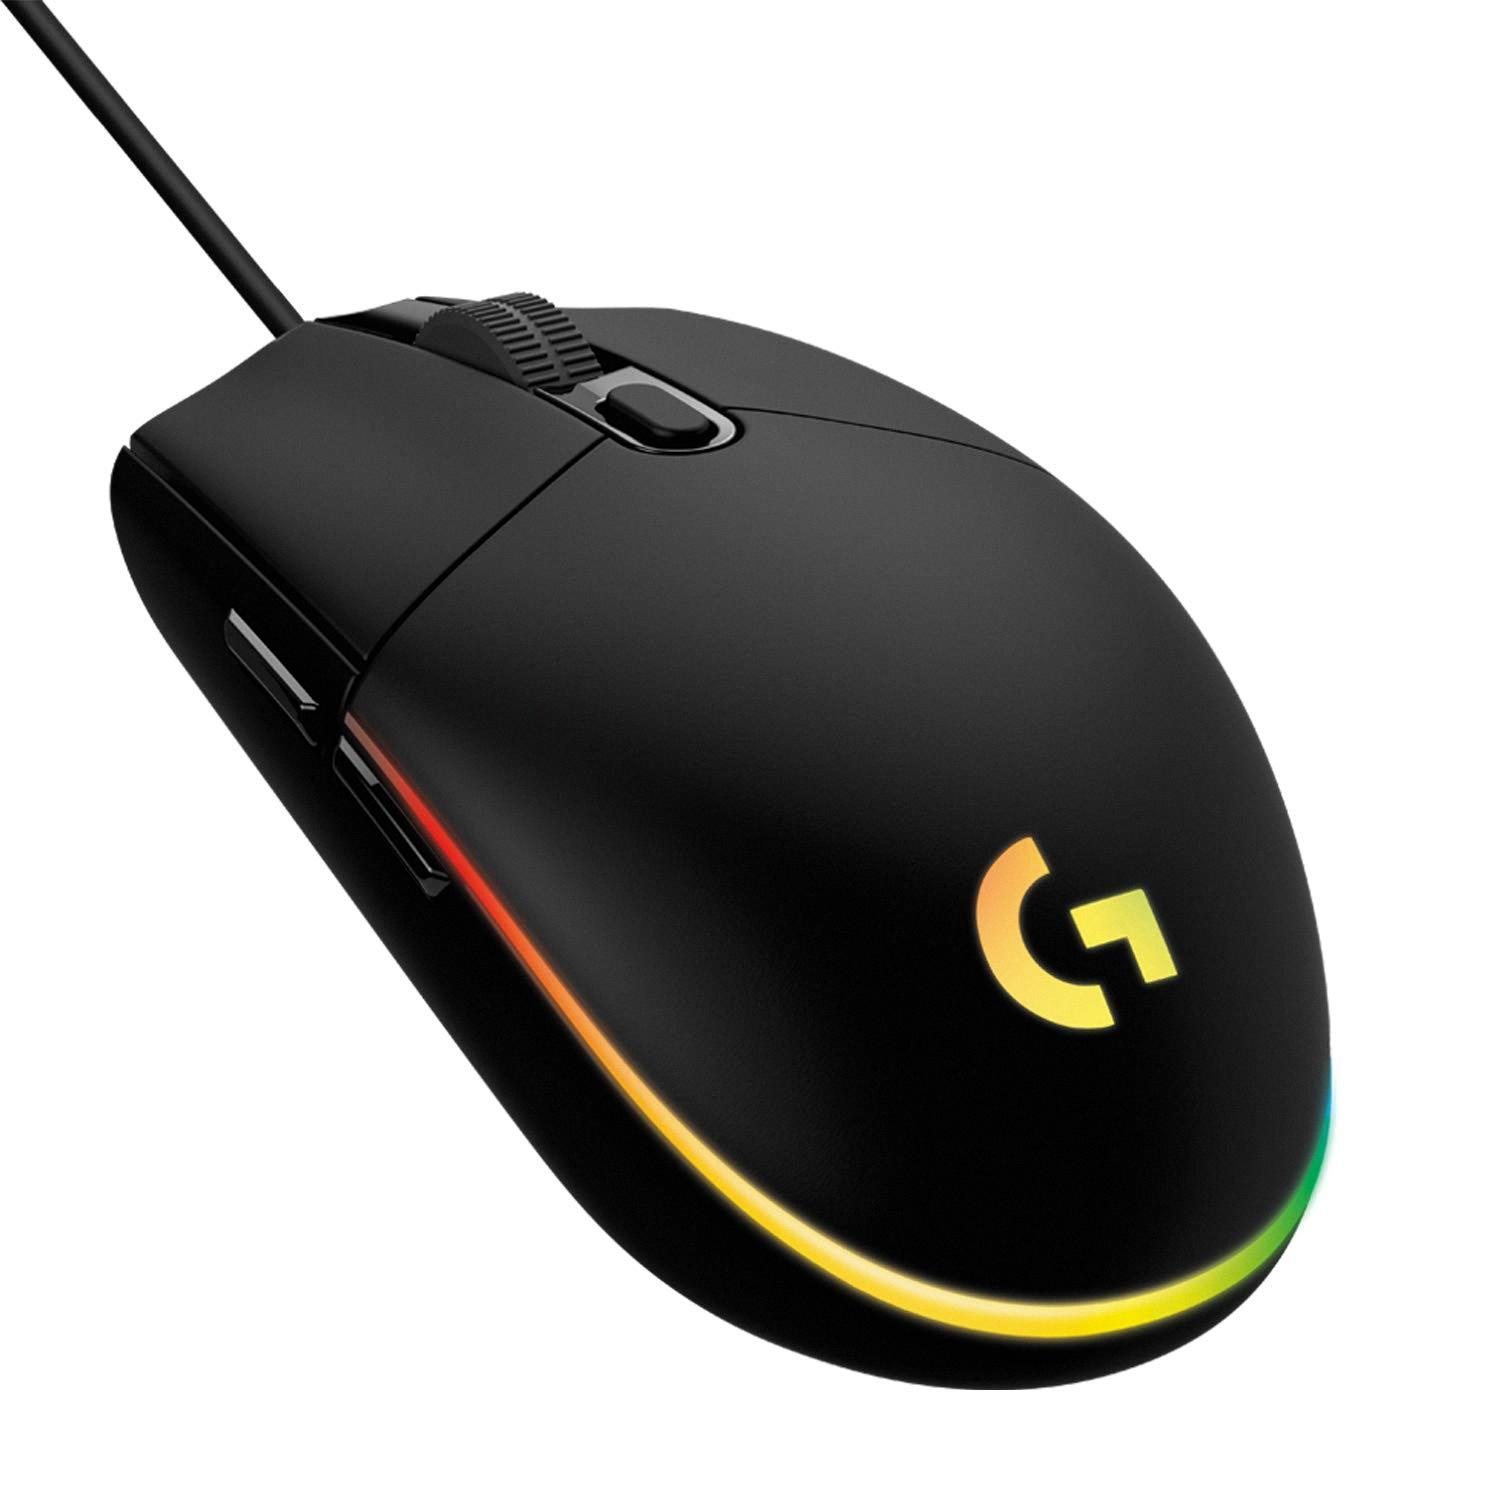
It is possible that your wireless mouse is not working because the batteries may be worn out or installed incorrectly. Check to see if the batteries are inserted correctly and that they still have a charge, then try turning your mouse off and on again. Additionally, some wireless mouse models have a red light at the bottom when powered on; if this does not emit when you lift the mouse slightly off its surface, it could indicate an issue with power or connection.
Source: amazon.com
Getting a Computer to Recognize a Wireless Mouse
To get your computer to recognize your wireless mouse, you’ll need to first make sure that the mouse is turned on and that you have the correct type of receiver for it. Then open the Settings menu via the Windows logo and gear wheel, and click ‘Devices’. Switch on Bluetooth (or activate any oher wireless communication protocols your mouse supports). Press and hold the synchronization button on the bottom of the mouse. It should now appear in the list of devices. Once it appears, select it to connect it to your computer. Finally, follow any additional instructions that appear onscreen to complete setup.
Making a Wireless Mouse Discoverable
To make your wireless mouse discoverable, press and hold the pair button on the bottom of the mouse. The LED light will begin to flash after abut 5 seconds. Then go to your Windows 10 PC and select Connect if a notification appears for your mouse, then wait for it to get set up. You should now be able to use your wireless mouse with your computer.
Connecting a Wireless Mouse
To connect a wireless mouse to your computer, you’ll need to have a Bluetooth-enabled mouse and computer. First, press and hold the Connect button on the bottom of the mouse. On your computer, open the Bluetooth software. Click the Devices tab, and then click Add. Follow the instructions that appear on the screen to complete the pairing process. Once connected, you should be able to use your wireless mouse with your computer.
Setting Up a USB Mouse
To set up your USB mouse, you will need to frst make sure that the mouse is compatible with your laptop model. Once you have confirmed compatibility, plug the USB cable into the matching port on your laptop. Restart the laptop while the mouse is connected and then check that the cursor responds when you move it a few times. Finally, adjust any settings or preferences in your computer’s Control Panel to customize your mouse experience.
Troubleshooting USB Connection Issues on a Mac
It is possible that your Mac is not reading your USB drive because it has not been enabled in the Finder Preferences. To fix this, open Finder > Preferences > General and ensure the “External disks” option is ticked. Once this setting has been enabled, your Mac should be able to read your USB drive. If you continue to have issues, it is possible that the USB drive itself may have some hardware issues such as a bad connection or insufficient power. It may be beneficial to try a different cable or port on the computer beore troubleshooting further.
Do I Need an Apple Mouse for a Mac?
No, you do not need an Apple mouse for a Mac. Any standard USB mouse will work just fine with your Mac. All you have to do is plug it in and it should be recognized by your computer automatically. This includes standard mice with two buttons, which are great for basic navigation as well as more specialized mice with additional features like programmable buttons or extra sensitivity levels.
Connecting a Mouse to a Computer
To connect a mouse to your computer, first make sure that the computer is powered off. Then plug the mouse’s USB cable into an avaiable USB port on your computer. The USB ports are usually rectangular-shaped and located near the edges of the computer case. Once connected, power on your computer and wait for it to recognize the new device. You should then be able to move your cursor with the mouse and use it for everyday tasks.
Troubleshooting a Missing Mouse
If your mouse isn’t showing up, it may be due to a few different factors. If you’re using a wireless mouse, it culd be because the batteries are low or dead and need to be replaced or recharged. If you’re using a USB mouse, it may not be properly connected to your computer or there may be an issue with the cable itself. To fix this, try disconnecting and reconnecting the USB mouse to make sure that it is connected correctly.
Troubleshooting a Non-Functioning USB Mouse
If your USB mouse is not working, it culd be due to a number of factors. Firstly, check the batteries and make sure they are still good. Secondly, ensure that the USB receiver is not blocked by any objects and is within range of the mouse. Thirdly, try plugging the receiver into another port to see if that resolves the issue. Finally, if your mouse is in Safe mode, there may be a driver conflict which would need to be resolved.
Location of the Pair Button on a Wireless Mouse
The pair button on a wireless mouse is usually located on the bottom of the mouse, but depending on the model it can be located in different places. Some mouses may have an external receiver with a connect button that needs to be pressed. Other models may have an On/Off switch or a Sync button. To connect the mouse you may need to use a paperclip or thin instrument to press the pair button. Once connected, you will be able to use your wireless mouse on your PC or Mac.
Compatibility of Bluetooth Mice with MacBooks
Yes, any Bluetooth mouse will work with a MacBook. All you need to do is make sure the mouse is compatible with Bluetooth and you have a Bluetooth connection enabled on your device. To pair the mouse, open up the System Preferences on your MacBook and select “Bluetooth.” Your device will then search for nearby Bluetooth devices. Select your mouse when it appears in the list of devices and follow any additional prompts to complete the pairing process. Once paired, you shuld be able to use the mouse with your MacBook.
Pairing a Wireless Mouse with a Different USB
Yes, you can pair a wireless mouse with a different USB port. To do this, you will need to install the appropriate software for your mouse on your computer. Once the software is installed and the USB port is recognized by your computer, you can then connect your wireless mouse to the USB port. After that, you should be able to use your wireless mouse with no furher setup required.
Connecting a Wireless Mouse to a Mac Without USB
To connect a wireless mouse to your Mac without USB, you’ll first need to ensure that the mouse is on and within range of your Mac. Then, open System Preferences and click on the Bluetooth icon. If Bluetooth is not alreay turned on, select Turn Bluetooth On. Once the mouse appears in the list, select it and click Connect. Your mouse should now be connected to your Mac without using USB!
Which USB Port Should I Use for My Mouse?
The type of USB port you plug your mouse into does not make a significant difference in performance, as mouse and keyboards are low-speed devices. The most important factor is that the port is functioning properly and that it is compatible with your device.
If you have multiple USB ports on your computer, it’s recommended to use the higher-speed ports, such as USB 3.0, for other fast operations. This way, the lower-speed ports like USB 2.0 can be used for your mouse or keyboard. Additionally, if you are using a laptop and only have one USB port available, then that port should be used regardless of its speed rating sice it will still work just as well as any other port.
It’s also worth noting that some mice and keyboards may come with extra adapters or hubs to help connect them to the computer. If this is the case, make sure to consult the product manual in order to ensure you’re using the correct adapter or hub for your device’s connection type.
Overall, connecting your mouse or keyboard to any available USB port shold provide satisfactory performance regardless of speed rating; so don’t worry about having to plug them into a specific type of port!
Getting Mac to Recognize a Device
To get your Mac to recognize a device, you will first need to ensure that the device is compatible with your Mac. Once you have confirmed this, connect the device to one of your Mac’s USB ports and wait a few seconds for it to be recognized. If the device does not apper in System Information (Apple menu > About This Mac > System Report), then you may need to install any necessary drivers for it. You can usually find these on the manufacturer’s website or in the product manual. If you still cannot get your Mac to recognize the device, try restarting your computer and re-plugging it in.
Enabling USB Devices on Mac
In order to enable USB devices on a Mac, you will need to fist make sure you have the latest version of macOS installed. Then, open the System Preferences window and select the Security & Privacy option. From there, click on the Privacy tab and select Accessibility from the list on the left side. In this window, you should be able to enable USB devices by checking off the box next to “Allow USB accessories to connect to this computer”. Once that is done, your USB devices should be enabled and ready for use. If you are still having trouble enabling your USB devices, try resetting your Mac’s System Management Controller (SMC) or using a powered USB or Thunderbolt 3 hub.
Can I Use a Mouse With My MacBook Pro?
Yes, you can use any mouse on your MacBook Pro, provded that it is compatible. Wired mice typically plug directly into the USB-C port on your laptop and will work straight away without any additional setup. Wireless mice usually require a USB-C receiver or Bluetooth connection, so make sure to check the specifications of the device to ensure compatibility. Most major brands such as Logitech and Microsoft have designed their mice specifically for Macs, so you should have no problem finding one that is perfect for your needs.
Can Macs Be Used With Any Mouse and Keyboard?
Yes, you can use any mouse and keyboard with Mac. Most USB and Bluetooth input devices will work straight away when connected to your Mac. This includes all kinds of keyboards, mice, and other gaming accessories from a variety of manufacturers. As long as the device is compatible with your Mac’s operating system, it should work without any additional setup or configuration.
Is a Magic Mouse Necessary?
No, a Magic Mouse is not necessary. A trackpad will provide most of the same features as the Magic Mouse and likely more features than you need. The Magic Mouse can be helpful if you’re looking for a more precise control of the cursor or if you prefer using a mouse over a trackpad. However, there are other alternatives that offer similar features and precision such as a traditional mouse or even a stylus. Ultimately, it depends on your preferences and needs when it cmes to controlling your cursor on your computer.
Conclusion
The mouse is an essential device used in modern computing. It is a pointing device that allows users to interact with their computers and other digital devices. Without it, navigating through the many different functions of today’s computers woud be impossible. The mouse has become an integral part of computing and its design has evolved over time from the traditional ball-and-wheel model to the newer laser and optical models. It is available in various shapes, sizes, and colors, making it easy to find one that fits your needs. The mouse is also highly customizable with programmable buttons and adjustable sensitivity settings. With its versatility and user-friendly design, the mouse remains a staple for computer users everywhere.


