Ever had a conversation where the other person keeps saying, “You’re coming through faintly”? Annoying, right? Keeping your AirPods microphone free of debris can truly make a difference in preventing distorted sound and making sure every conversation, voice note, or audio capture is as crisp as it should be.
Dust and wax build up might not seem like much, but over time, they have a potential to subtly ruin how well other people can hear your voice. When it comes to AirPods microphone cleaning routine, it’s not just about tidiness, it’s about preserving AirPods sound quality and clean AirPods for calls that come through easily and loud as can be, so that you can make the most of your audio.
Tools Needed for Cleaning AirPods Microphone
The right tools are key in order to make your AirPods microphone clean and working like it would normally. It might be tempting to grab whatever is around, but specialized tools for cleaning your AirPods will help you avoid damaging the delicate microphone, if not other parts. Here’s a quick list of safe tools to consider for this job:
1. Soft-bristled toothbrush: It won’t be abrasive, and it can gently remove dust and debris. The soft bristles on the toothbrush work great for loosening build up around the microphone and speaker grills.
2. Anti-static brush: Unlike typical brushes, anti-static brushes don’t generate static electricity so it’s safe to use on sensitive electronics. This is especially helpful if you’ve seen instead a buildup of lint, or even dust, that could affect audio quality.
3. Dry microfiber cloth: In any AirPods cleaning kit, a dry microfiber cloth is a must. And, it’s just perfect for wiping down your AirPods after getting those little loose particles off them.
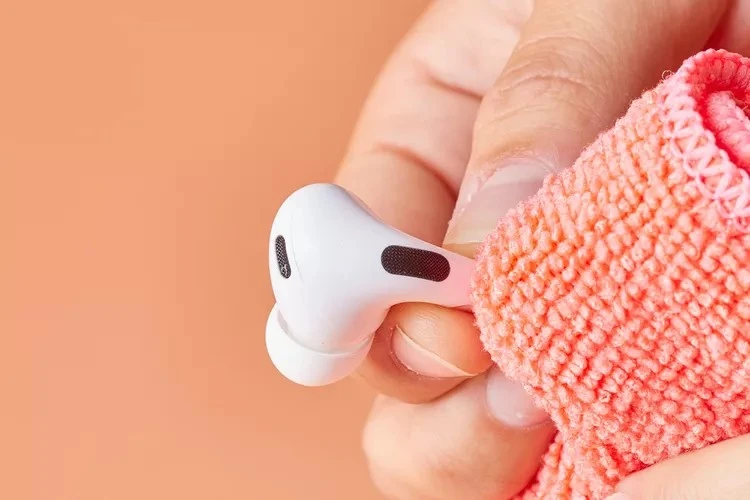
Don’t use a wet cloth or any cleaning liquid, they can damage the internal parts.
4. Compressed air (optional): If it is hard to blow the dust out, a quick blast of compressed air can dislodge the stuck dust inside the microphone opening. But it is important to use it sparingly, and only at a slight distance, so that the particle doesn’t get pushed even further inside.
That’s it, if you stick to these tools for cleaning AirPods you’re safe so that you don’t damage your AirPods when cleaning.
Step-by-Step Guide to Cleaning the AirPods Microphone
Cleaning your AirPods microphone can greatly improve sound clarity during calls and voice recordings. Let’s look at a straightforward, effective way to handle cleaning AirPods microphone without risking damage.
1. Gather Your Cleaning Tools
You’ll need a few basic items: a soft-bristled toothbrush, a can of compressed air (optional but helpful), and a dry, lint-free cloth. These tools will allow you to clear out any dust or dirt clogging up the tiny microphone holes without applying too much pressure.
2. Brush the Speaker Grille Gently
Start with the soft-bristled toothbrush, brushing across the speaker grille gently. The bristles can loosen any built-up dust or debris on the surface. Remember, the AirPods microphone maintenance is delicate, so avoid pressing down too hard, as even a slight force could damage the sensitive microphone components.
3. Use Compressed Air Carefully
If there’s still dust or particles lingering, carefully apply a burst of compressed air, keeping the nozzle a few inches away from the microphone. Aim to blow out dust, not push it deeper in. Using compressed air with care can help in how to clean AirPods effectively without creating new issues.
4. Wipe with a Dry Cloth
Finish up by wiping the entire surface with a dry, lint-free cloth to remove any remaining debris. This final step in AirPods microphone maintenance keeps the surface clean and avoids moisture buildup, which could potentially affect sound quality.
Using Compressed Air: Dos and Don’ts
Making use of compressed air for AirPods can be an effective way to keep the microphone clean, but it’s crucial to handle it properly to avoid damage.
Start by ensuring you keep your AirPods at least 30 centimeters away to prevent excessive pressure from harming delicate components. When you’re ready, aim the nozzle at an angle and use short bursts instead of a continuous stream; this helps minimize moisture buildup while allowing you to clean your AirPods without forcing dust deeper inside.
Remember, safe handling makes all the difference for safe AirPods cleaning, protecting your microphone while keeping sound quality intact.
Common AirPods Microphone Issues Due to Dirt
A buildup of dirt can lead to several AirPods microphone issues that might disrupt your listening and call experience.
Common signs of dirt affecting AirPods microphone performance include muffled sound from your AirPods, where voices may sound muted or unclear, and a noticeable drop in audio quality during calls. In some cases, the microphone may even stop working altogether. Regular cleaning helps avoid these issues, ensuring that your AirPods maintain clear audio for calls and recordings.
Gently removing dirt and dust from the microphone area with a soft-bristled brush or microfiber cloth can keep your AirPods performing at their best and save you from frustrating audio mishaps.
Tips for Keeping Your AirPods Microphone Clean
If you want to maintain clean AirPods, start by storing them in their case whenever you’re not using them—this protects them from dust and other particles.
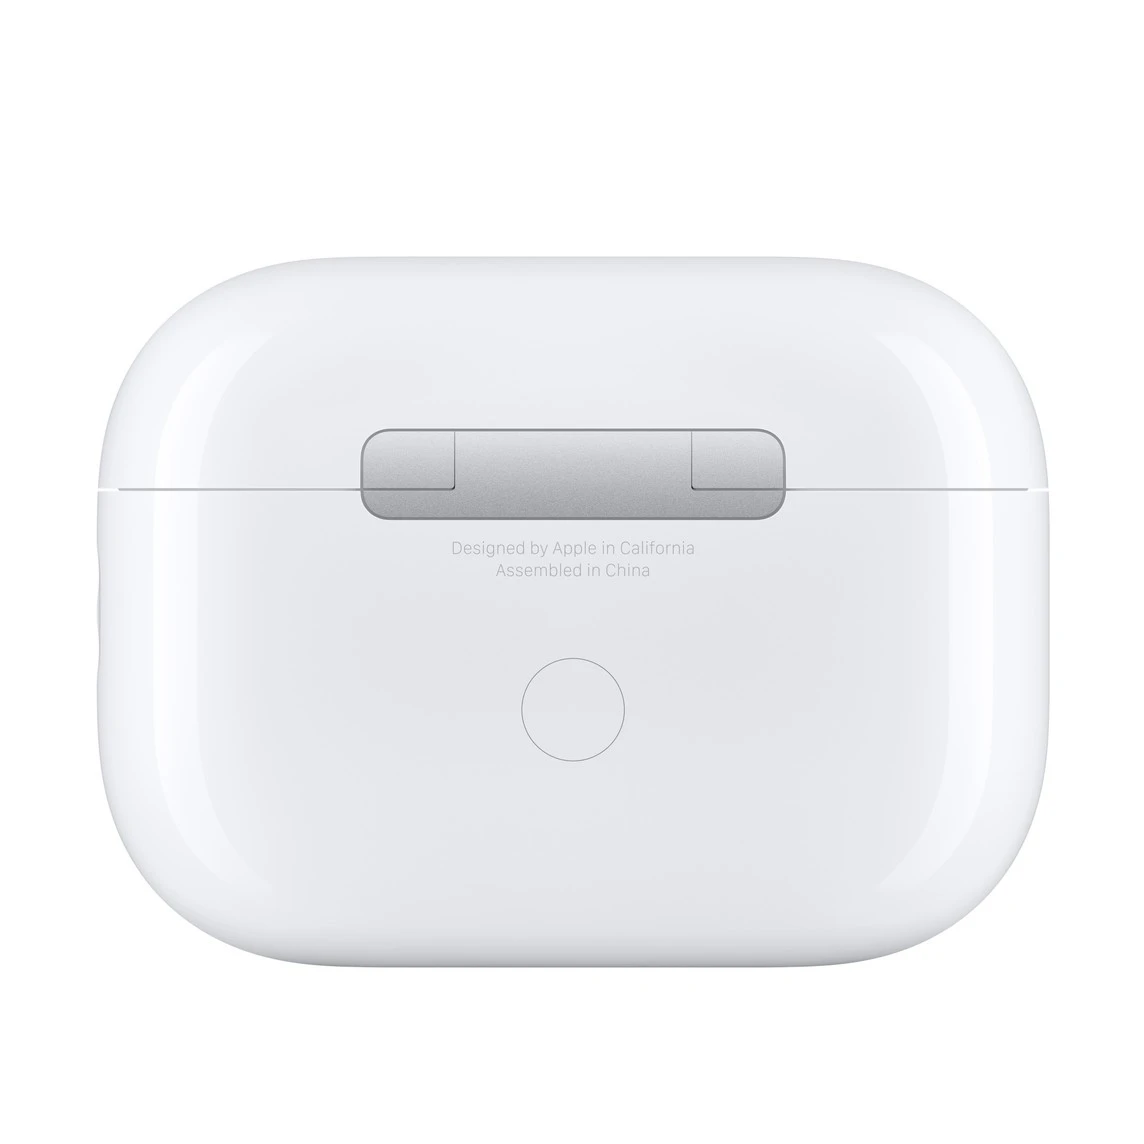
Weekly cleaning with a soft, dry brush can help prevent any buildup on the microphone.
Make sure to avoid using liquids or exposing them to moisture, as this can damage the microphone. These tips for AirPods care not only improve sound quality but also extend the life of your device. Don’t forget to protect your AirPods microphone by keeping them out of dusty areas and handling them with care to prevent any accidental clogs or damage.
Troubleshooting AirPods Microphone Sound Quality
If your AirPods still don’t have good microphone quality after cleaning, there are a few quick steps you might want to try.
First up is to update the firmware on your AirPods, because Apple often releases updates to troubleshoot AirPods microphone problems and improve audio quality. Next, try resetting your AirPods, which can refresh their connection and often improve AirPods sound by fixing minor bugs.
In order to do this, simply find Bluetooth settings on your device, forget the AirPods and then re-connect as if you’ve never paired them before. Also, make sure you reset AirPods microphone settings and that you have your microphone set to automatic or whichever side you prefer.
If that still doesn’t help, it may be time to head on over to an Apple Store where a technician will be able to pinpoint if any hardware related issues caused the poor quality in the first place.
Conclusion
Maintaining a clean AirPods microphone is essential because it ensures that your AirPods work to their full potential. All of this dust accumulates over time to the detriment of your clarity of calls and audio recordings. Cleaning your AirPods might take a few minutes, but it’ll make sure you get crisp, beautiful sound with every call and voice command.
This one simple maintenance extends your Airpods life for an even longer period so you can enjoy premium sound quality for a long time. Thankfully proper AirPods microphone care does more than maintaining crystal clear audio, it helps maintain AirPods quality too.

