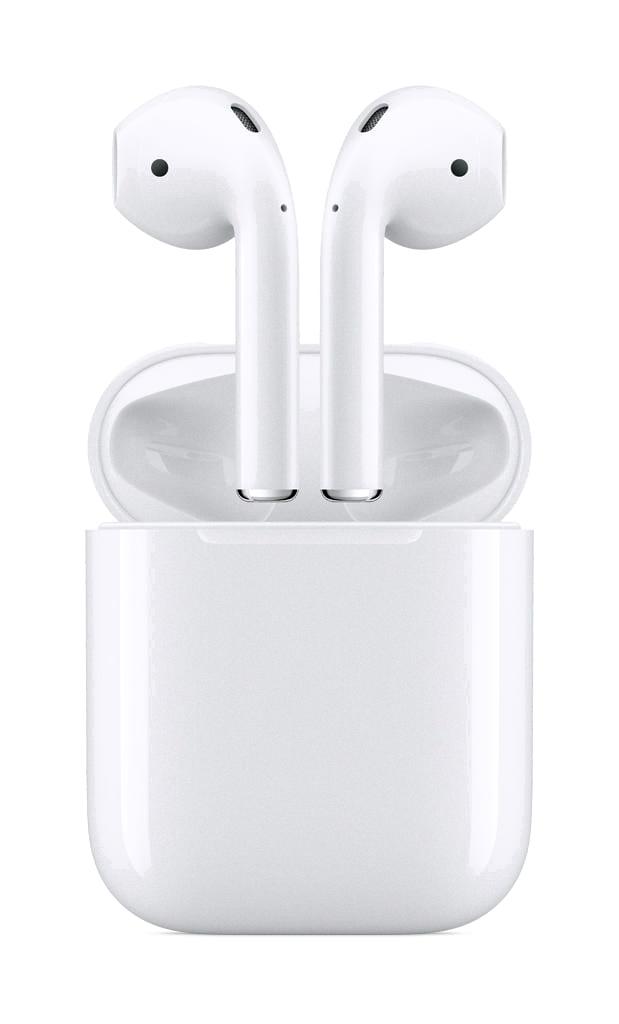
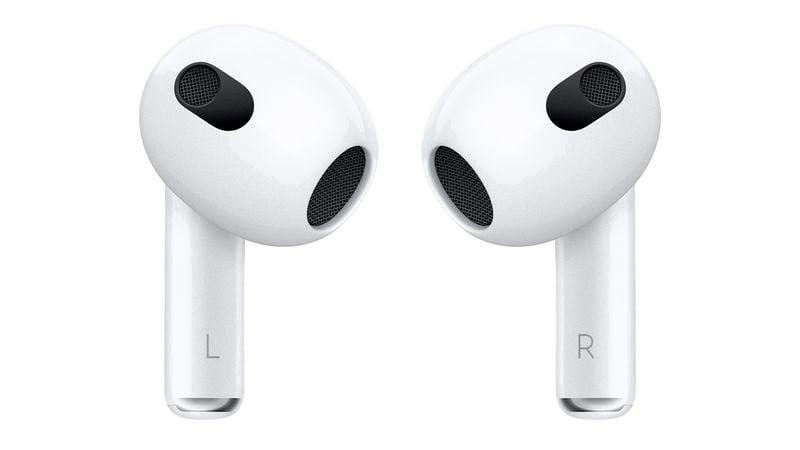
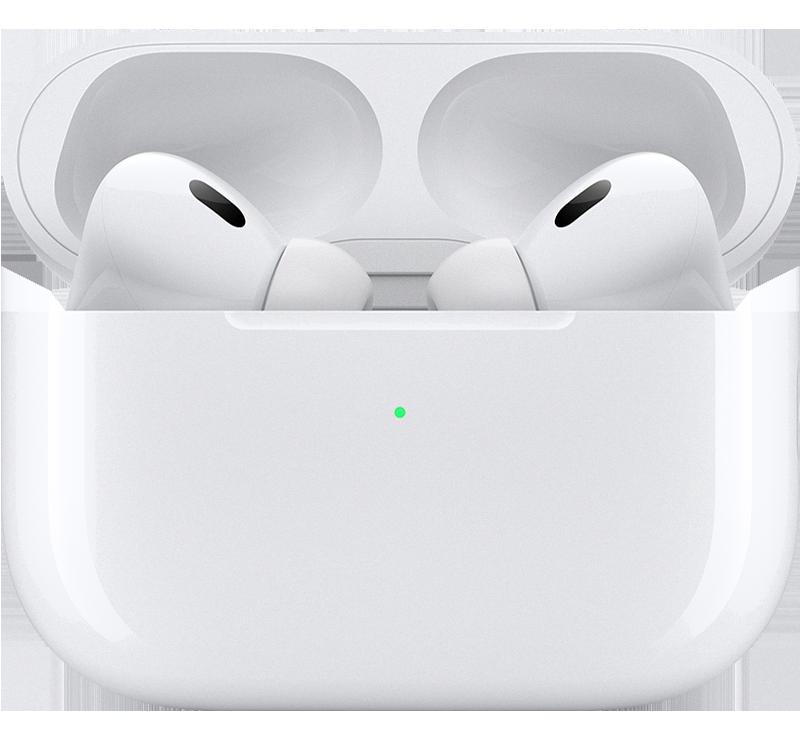
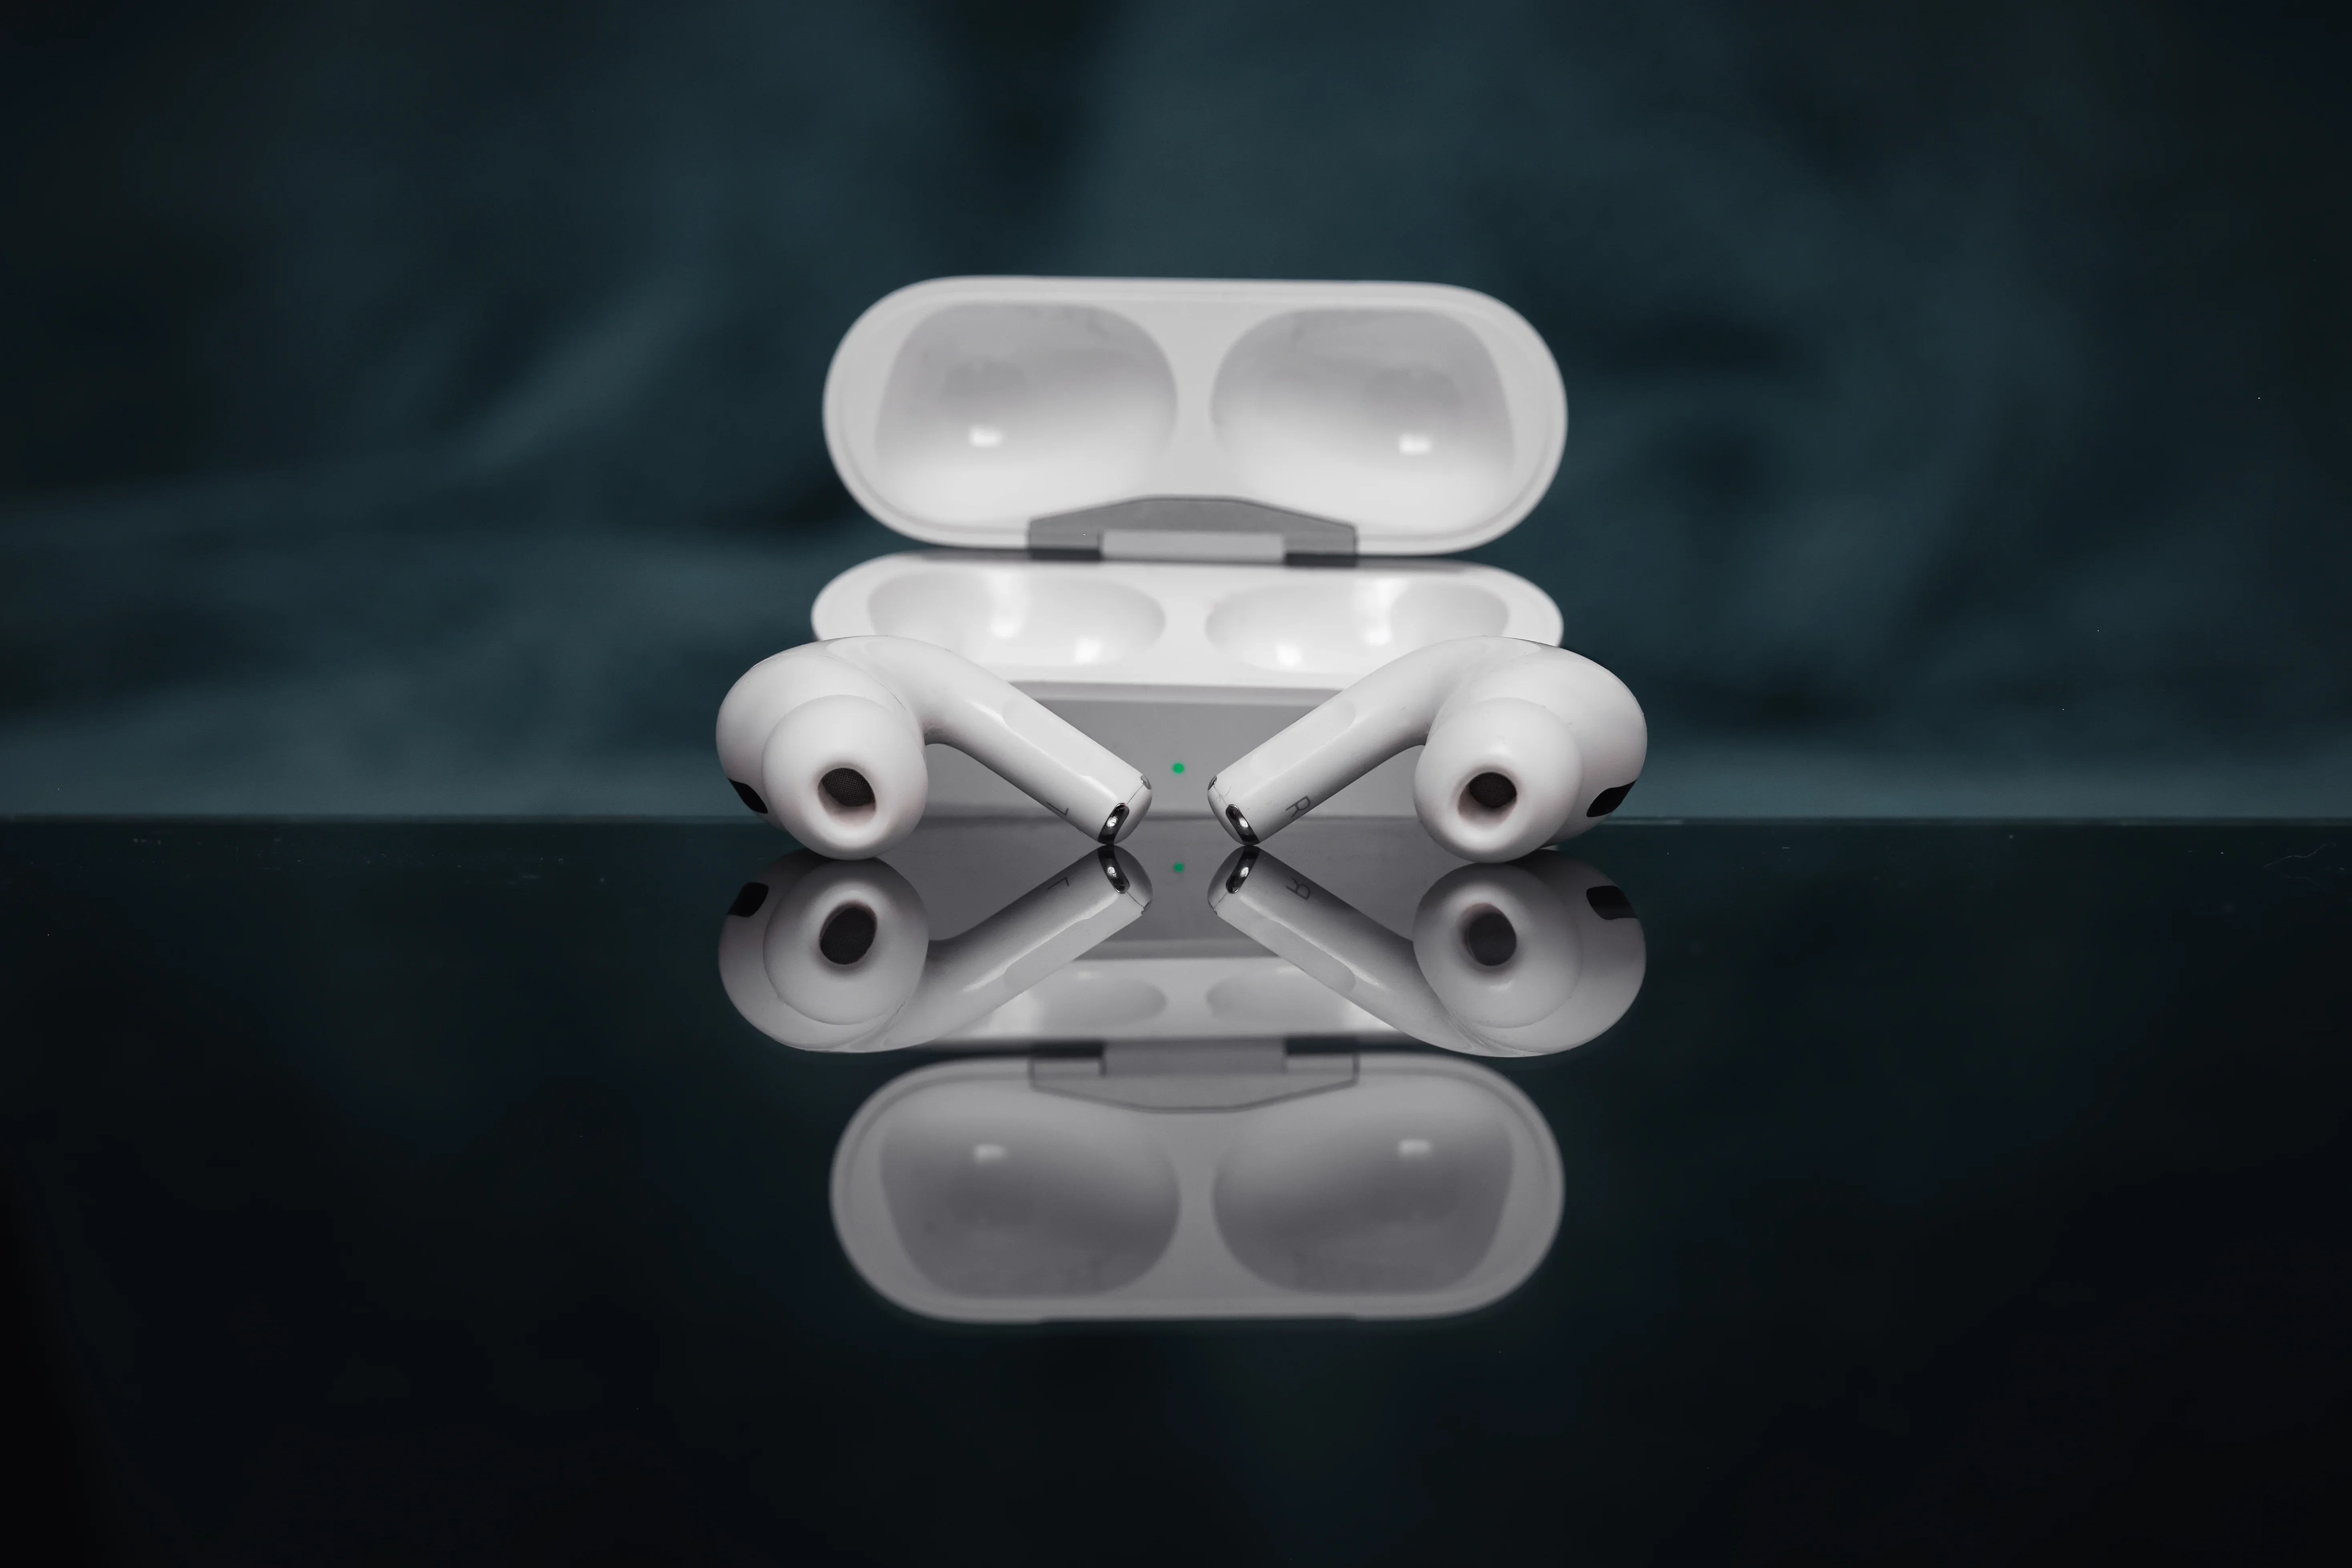
Are your Airpods’ microphone not working as it should? It might be time to clean the microphone and speaker grilles.
Although AirPods are designed to be resistant to dirt and dust, over time, the microphones and speakers may become clogged with lint, dirt, and oter debris. Fortunately, cleaning the microphone and speaker grilles on your AirPods is a relatively straightforward process that can help restore sound quality back to normal.
To start, you should make sure that you have the latest software installed on your connected device. Then check that your device is nearby, with no wireless interference or obstruction between you and your device. Lastly, listen to audio from a different app to make sure that the app isn’t causing the issue.
If you’ve been usng your AirPods for several months now, the microphone holes might have accumulated lots of grime inside them. This can cause your AirPod’s microphone sound muffled or distorted. To clean them out, start by spraying a cotton swab with rubbing alcohol (but don’t get it too wet). Then carefully wipe away any debris or buildup from both the microphones and speakers in each of the pods.
You can also try turning off all noise cancellation features on your AirPods Pro or Max if you have them; this culd help improve sound quality as well! In addition, check for any water damage by inspecting both pods for any discoloration or corrosion. If there are signs of damage, take your AirPods to an Apple Store for repair or replacement.
Finally, resetting your AirPods can also be helpful in restoring sound quality back to where it should be. To do this, simply hold down both buttons on either side of the case util you see a white light appear at the front of the case – then release. You may also want to try out Transparency Mode on calls; this feature allows more ambient sound in so that you can still hear what’s going on around you while talking on a call.
In summary: cleaning your AirPods’ microphones and speakers is important in order to maintain optimal sound quality over time. Make sure you have updated software installed on your device before starting any of tese steps for best results!
Fixing a Muffled Microphone on an AirPod
The first step in fixing a muffled microphone on an AirPod is to check the battery. If the battery is low or has died, it could be causing the microphone to sound muffled. If this is the case, you shoud charge your AirPod until it has a full charge.
If the battery is not the issue, try using only one of your AirPods microphones. This can help isolate any issues with one microphone being muffled and alow you to better diagnose any issues.
If you are using an AirPod Pro or Max, turn off any noise cancellation that may be enabled as this can cause muffling in certain environments.
If the microphone still sounds muffled, you should clean both the microphones and speakers of your AirPods. You can do this by using a soft cloth and some rubbing alcohol to gently wipe down both components.
You should also check for any water damage as this can cause a muffled sound from your microphone. If there are any signs of water damage, you should replace your AirPods as soon as possibe to avoid further damage.
If none of these steps have worked, try resetting your AirPods by pressing and holding both volume buttons for at least 15 seconds until you hear a chime indiating that they have been reset.
Finally, if you are using an AirPod Pro or Max, try turning on Transparency mode when making calls as this can help reduce background noise and improve audio quality for users on either end of the call. Additionally, make sure that your AirPods have the latest firmware installed so that they have all bug fixes and performance improvements availale from Apple.

Source: walmart.com
Troubleshooting Crackling AirPod Microphone
The most likey cause of your AirPods microphone crackling is either a software issue or a hardware issue. If you are running outdated software, it can interfere with the performance of your AirPods. You should make sure that both your iPhone and AirPods are up-to-date with the latest version of iOS and macOS. If you recently updated either one, try uninstalling the update and reinstalling it to see if this fixes the problem.
If updating does not help, then there may be a hardware issue causing the crackling. Make sure that your AirPods are clean and free from any debris, as this can cause interference in the microphone. You can also try resetting your AirPods by following these steps: go to Settings > Bluetooth > tap on the “i” symbol next to your AirPods > tap Forget This Device > tap Forget Device again when prompted > restart both devices and try reconnecting them again.
If none of these solutions work, then you may need to contact Apple Support for further assistance.
Troubleshooting Poor Audio Quality on AirPods
If your AirPods microphone is not clear, it could be due to a buildup of dirt and debris inside the microphone holes. Over time, this can cause the sound to become muffled and unclear. To fix this problem, you can try cleaning the AirPods with rubbing alcohol and a cotton swab. Make sure not to get the swab too wet, and carefully clean arund the microphone holes. If that doesn’t help, you may need to replace your AirPods or take them in for repair.
The Location of the AirPod Mic
The AirPod mic is located in each AirPod. The microphone is set to Automatic by default, so eiter of the AirPods can act as the microphone. You can also manually set the microphone to Always Left or Always Right if you are only using one AirPod.
Improving Voice Clarity on AirPods
To make your AirPods voice clear, you’ll need to adjust the settings on your iPhone, iPad, or iPod touch.
First, go to Settings > Accessibility > Audio/Visual > Headphone Accommodations. Make sure Headphone Accommodations is turned on.
Then tap Transparency Mode and turn on Custom Transparency Mode. This will allow you to hear more of your surroundings without having to remove your AirPods.
Finally, turn on Ambient Noise Reduction which will reduce background noise and help make your AirPod’s voice clearer.
Once you have these settings adjusted, you should notice an improvement in the clarity of the voice coming through your AirPods.

Source: macrumors.com
Repairing an AirPods Microphone
Yes, the AirPods microphone can be repaired if it is not working properly. The best way to fix any microphone and audio bugs with your AirPods is to update the app. You can also reset your AirPods whch will essentially delete them from your device and allow you to reconnect them for a fresh connection. If these steps do not work, then you may need to replace the AirPods or get them serviced by Apple.
Fixing a Crackling Microphone
To fix a crackling microphone, you need to locate the loose connection in the wire. You can do this by wiggling the cord at both the plug and headset while moving the mic around. Once you have identified where the loose connection is, you should loop and tape down the wire at that point to temporarily stop the noise until you have it re-soldered or replace your headset.
The Effects of Static in AirPods
No, it is not normal to hear static in AirPods. In some cases, a small percentage of AirPods Pro may experience sound issues, including crackling or static sounds that increase in loud environments, with exercise or while talking on the phone. Active Noise Cancellation may also not work as expected, such as a loss of bass sound. If you are experiencing any of these issues with your AirPods Pro, contact Apple Support for assistance.

Source: support.apple.com
Improving the Clarity of a Microphone
To make your mic more clear, there are a few steps you can take. First, make sure you are in a quiet room with little to no background noise. Second, position the microphone at least a few inches away from your mouth and try to keep it off of a desk or other hard surface. Third, point the back of the microphone towards any noise sources to reduce their impact on your sound quality. Fourth, use a pop filter or windscreen to reduce any unwanted plosives like ‘p’ and ‘b’. Fifth, adjust the gain settings on your microphone to give yourself more headroom when recording. Sixth, use compression or noise-gating settings if available on your audio interface or recording software to reduce background noise further. Finally, use EQ settings if necssary to boost or cut specific frequencies that may be causing problems with clarity. With these tips in mind, you should be able to achieve much better sound quality for your recordings!
Troubleshooting AirPods Call Audio Issues
It’s possible that your AirPods’ microphones are blocked or dirty, which is preventing callers from hearing you. To fix this, you shuld first clean the microphone grills located at the bottom of each AirPod with a q-tip and some 70% isopropyl alcohol. If this doesn’t solve the problem, then you may need to check if your AirPods are connected properly to your device. Additionally, make sure that your volume is high enough for callers to hear you clearly.
Identifying a Broken AirPod Microphone
To determine whether your AirPod mic is broken, you should first check the microphone settings on your iPhone. Go to Settings, select Bluetooth, and then look for your AirPods under “My Devices”. Tap the “I” info icon and choose “Microphone” to make sure the “Automatically Switch AirPods” option is enabled. If this doesn’t fix the issue, you should try testing the mic by recording a short audio clip with it. If there is still no sound or if it’s distorted, then it’s likely that your AirPod mic is broken.
Do AirPods Have Good Quality Microphones?
Yes, the AirPods (2nd generation) generally have good mics. The built-in microphone units are powered by advanced sensors and accelerometers that can detect subtle nuances in sound quality, allowing for clear and accurate audio transmission. However, in noisy or windy environments, the microphones may not perform as well due to their limited noise cancellation capabilities.
The Effect of Background Noise on AirPods Microphone Performance
No, AirPods and AirPods Pro do not pick up background noise. Instead, they use an inward-facing microphone that listens inside your ear for unwanted internal sounds. They also come with an anti-noise feature that counters those sounds. Additionally, you can switch to Transparency mode to let otside sound in so you can hear what’s going on around you.
Conclusion
In conclusion, Airpods are a great way to enjoy music and make phone calls on the go. The built-in microphone ensures that sound is captured clearly and accurately. If you experience any issues with your Airpod mic, you can try a few simple fixes such as checking the battery, usig only one microphone, turning off noise cancellation (for AirPods Pro and Max), cleaning the microphones and speakers, checking for water damage, resetting your AirPods, or trying transparency mode on calls. Updating the firmware of your AirPods may also help. Lastly, if all else fails you may need to seek technical help from Apple Support.


