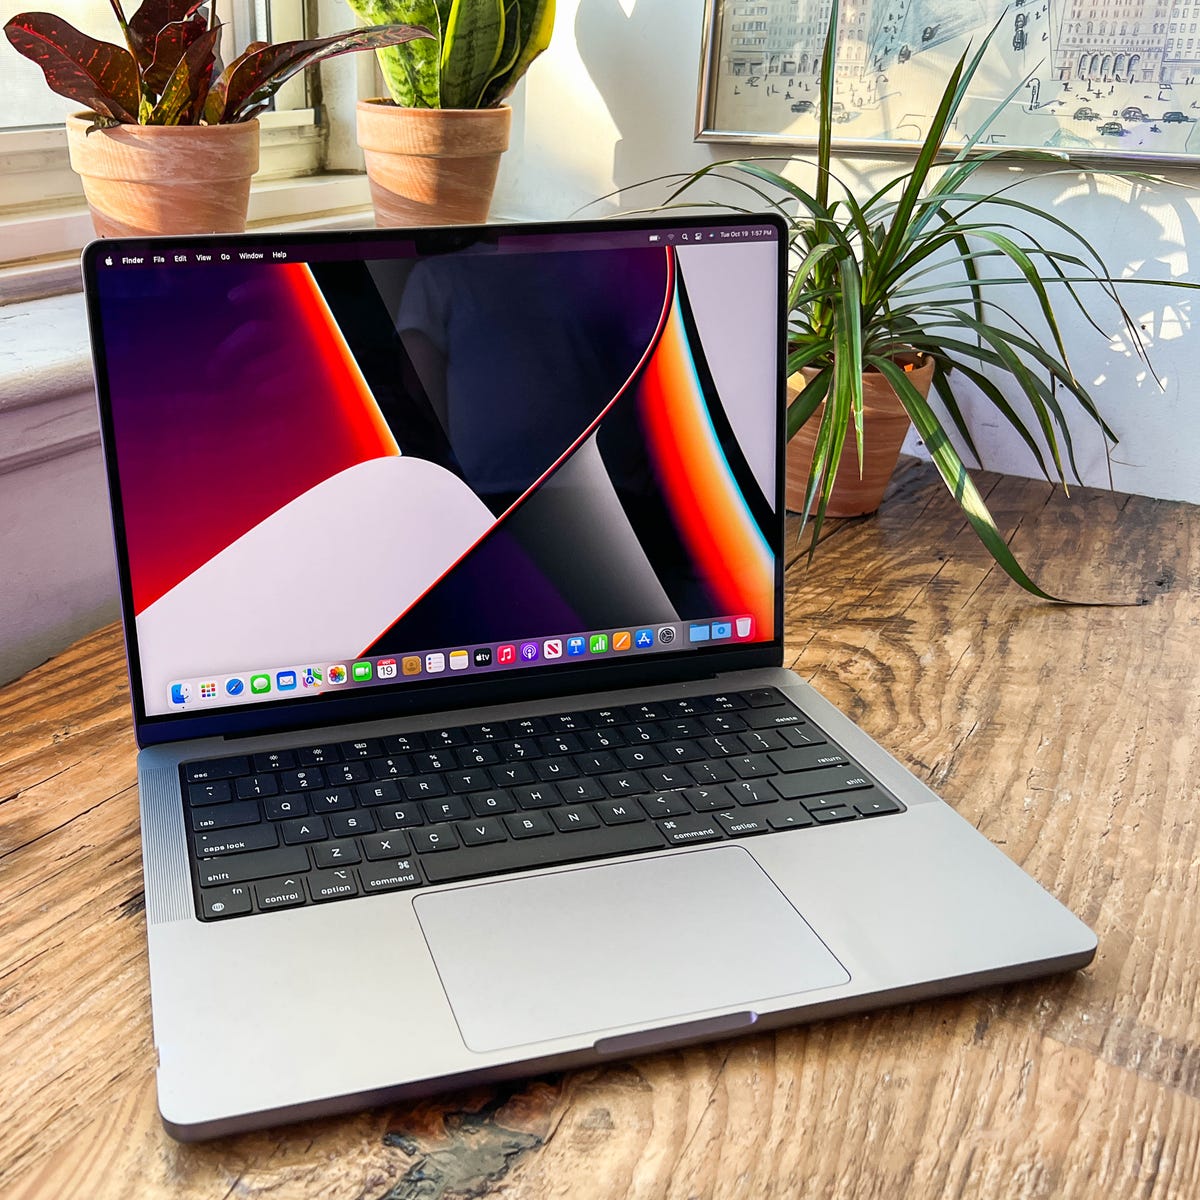
If you’re a Mac user, chances are you’ll need to convert image formats from time to time. Whether it’s for a project, presentation, or just for fun, converting an image to another format is usually the best way to go about it. Fortunately, Macs have a lot of great tools availabe for quickly and easily converting images from one format to another. In this article, we’ll take a look at how you can use your Mac to change image types with ease.
To get started, you’ll need to launch the Preview app on your Mac. This app is included with every version of macOS and can be found in the Applications folder. Once launched, either open the image file you want to convert or drag-and-drop it into the Preview window. Now that your file is open in Preview, select File > Export from the top menu bar. This will bring up a window where you can select the output format for your image file (JPEG, PNG, TIFF, GIF etc). Select whichever format you need and click ‘Save’.
Alternatively, if you want more control over your conversion settings (such as compression quality), right-click (or ctrl-click) on your image file and select ‘Convert Image…’ from the Quick Actions menu that appears. Here you can choose which type of output format (JPEG or PNG) and even specify an output file size (smaller or larger). Once done, click ‘Convert’ and your image will be converted in no time!
As you can see from this quick tutorial, changing an image type on Mac is actually quite simple when using Apple’s built-in tools. With just a few clicks of the mouse you’re able to take any image file and quickly convert it into whatever output type you need without having to download any costly third-party software or apps. So next time you want to switch up an image’s file type on your Mac don’t forget that Preview has got your back!

Converting HEIC to JPG on Mac
To change HEIC to JPG on Mac, you can use the Preview app. First, open your HEIC image in Preview. Then, select File from the top menu and choose Export. In the Format drop-down menu, select JPG as the output format. Give your new JPG photo a name and choose where you want to save it. Finally, click Save to finish the conversion process.
Changing an Image File Type
Changing an image file type is easy and can be done in just a few steps. First, open the image with an image editing program of your choice, such as Photoshop or GIMP. Then, go to File > Save as and open the Save as type drop-down menu. You can then select from seveal different file types, such as JPEG, PNG, TIFF, GIF, HEIC, and multiple bitmap formats. Once you have chosen the desired type of file format for your image, click on ‘Save’ to save the file to your computer. The image will then be converted into the chosen file type.
Converting an Image to PNG on a Mac
To convert an image to a PNG on a Mac, right-click (or Ctrl-click) the image file or drag a selection box over several image files, then select Quick Actions -> Convert Image. In the dialog that appears, choose PNG as the desired format and select the output size (small, medium, large, or actual). Click ‘OK’ to save the changs and start the conversion process. The new PNG image will be saved in the same folder as the original image file.
Converting JPEG Files to JPG
Converting a JPEG file into a JPG file is a simple process that only takes a few steps. First, you must upload the JPEG file from your computer, Google Drive, Dropbox, or an URL. You can also drag the file onto the page. After that, choose ‘to jpg’ and select JPG or any oher format you need as the output (more than 200 formats are supported). Finally, click ‘Download’ to save the converted file in JPG format. That’s all there is to it! With this quick and easy method, you can quickly turn your JPEG files into JPGs with minimal effort.
Stopping HEIC Use on a Mac
On your Mac, you can stop using HEIC (High-Efficiency Image Format) by adjusting the settings in the Photos app. To do this, open the Photos app and go to Preferences. Under the General tab, uncheck the box next to “Copy items to the Photos library.” Next, select the Import tab and uncheck “Create Optimized versions of my imported photos.” This will disable HEIC so that all photos taken with your Mac will be saved as JPEG or PNG.
Converting HEIC Images to JPG
To convert a picture from HEIC to JPG, you can use the Preview app on your Mac. First, open the HEIC image in Preview then click File and select Export. In the Format menu, choose JPG and click Save. This will save a copy of the image as a JPG file. Depending on what type of software you’re using, you may also be able to directly open or import the HEIC file into your program and save it as a JPG that way.
Converting JPEG to JPG on Mac
Yes, you can change a JPEG to a JPG on Mac using the Preview app. Open the JPEG file in Preview, then choose File > Export. From the Format pop-up menu, select JPG. If you don’t see JPG listed in the menu, press and hold the Option key whle clicking on the Format pop-up menu to see specialized or older formats.
Conclusion
In conclusion, the Mac is a powerful and feature-rich computer system that can meet the nees of both casual users and professionals. It offers an intuitive user interface, reliable performance, and access to a wide array of software applications. Additionally, its built-in tools such as Preview make it easy to convert photos and other media files into different formats. With its combination of features and reliability, the Mac is an excellent choice for anyone looking for a reliable computer system.


