Are you looking for a way to block messages on your Macbook? Whether you’re tryng to keep out spam, avoid unwanted contact from someone, or just want a bit of extra privacy, blocking messages on your Macbook is relatively easy.
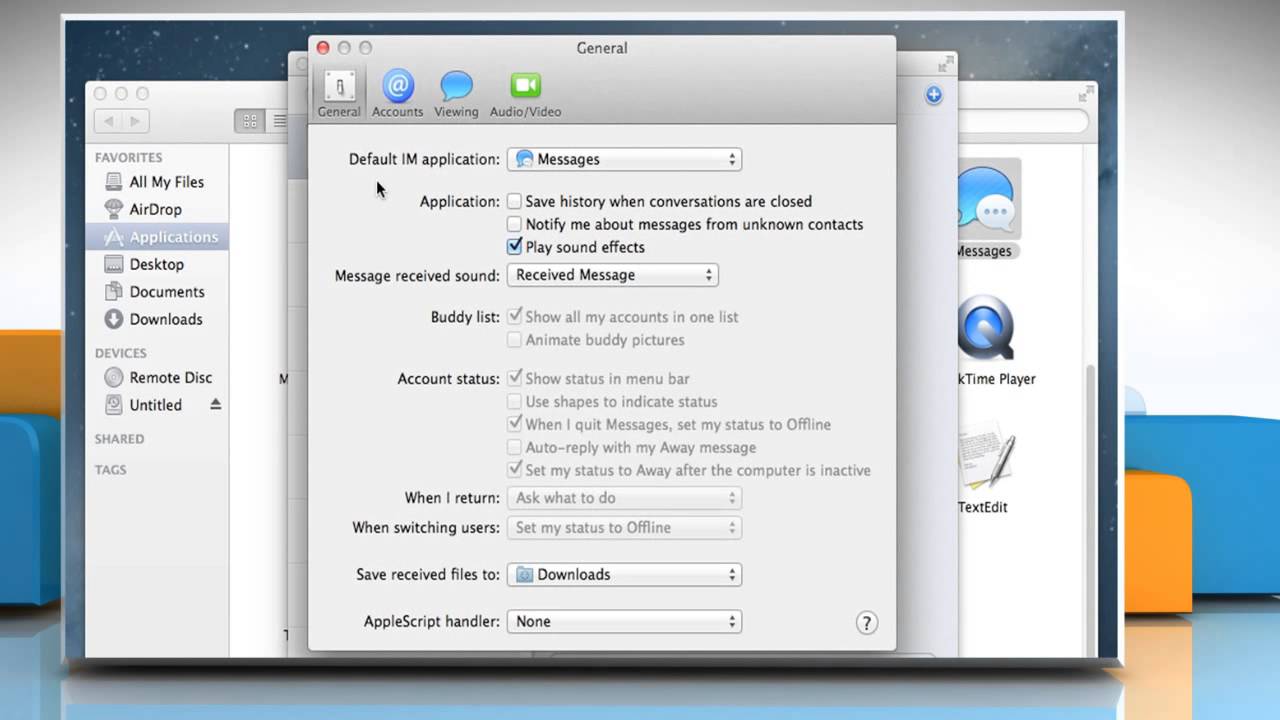
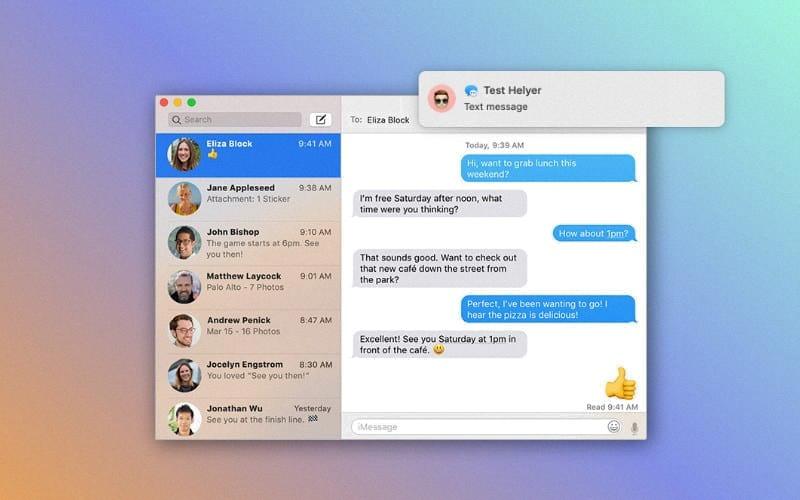
The first step is to open the Messages app. You can find this in the dock or by usng Spotlight search. Once you have opened the app, select the conversation that you wish to block from the list of conversations.
Next, click on the name or number at the top of the conversation and select “Info” from the drop down menu. Scroll down unil you see “Block this Caller” and click it. By clicking this option you will be blocking any incoming messages from that contact.
You can also use this method to block spam messages as well as unwanted contact. If someone is sending you unwanted messages simply open the Messages app and click on their name or number at the top of the conversation. Select “Info” and then scroll down until you see “Block this Caller” and click it. This will prevent any more messages from coming through from them.
If you would like to report a message sent by someone that may contain offensive content then please follow these steps: Open up the message thread with that person by selecting their name or number at the top of the conversation, select “Info”, scroll down until you see “Report Junk”, and then click it. You will be prompted to provide more details about why you are reporting this message which will help Apple investigate further if necessary.
By following thee simple steps, blocking unwanted messages on your Macbook is a breeze! Do not hesitate to take control of your online safety today and make sure that no one can bother you with unsolicited messages ever again!

Does Blocking on iPhone Affect Mac Devices?
Yes, blocking someone on an iPhone will block that person on all other Apple devices signed in with the same Apple ID. This means that if you block someone on your iPhone, they will also be blocked on your Mac. It is important to note that the person who has been blocked will not receive any notification of being blocked and you can still call, message or email them without unblocking them.
Viewing Blocked Messages on Macbook
No, you cannot see blocked messages on a Macbook. Blocked messages are not saved in any way and therefore can’t be accessed or viewed. The only way to read blocked messages wuld be if they had been previously saved before being blocked.
Blocking Text Messages From a Computer
To block text messages from your computer, you will need to access the contacts menu or select a conversation with the person you want to block. Once you have opened their contact panel, look for a dropdown menu labeled “Status” and select “Block” from the menu. This should block all incoming text messages from that particular contact on your computer.
Blocking Text Messages on Apple Devices
To block text messages on Apple devices, you’ll need to open the Messages app and select the conversation from which you would like to block the messages. Then tap the name or number at the top of the conversation and select the info button. Scroll down and select Block this Caller. This will prevent any futher messages from that contact being received by your device. Additionally, you can use Screen Time to filter messages, as well as reports, to ensure that only approved contacts are able to send messages.
Understanding Why Blocked Messages Still Come Through On Mac
When using the Mail app on your Mac, emails from blocked senders can still come through due to the app’s default inbox settings. This is becaue the Mail app does not automatically block emails from certain senders and instead stores them in your inbox for you to review. However, this can be easily fixed by changing the settings of your Mail app so that any emails from blocked senders are automatically sent to the trash. This way, you will no longer have to manually delete these emails every time they come in.
The Impact of Blocking Someone on All Devices
Yes, when you block someone on Facebook, they are blocked across all of your devices. This means that the user will not be able to view your profile, send you messages, or be able to interact with you in any way. The user will also not be able to view anything you post on your timeline or in any other public areas of Facebook. Additionally, if the user tries to look for your profile using a search engine, it will not appear in the search results.
Finding Hidden iMessages on Mac
To find hidden iMessages on Mac, open the Finder app, then click Go from the menu at the top. Then, choose Go to Folder from the drop-down menu. In the search field, type in ~/Library and click Go. This will open a folder containing your Messages history. Click into this folder and browse thrugh the chat threads to view all of your past iMessage conversations. If you are looking for a specific thread or message, you can use the search bar in the top right-hand corner of the window to help you locate it quickly.
Determining if Someone Has Blocked You on iMessage on MacBook
If you suspect that someone has blocked you on iMessage on MacBook, there are a few ways to tell. First, if you try to message them and the bubble is green instead of blue, this means that your message is being sent as an SMS instead of an iMessage. This could indicate that they have blocked you on iMessage. Second, if the message delivery status stays at “Delivered” without ever saing “Read”, this could be another indication that they have blocked you. Finally, if you try to use FaceTime with the person and it fails to connect, it is likely that they have blocked you both in iMessage and FaceTime.
Does IMessage Say ‘Delivered’ if a User is Blocked on Macbook?
No, iMessage will not say ‘Delivered’ if the person you are messaging has blocked you. If a message is sent to someone who has blocked you, the sender will still see the ‘Delivered’ status if they are using iMessages, but the message will not actually reach the recipient. The recipient will also not be able to see that you have tried to send them a message.
Blocking Someone on a Macbook Air
To block someone on your Macbook Air, you need to first make sure the person is in your contacts. Once they are in your contacts, you can open the Recents menu and single click their call. Right click on the call and select ‘Block This Caller’. This will prevent them from calling or messaging you in the future.
Blocking Unwanted Text Messages
To block text messages you don’t want to receive, open your messaging app and find the text you want to block. Long-press the message and tap the Block icon. (In some apps, you may need to tap Options (three dots) > Block.) Tick Report spam, then tap OK. This will both block that specific sender from sending you any more messages, as well as report them to the app’s spam filter so they won’t be able to send othr people messages.
Stopping iPhone Text Messages from Going to Mac
To stop your iPhone text messages from appearing on your Mac, you’ll need to make a few changes in the Messages app. First, open the Messages app and select Preferences > iMessage. On this screen, uncheck your phone number and make sure to only check an email address. This will ensure that texts sent to your phone will no longer appear on your Mac. Additionally, if you’re using multiple Apple devices (iPhone, iPad, or Mac) with the same Apple ID, you can go to Settings > Messages > Text Message Forwarding and turn off any devices that you don’t want to receive messages from. By following thee steps, you can ensure that all of your text messages will only be sent to the device(s) that you’ve chosen.
Understanding How IMessage Block Works
IMessage block works by preventing messages sent from a blocked contact from reaching your device. When you block a contact, any messages sent to you from that contact will not be delivered, and the sender will not receive any notification that the message was not delivered. In addition, any conversations previously had with the blocked contact will be removed from your Messages app. You can unblock contacts at any time by going to Settings > Messages > Blocked Contacts.

Source: appletoolbox.com


