Backing up your emails on your iPhone isn’t just about keeping things tidy—it’s about protecting your most valuable data. Whether you’re upgrading to a new device or just trying to secure your emails for peace of mind, a secure email backup ensures you never lose those important messages.
We’ve all had that moment when you’re frantically searching for an email you thought was gone forever—whether it’s a work document, a receipt, or an old message that matters. iPhone email storage can fill up quickly, and without a backup, it’s easy to lose things that matter most. Don’t wait until it’s too late before you decide to backup your emails.
Does iCloud Backup Emails?
iCloud Backup is there to protect your device settings, app data, photos, and more, but emails are handled a bit differently. They’re stored on your email provider’s server, not directly on your iPhone, so there’s no need for iCloud to take on that job.
Now, if you’re using the Mail app with an iCloud email address (you know, that @icloud.com), your emails live in iCloud Mail. They’re right there, ready and waiting, across all your devices. But don’t expect them to show up in iCloud backups.
How to Backup Emails on iPhone Using iCloud
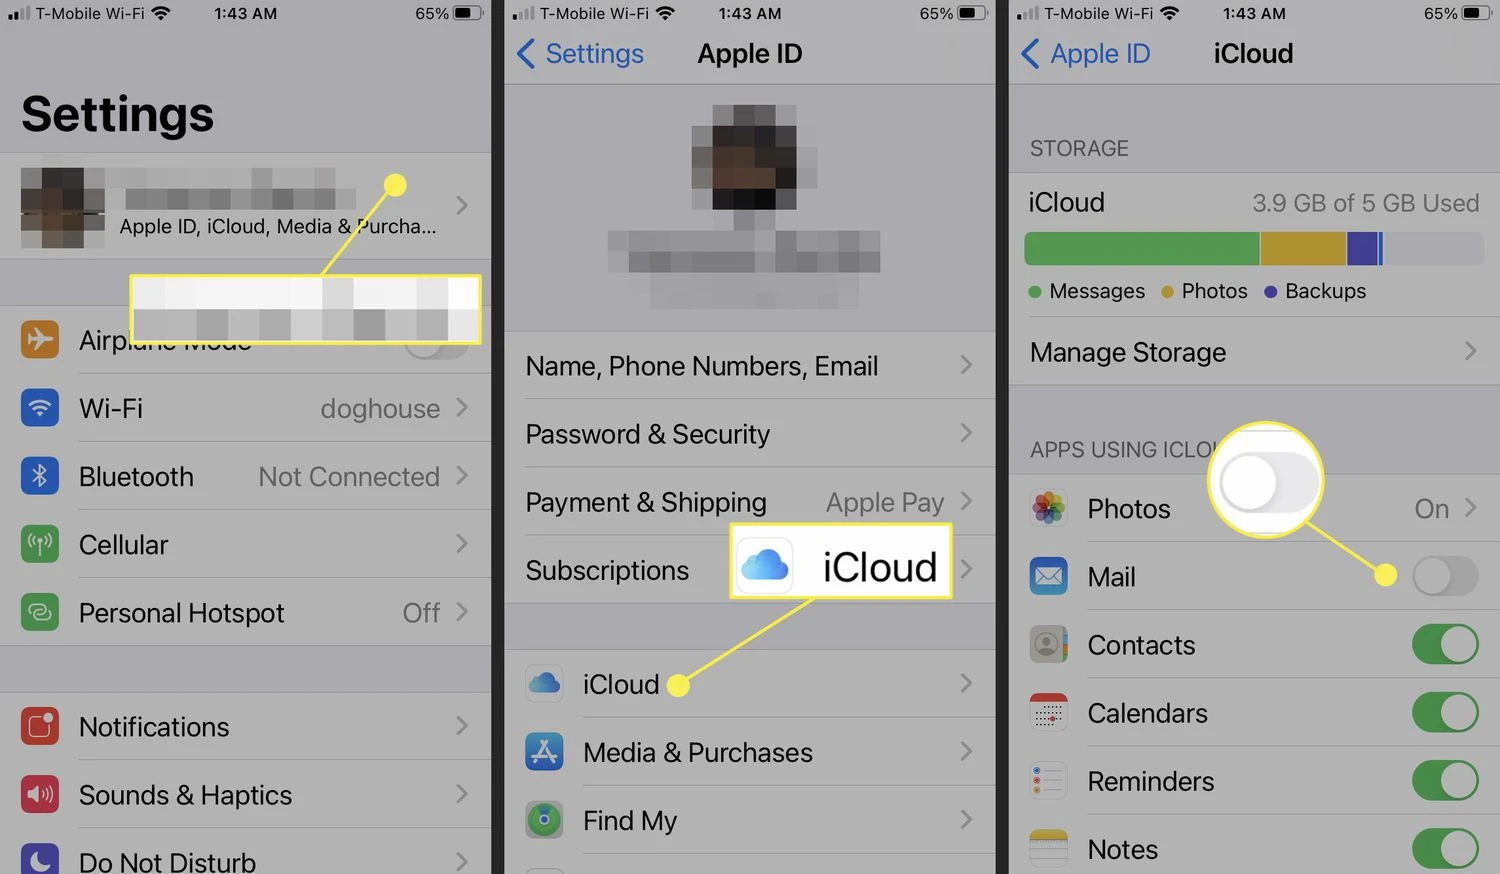
Start by opening the Settings app on your iPhone—yes, that little gear icon. Click on your name to get into your Apple ID settings. If you haven’t signed in yet, you’ll be prompted to enter your Apple ID and password. Once you’re in, tap iCloud, and scroll down until you find “Mail.” Flip that little switch on.

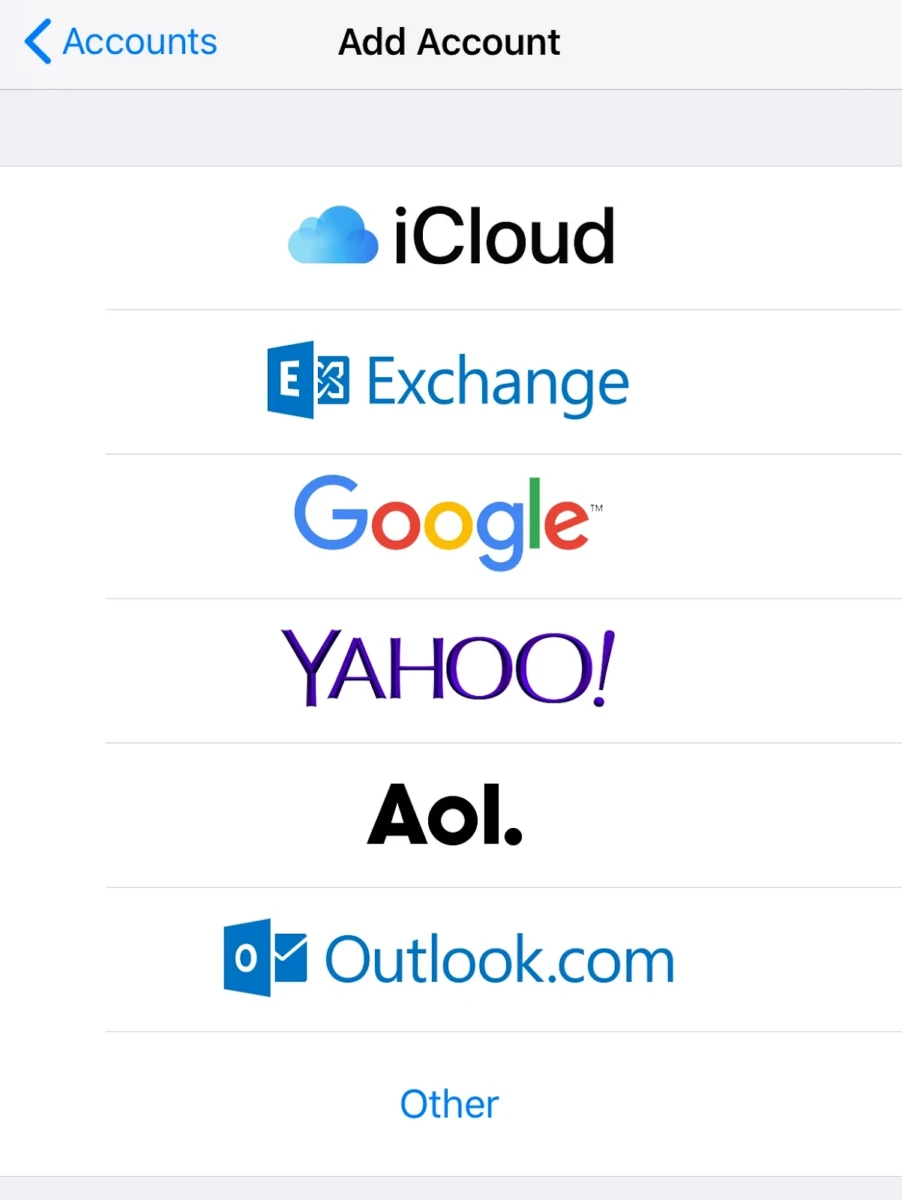
From here, it’s always a good idea to double-check your email setup. Head over to Settings > Apps > Mail > Accounts. If your email account isn’t listed, don’t stress! Just tap “Add Account,” and you’ll walk through the easy setup steps.
Now that iCloud Mail is activated, your emails will be automatically Saved to iCloud. Just remember, emails from other providers like Gmail or Yahoo don’t get backed up to iCloud automatically.
How to Save Emails Permanently on iPhone
1. Open Your Mail App: First things first, fire up the Mail app and pick the email you want to hang on to.
2. Tap on the Reply Button: Now, look for the Reply icon. It’s usually at the bottom of the screen.
3. Select ‘Print’: Don’t worry, we’re not going to print anything, but tapping on Print will open the printer options screen.
4. Turn It Into a PDF: On the Printer Options screen, do a pinch-out gesture on the email preview. Essentially, spread two fingers apart on the screen, and—poof—your email turns into a PDF!
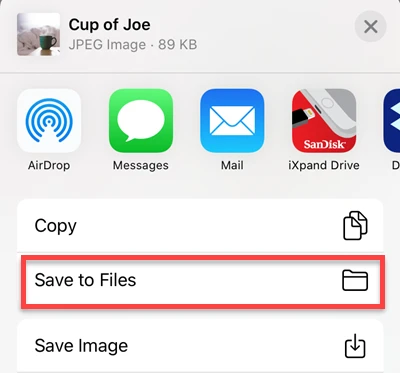
5. Save It to Files: Next up, hit the Share button in the PDF view. Now, tap on Save to Files, choose where you want to store it (Documents, iCloud Drive, wherever), and then hit Save.

Exporting Emails from iPhone to Computer
Now, if you want to transfer emails from iPhone to PC or download emails from iPhone to Mac, the first thing to know is that while iTunes can back up your device’s settings, it doesn’t actually store your email messages.
To get those emails onto your computer, you’ll need to look at third-party email clients like Mozilla Thunderbird. Simply set up your email with IMAP on both your iPhone and the email client, sync them, and voilà! Your emails will be available on your computer, and you can easily export them to formats like MBOX or EML.
Alternatively, if you prefer not to mess with third-party apps, you can always forward emails directly to another account that’s accessible on your computer. But, keep in mind that using an email client to sync your emails is a far quicker option, especially if you have a lot of messages.
How to Ensure Emails Transfer to a New iPhone
First things first—add your email account! Go to Settings > Apps > Mail > Accounts > Add Account, then enter in your details. Done! If you’ve been using this email on your old iPhone, all your messages will magically appear on the new one.
Also, if you’re an iCloud user, turn on Mail in iCloud Settings (Settings > [Your Name] > iCloud). This syncs all your emails and folders between devices and lets you restore emails on your new iPhone anytime.
Conclusion
To securely save emails, use iPhone email backup solutions like iCloud, but don’t forget—your emails might need extra love. Apps like iMazing can help you export your messages, and forwarding them to another account adds another layer of protection. Seriously, backing up your iPhone emails is the best way to keep them safe.


