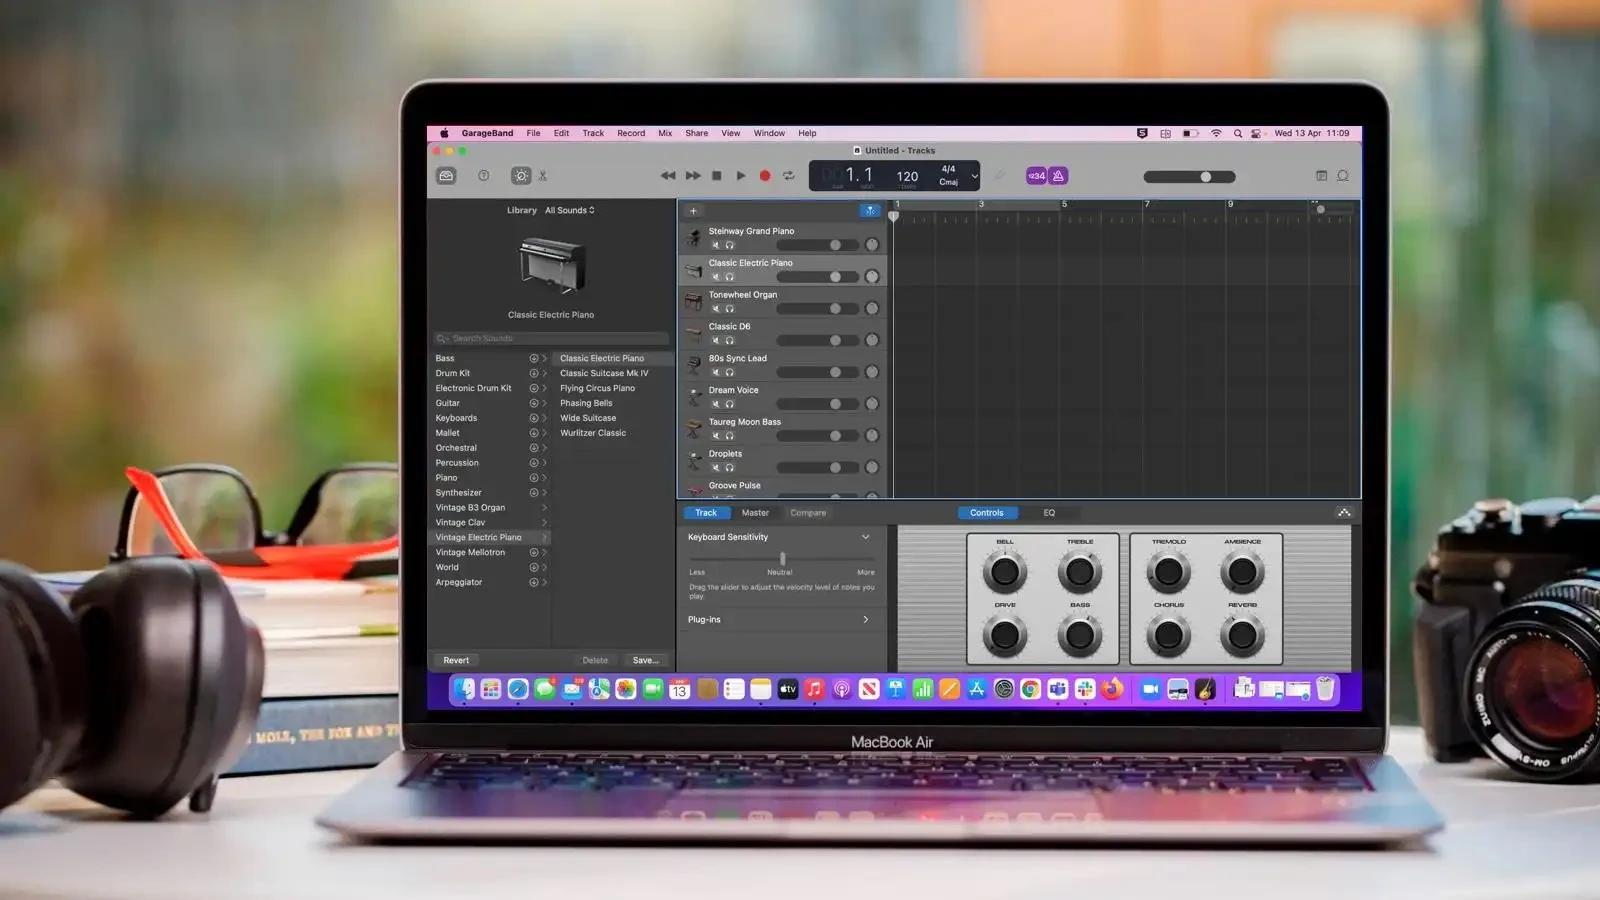
If you’re working on a track and hit a wall because the song ends too soon, it’s probably time to extend your bar count. In GarageBand, “bars” represent the segments of time your music spans. Think of them as building blocks—more bars mean more room to work with.
Whether you’re piecing together a full-length track or just want to add an extra chorus, a GarageBand bar extension gives you more space to get creative. The more bars you have, the better your GarageBand track length and overall structure. Here’s how to add more bars on Mac GarageBand so you can build out your project with flexibility.
How to View and Navigate the Bar Timeline in GarageBand
Before you start tweaking bar counts, you need to know where to look. The GarageBand bar timeline runs horizontally across the top of your workspace and shows the flow of your song in numbered segments.
The control bar is right above it, housing your transport controls and tools. To move around, just use your trackpad or mouse to scroll left or right—this is your main zone for navigation when dealing with bars.
Step-by-Step: Adding More Bars
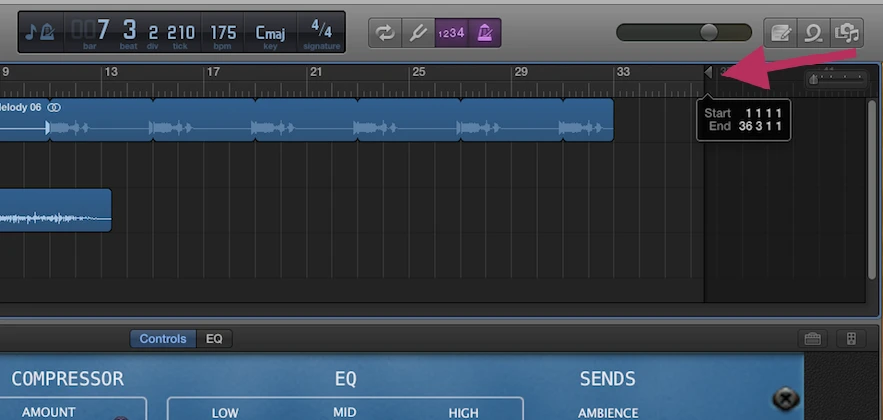
Working on a track in GarageBand and need it to run a bit longer? Here’s how to add bars, increase song length, and tweak with GarageBand section editing—all in one go. Simply drag the tiny triangle at the top-right of your tracks area (that’s the “End of Song” marker) to the right—this instantly gives you more room to play with.
Using Arrangement Markers to Structure and Extend Tracks
If you’re building out a full song in GarageBand and want a faster way to organize your ideas, turning on the Arrangement Track is the way to go.
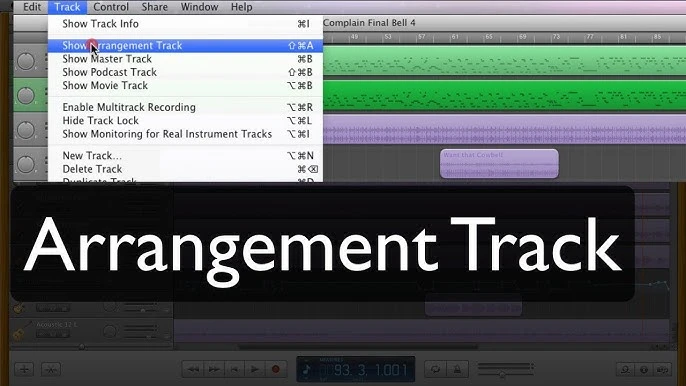
Once it’s visible (click Track > Show Arrangement Track), hit the “+” button to drop a GarageBand arrangement marker—this lets you label parts of your track like Intro, Verse, or Chorus. You can click and drag each marker to move or resize it, which is super helpful when you need to add sections or rework your flow.
Want to duplicate a hook? Hold Option and drag the marker—everything inside it goes along for the ride. This is how to clean up messy projects and tighten your GarageBand structure track without dragging clips around one by one.
Setting a Custom Project Length Limit
Want to make your track hit a specific length in GarageBand? The trick is to adjust both the tempo and the number of bars. GarageBand projects are bar-based, so to set GarageBand project length, you’ll first want to change the BPM (beats per minute)—slower tempos stretch things out, faster ones tighten it up.
Then, to lock in a fixed bar count, click the ‘+’ button in the timeline or open the Arrangement Track, select a section like “Intro” or “Verse,” and type in exactly how many bars you want. You can also drag the project end marker to your target bar.
Tips for Working with Multiple Song Sections
Working with multiple sections in GarageBand can get messy fast if you don’t stay organized — especially when you start adding more bars. To keep things clean, use the GarageBand song sections feature to break your track into parts like verse, chorus, or bridge.
Click the “+” at the top to add a section, give it a name you’ll actually remember (no one wants “Section B” confusion), and switch between them using the dropdown in the center of the screen.
Want to stretch out a chorus? Click the section name, drag the edge, and you have more bars. You can also rearrange sections by dragging them around and preview just one part by selecting it and hitting the spacebar.
Enhancing Extended Tracks with Plugins and Tools
Once you’ve added more bars in GarageBand, you’ve basically unlocked more space to get creative with your sound—think transitions, layers, and all the fun stuff that brings a track to life.
Now, if you’re looking to go beyond the default plugin slots (because four just isn’t enough sometimes), here’s what to do: hit ‘B’ to open Smart Controls, click the little “i” to pull up the plugin section, and then hover just below the last slot until you see a thin blue line—click it to add more.
You can stack up to 15 GarageBand audio plugins on a single track, which means way more room to add effects and experiment with GarageBand mixing tools without starting a whole new project.
Conclusion
Knowing how to adjust bar counts in GarageBand is a must. It gives you the room to grow your ideas and improve your workflow.
A solid grasp of GarageBand music production means being able to create long songs that still sound clean and intentional. Mastering bars is one of those skills that quietly unlocks your full GarageBand creative control.


