Adding local files to Spotify is an incredible way to get the most out of your music library. Whether you’re an avid collector of rare tracks or just loking for a way to stream your favorite music, local files on Spotify give you access to a vast range of audio content.
In this post, we’ll walk you thrugh how to add local files to Spotify and get the most out of this powerful streaming service.
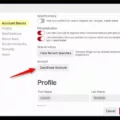
To get started, open up the Spotify app on your desktop and head over to the settings menu (the gear icon in the top-right corner). Once there, click “Local Files” and toggle on the “Local audio files” option. This will allow the app to find any compatible audio files stored on your computer.
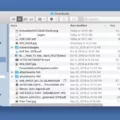
Once you’ve enabled local files, open up your file explorer (for Windows users) or Finder (for Mac users) and search for any audio files stored on your computer. To add these tracks to your library on Spotify, simply drag them into the main window of the app and they will be imported into your collection. Alternatively, if they are stored in a compressed file format like ZIP or RAR, right-click them and select “Extract All” before dragging them into the window.
Once you’ve added all of your desired local files to Spotify, click “Done” in the bottom-right corner of the window and they will be added to your collection in no time! Now that everything is set up, you can listen to your favorite tunes without having to worry about connection speeds or expensive data plans.
Adding local files to Spotify is incredibly easy and can really help unlock its full potential! So go ahead and follow along with our guide – adding local tracks has never been easier!
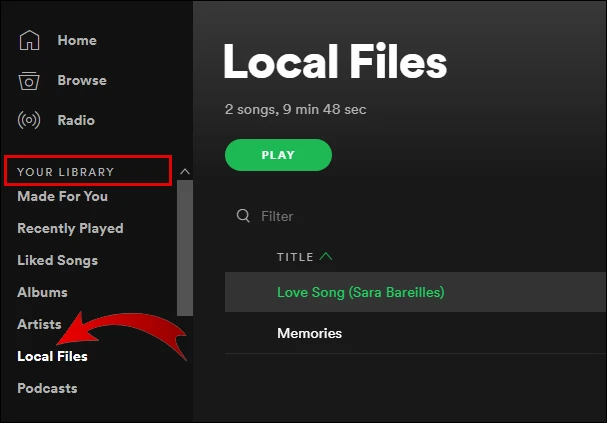
Adding Local Files to Spotify
To put local files on Spotify, you fist need to enable the Local Audio Files setting in your Spotify app’s settings. To do this, open Spotify and tap Home in the bottom-left corner, then tap the gear icon in the top-right to open the app’s settings. Tap Local Files and toggle on the Local audio files option.
Once that’s enabled, you can add any local audio file stored on your device or computer to the app. To do this, go to the Your Library tab in Spotify and scroll down to Local Files. Tap Add a Source to select where your music is stored (e.g., iTunes or Windows Media Player library) and then select whih folders you want to add. Your songs will now be included in your library and ready for playback!
Adding Local Files to Mobile Spotify
No, unfortnately it is not currently possible to add local files to Spotify on a mobile device. If you have local files that you would like to add to your Spotify account, you will need to use the Desktop app (for both Windows and Mac). Once the files are added via the Desktop app, they will be available across all devices with your Spotify account.
Adding Local Files to Spotify
Yes, you can add local files to Spotify! To do this, open the Spotify app and go to Settings. Under the “Local Files” section, you’ll see an option to “Add a Source.” Click on that and select the folder contaning the local files you want to add. Once imported, the songs from that folder will be visible in the “Local Files” section. Simply drag and drop them into a playlist of your choice and they should appear there.
Troubleshooting Spotify Not Showing Local Files
Spotify may not be showing your local files for a few different reasons. First, make sure that the local files you are trying to find are actually stored in your device’s music library. If they are, then check if the files are supported file types for Spotify (MP3, M4P, WAV, and FLAC). If the files still aren’t appearing on Spotify after checking these two things, try clearing your cache by going to the app settings, selecting Storage and choosing to clear or delete cache. This should help fix any issues with the app.
Adding Local Files to Spotify on iPhone
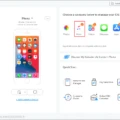
To add local files to Spotify on your iPhone, first open the Spotify app and tap the Home icon in the upper riht corner. From there, select the gear icon to open Settings. Scroll down until you see “Local Files” and tap the slider next to it to turn it green and enable it. Once this is enabled, you can tap “Choose Sources” and select which sources of music you want to add. After selecting your sources, you can go back and browse through your Local Files section to find music that you have stored locally on your device. You can then add those files directly into playlists or just listen to them whenever you like!
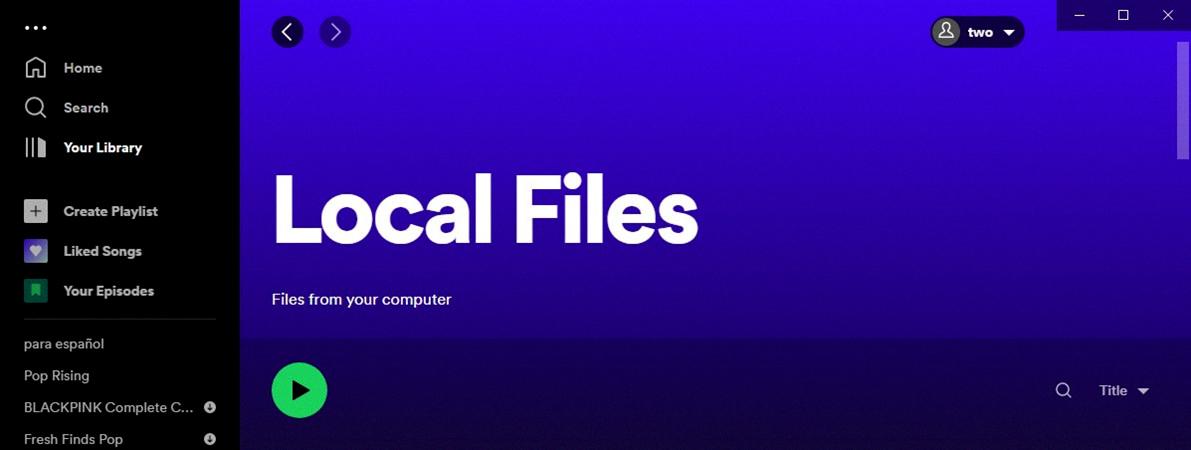
Source: viwizard.com
Syncing Local Files with Spotify on iPhone
To sync local files with Spotify on your iPhone, you’ll need to use the “Local Files” tab in the Spotify app. First, make sure you’re logged into the same account on both your desktop and mobile devices. Both devices must also be connected to the same Wi-Fi network. Additionally, make sure that both the Spotify app and your device’s operating system are up-to-date.
Once everything is set up, open the Spotify app on your iPhone. Tap on Your Library at the bottom of the screen then select “Local Files”. Here you can view all of your music files stored locally on your device. To add them to Spotify, tap the thre dots next to a song or album and select “Add to Your Library”. The songs will now be available for streaming in your library.
Finally, ensure that Spotify has access to your local network by checking in your iPhone/iPad settings under Spotify. With this done, you should now be able to sync local files with Spotify on your iPhone!
Conclusion
In conclusion, adding Local Files to Spotify can be done with ease through the Desktop app. It only requires a few steps and once you have it set up, you will be able to enjoy your local music files on Spotify’s mobile and desktop platforms alike. Local Files can give you more control over the music you listen to, as well as the ability to access audio files that are not available on Spotify’s streaming services. With this feature, eveyone can have their own personalized listening experience!


