Mac computers are known for their sleek design and user-friendly interface. One of the many features that Mac users can take advantage of is the ability to add a calendar to their desktop. This can be especially useful for those who like to stay organized and keep track of their appointments and events.
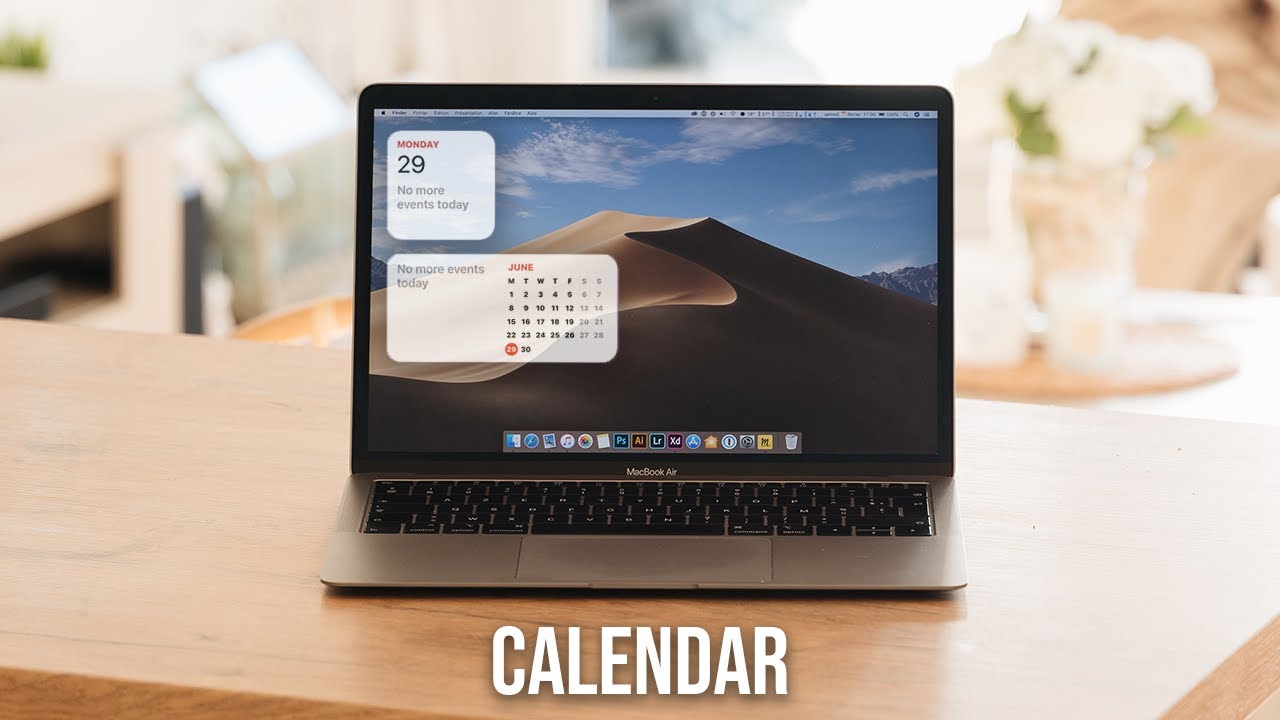
To add a calendar to your Mac’s desktop, you can use an application called WallCal. This application allows you to overlay a calendar over your entire desktop, making it easily accessible and visible at all times. The calendar pulls in appointments from Apple Calendar, which can be synced with various calendar services such as Google and Microsoft.
To get started, open the Calendar app on your Mac. From the menu bar at the top of the screen, choose File and then select New Calendar Subscription. A dialog box will appear, prompting you to enter the web address of the calendar you want to subscribe to. This can be the web address of your Google calendar, Microsoft calendar, or any other calendar service that you use.
Once you’ve entered the web address, click the Subscribe button. You will then be prompted to enter a name for the calendar in the Name field. Choose a name that is easy to remember and identify. Next, click on the adjacent pop-up menu to choose a color for the calendar. This will help differentiate it from other calendars you may have.
In the Location pop-up menu, choose the account that you want to associate with the subscription. This will determine where the calendar events are stored and synced. Once you’ve made your selection, click OK.
Now, let’s take a look at how to add a Google calendar to your Mac’s desktop. First, go to the Google Calendar website and sign in to your Google account. Once you’re signed in, click on the down-arrow next to Other calendars, which is located in the left sidebar.
From the drop-down menu, select Add by URL. A dialog box will appear, prompting you to enter the web address of the calendar you want to add. Copy and paste the web address into the field provided, and then click Add calendar.
After a few moments, the Google calendar will appear in the Other calendars section of the calendar list on the left. You can now customize the display settings for the calendar by clicking on the three dots next to its name. From here, you can choose to show or hide the calendar, change its color, and adjust other settings to suit your preferences.
Adding a calendar to your Mac’s desktop can be a great way to stay organized and keep track of your appointments and events. Whether you choose to use WallCal or sync your Apple Calendar with Google or Microsoft, having a calendar readily accessible on your desktop can make managing your schedule a breeze. So go ahead and give it a try, and start enjoying the benefits of a conveniently placed calendar on your Mac.
How Do You Add A Calendar to Your Mac Desktop?
To add a calendar to your Mac desktop, you can use an application called WallCal. WallCal is a convenient tool that allows you to overlay a calendar over your entire desktop for easy access and reference. Here are the steps to follow:
1. Start by downloading and installing the WallCal application on your Mac. You can find it on the Mac App Store or through third-party websites.
2. Once installed, open WallCal on your Mac.
3. WallCal will pull in appointments and events from Apple Calendar, so make sure you have your calendars set up and synced with Apple Calendar. You can add events directly to Apple Calendar or subscribe to other calendar services such as Google Calendar or Microsoft Outlook.
4. To subscribe to other calendar services, open Apple Calendar on your Mac.
5. In Apple Calendar, go to the “Preferences” menu by clicking on “Calendar” in the top menu bar and selecting “Preferences.”
6. In the Preferences window, navigate to the “Accounts” tab.
7. Click on the “+” button at the bottom left of the window to add a new account.
8. Select the type of calendar service you want to subscribe to, such as Google or Microsoft.
9. Follow the on-screen instructions to sign in to your account and grant access to Apple Calendar.
10. Once your calendars are set up and synced with Apple Calendar, go back to the WallCal application.
11. In WallCal, you should now see your synced calendars listed in the left-hand sidebar. Check the boxes next to the calendars you want to display on your desktop.
12. Customize the appearance of the calendar by adjusting the settings in WallCal. You can change the font, colors, and size of the calendar to suit your preferences.
13. Once you have customized the settings, click on the “Apply” or “Save” button in WallCal to apply the changes.
14. The calendar will now be displayed on your Mac desktop, overlaying your wallpaper. You can click and drag the calendar to reposition it on your screen.
15. You can interact with the calendar by clicking on events to view more details or adding new events directly from WallCal.
By following these steps, you can easily add a calendar to your Mac desktop using the WallCal application. This will allow you to keep track of your appointments and events without having to open a separate calendar application.
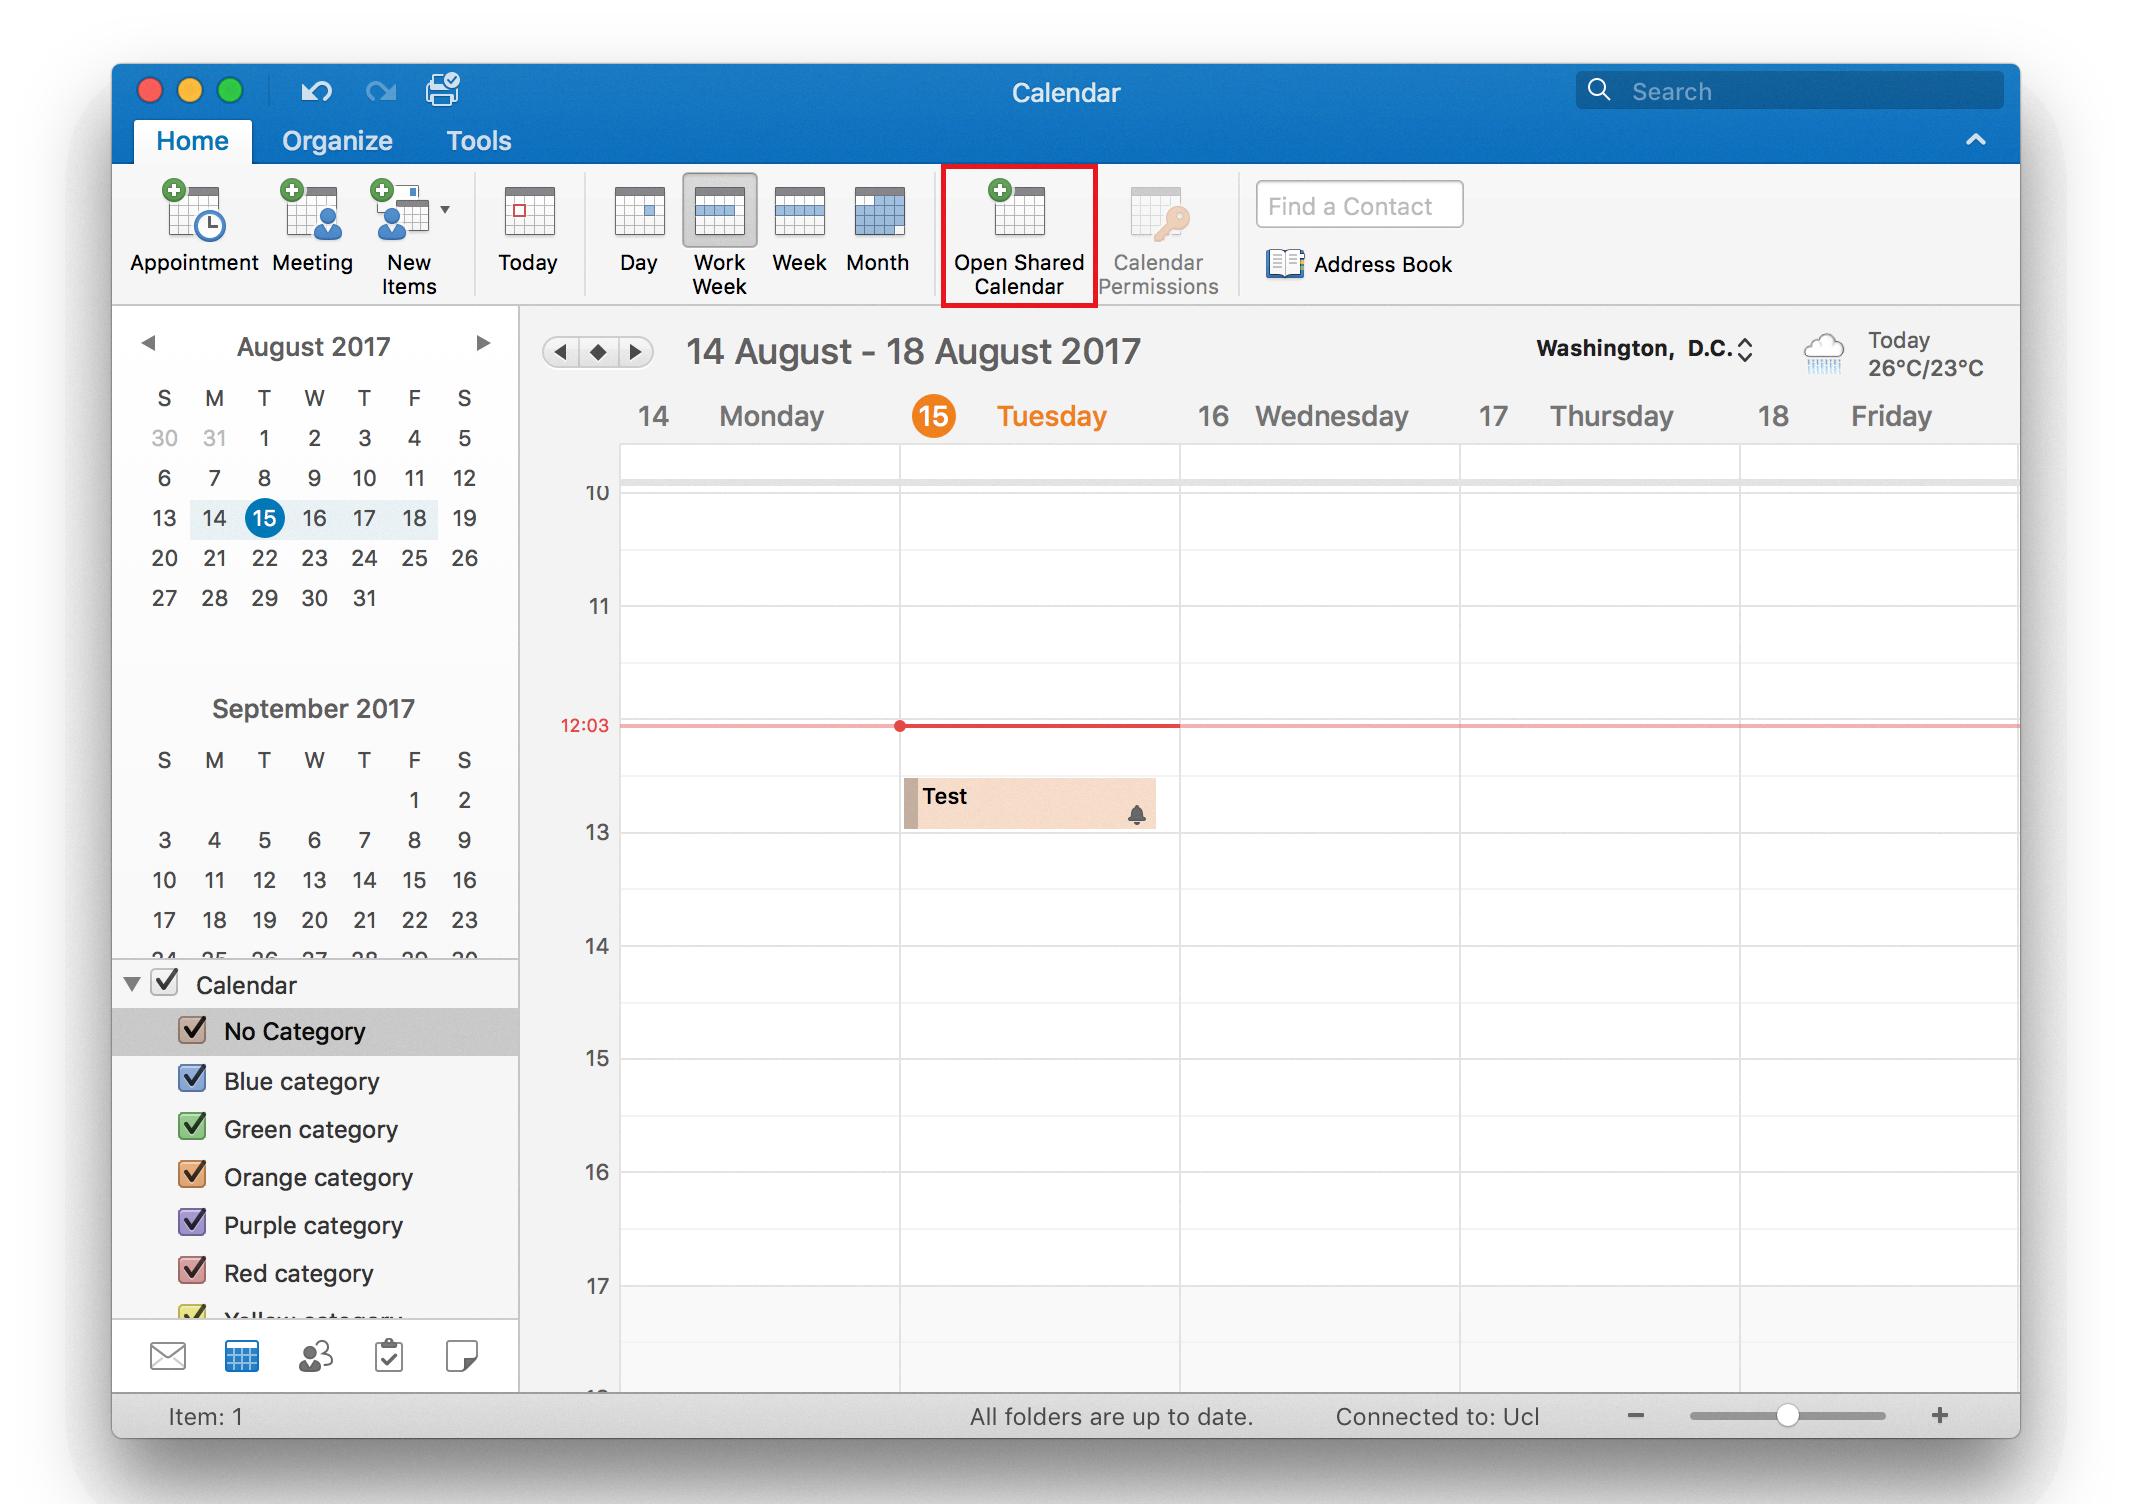
How Do You Add An External Calendar to Your Macbook?
To add an external calendar to your MacBook using the Calendar app, follow these steps:
1. Open the Calendar app on your Macbook.
2. Go to the top menu and select “File”.
3. From the drop-down menu, choose “New Calendar Subscription”.
4. A window will appear where you can enter the web address of the calendar you want to add. Make sure you have the correct web address for the calendar.
5. Once you’ve entered the web address, click on the “Subscribe” button.
6. In the next window, you can assign a name to the calendar in the “Name” field. Choose a name that helps you identify the calendar easily.
7. Next, you can select a color for the calendar by clicking on the adjacent pop-up menu and choosing a color that you prefer. This helps differentiate the external calendar from your other calendars.
8. Additionally, you can choose the location for the subscription by clicking on the “Location” pop-up menu. Here, you can select the account where you want to store the subscription. This can be your iCloud account or any other account you have set up on your Macbook.
9. After selecting the desired location, click on the “OK” button to finalize the subscription.
By following these steps, you will successfully add an external calendar to your Macbook using the Calendar app. You can repeat this process for any other external calendars you want to add.
Conclusion
Mac offers several convenient ways to display your calendar on your desktop. The WallCal application provides a simple and easy solution by overlaying a calendar over your entire desktop. This allows for quick and easy access to your appointments and events without having to open a separate application.
Additionally, Apple Calendar allows you to subscribe to various calendar services such as Google and Microsoft. By adding the calendar’s web address, you can seamlessly integrate your Google calendar with your Mac’s desktop. This feature is incredibly useful for those who use multiple calendar services and want to have all their appointments in one place.
Mac provides a user-friendly and customizable experience when it comes to managing your calendar. Whether you prefer a dedicated application like WallCal or the integration of various calendar services, Mac offers a solution that suits your needs. Stay organized and never miss an important event with the convenience of a desktop calendar on your Mac.


