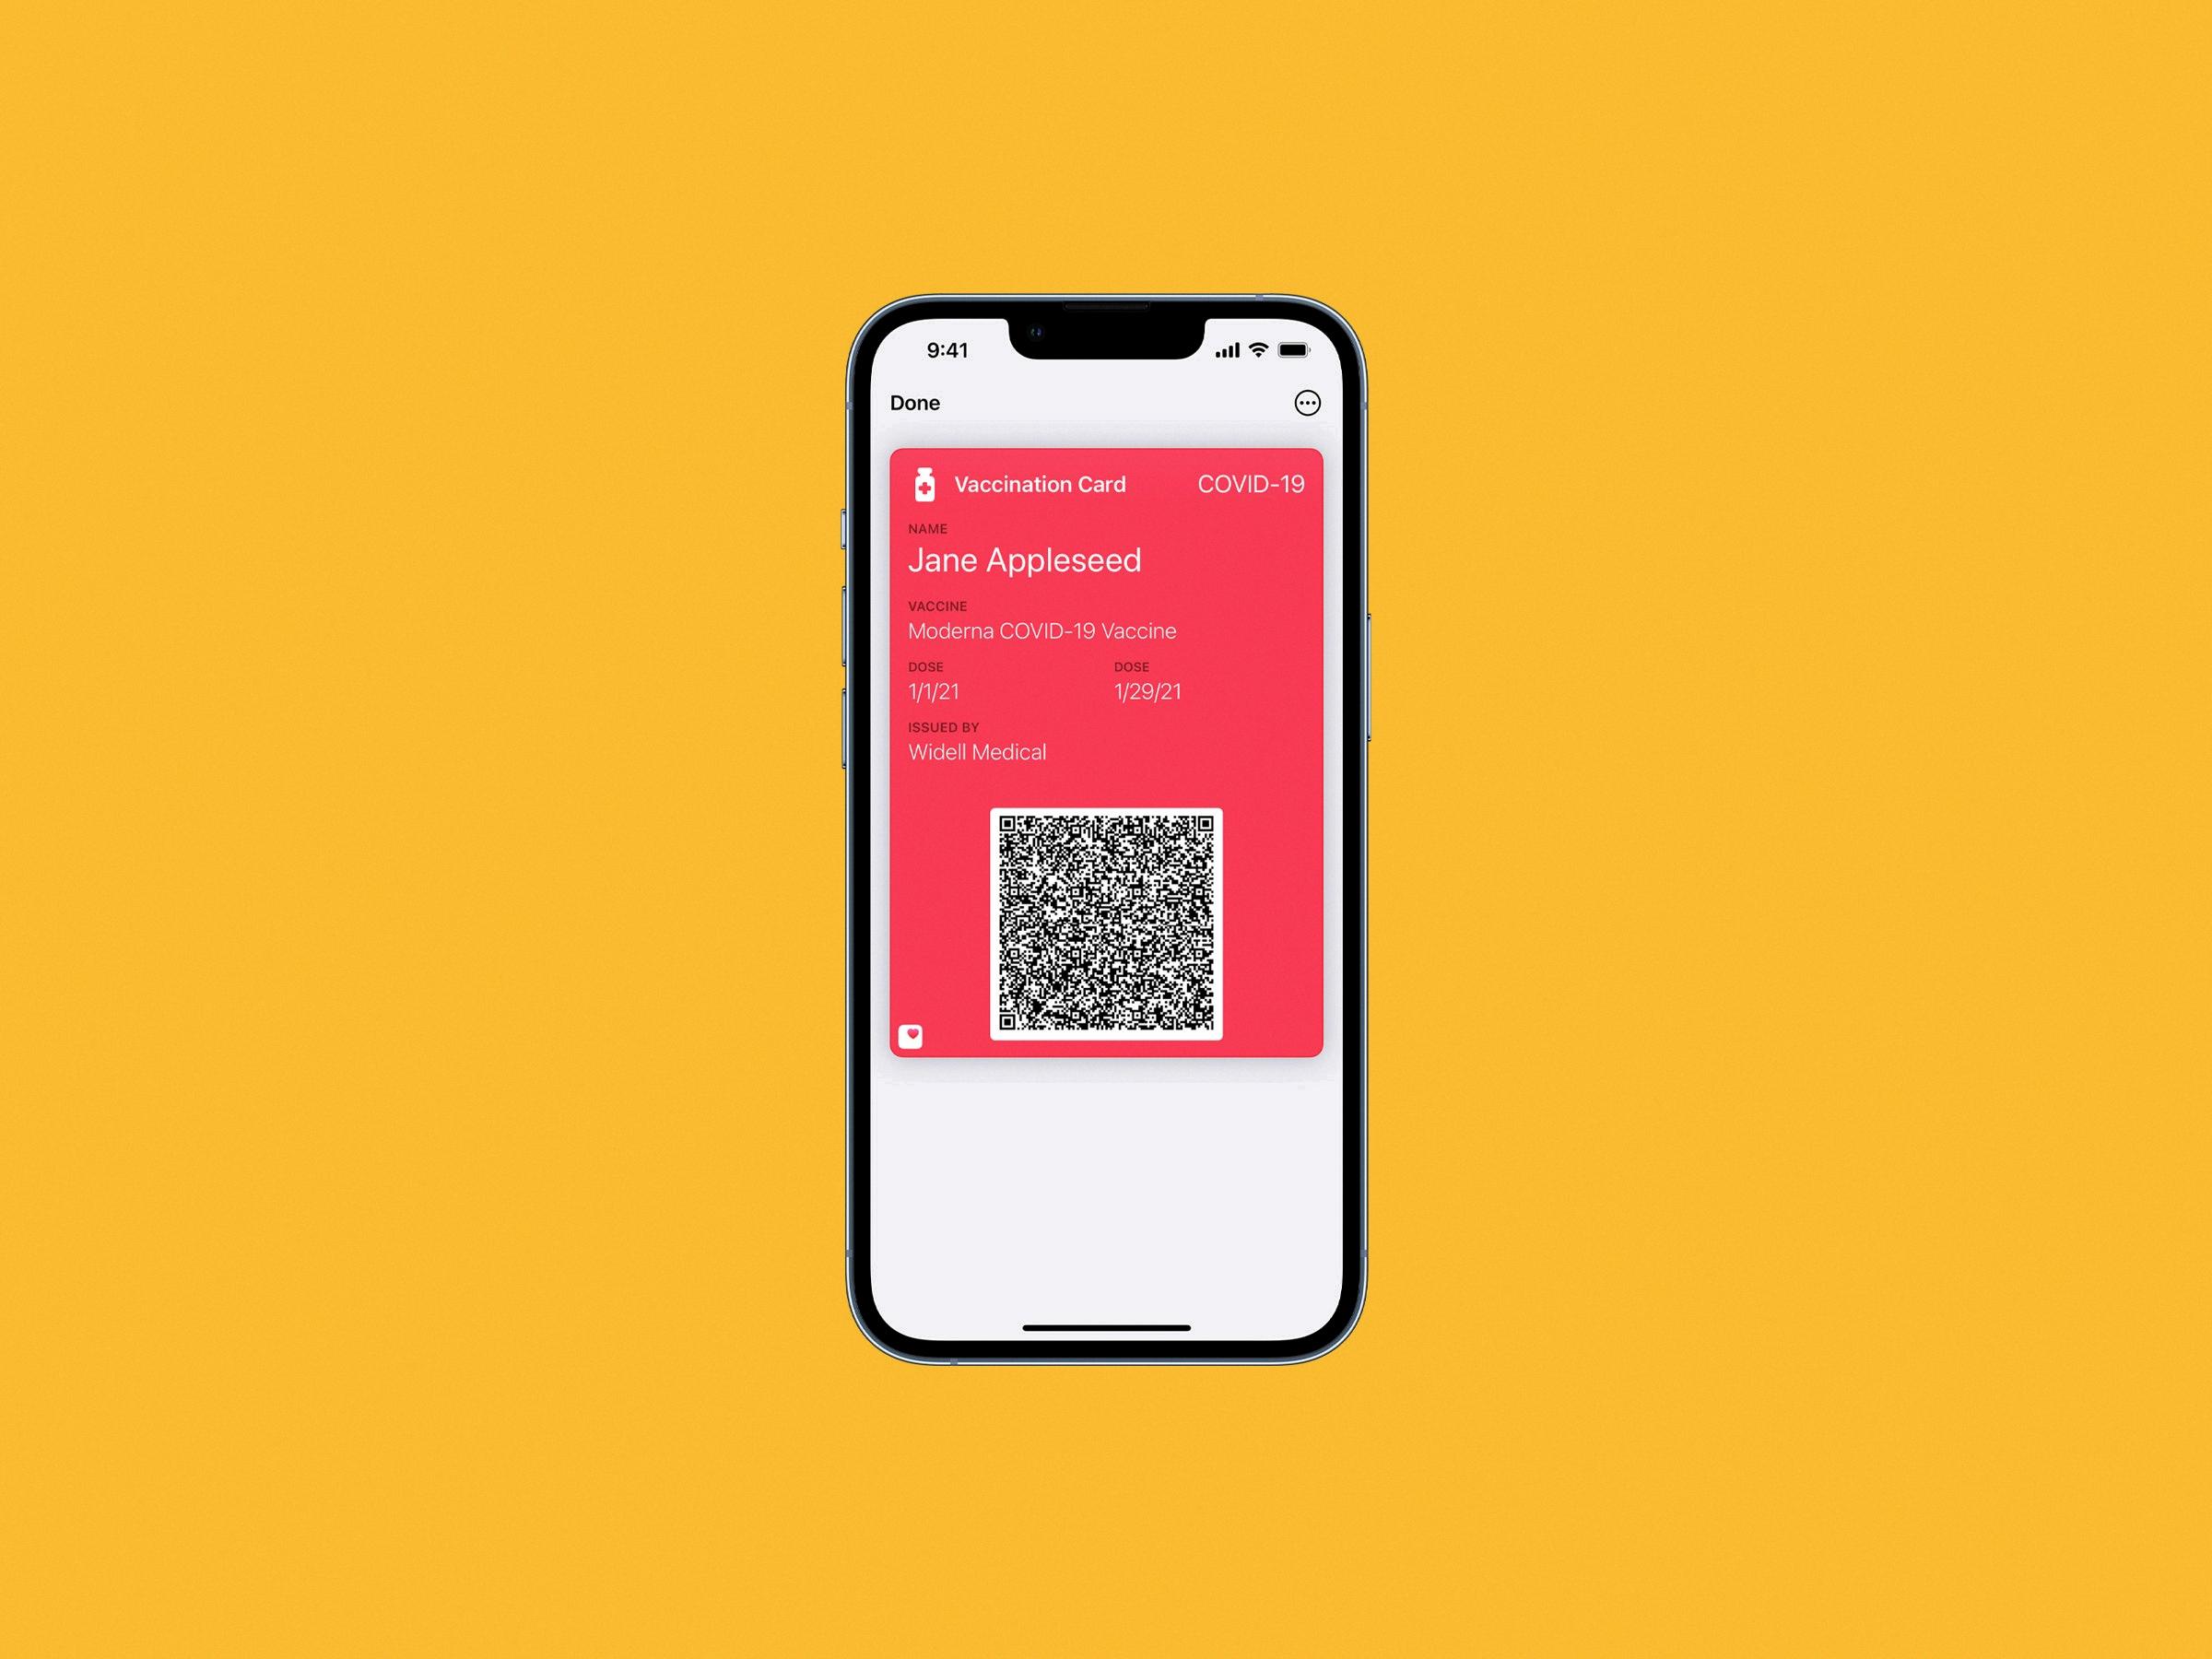
Apple Wallet, also known as Passbook, is a convenient digital wallet app that allows iPhone users to store and access various types of passes, including boarding passes, tickets, loyalty cards, and more. With Apple Wallet, you can easily organize and manage all your passes in one place, making it a hassle-free experience when it comes to traveling, attending events, or accessing your membership cards.
One of the key features of Apple Wallet is the ability to add QR codes to your passes. QR codes are square-shaped barcodes that can be scanned using your iPhone’s camera or a QR code reader app. By adding a QR code to your pass, you can quickly and effortlessly access the information or services associated with it.
To add a QR code to your Apple Wallet, follow these simple steps:
1. Open the Wallet app on your iPhone. If you don’t have the app, you can download it from the App Store.
2. Tap on the “Get” button to enable Apple Wallet passes if it’s your first time using the app.
3. Once inside the app, locate and tap on the “Scan Code” option. This will activate your iPhone’s camera.
4. Hold your iPhone steady and position the QR code within the frame displayed on your screen. Make sure the QR code is centered and clearly visible.
5. The camera will automatically scan the QR code, and if successful, the affiliated ticket or pass will be added to your Apple Wallet. You will receive a confirmation message once the process is complete.
Now that you’ve successfully added a QR code to your Apple Wallet, you can easily access and utilize the associated pass. Here’s how:
1. Open the app, email, notification, or any other communication that contains your boarding pass, ticket, or other pass.
2. Look for the “Add to Apple Wallet” option and tap on it. This action will prompt your iPhone to open the Wallet app.
3. Follow the on-screen instructions to complete the process. If necessary, tap the “Add” button located in the upper right corner to confirm the addition.
4. Once added, your pass will be available in the Wallet app. Simply open the app and select the pass you wish to use.
By using Apple Wallet, you can enjoy the convenience of having all your passes in one place, eliminating the need for physical tickets or cards. Whether you’re traveling, attending events, or simply accessing your loyalty rewards, Apple Wallet offers a seamless and hassle-free experience.
So, next time you receive a boarding pass, ticket, or any other pass, make sure to add it to your Apple Wallet using the simple steps mentioned above. Enjoy the convenience and ease of accessing your passes with just a few taps on your iPhone!
How Do You Add A QR Code to Your Apple Wallet iOS 15?
To add a QR code to your Apple Wallet in iOS 15, follow these steps:
1. Open the Wallet app on your iPhone.
2. Tap on the “Get” button to enable Apple Wallet passes if you haven’t already done so.
3. Look for the option to “Scan Code” and tap on it.
4. This will open the scanner within the Wallet app.
5. Make sure you have the affiliated ticket or QR code ready to scan.
6. Hold your iPhone steady and position the QR code within the frame displayed on your screen.
7. The scanner will automatically detect and scan the QR code.
8. Once the code is successfully scanned, it will be added to your Apple Wallet automatically.
9. You can access the added QR code by opening the Wallet app and finding it in the appropriate section.
Adding a QR code to your Apple Wallet using iOS 15 is a convenient way to store and access tickets, loyalty cards, boarding passes, and more. Enjoy the ease of accessing your digital content right from your iPhone!

How Do You Add Anything to Your Apple Wallet?
To add any item to your Apple Wallet, whether it’s a boarding pass, ticket, or any other pass, you can follow these simple steps:
1. Open the app or communication that contains the pass you want to add. This could be an email, notification, or any other form of communication.
2. Look for the option to add the pass to Apple Wallet. It is usually represented by an “Add to Apple Wallet” button or a similar prompt. Tap on it.
3. A screen will appear with instructions on how to add the pass. Read and follow these instructions carefully.
4. If prompted, tap on the “Add” button located in the upper right corner of the screen. This will initiate the process of adding the pass to your Apple Wallet.
5. Once the pass is successfully added, you will be able to access it directly from your Apple Wallet. Simply open the Wallet app on your iPhone or iPad, and you should find the pass listed there.
Remember, the specific steps may vary slightly depending on the app or communication you are using to add the pass. However, the general process remains the same. Just look for the option to add to Apple Wallet, follow the instructions, and tap on the “Add” button if required.
Adding passes to Apple Wallet provides a convenient way to access and use them without the need for physical copies. It also allows for easy access and organization of your passes in one central location.
Conclusion
Apple Wallet is a convenient and efficient way to store and manage your boarding passes, tickets, and other passes all in one place. With just a few simple steps, you can easily add, use, and share your passes using this app.
To add a pass to Apple Wallet, simply open the Wallet app and tap “Get” to enable Apple Wallet passes. Then, tap “Scan Code” to upload the affiliated ticket to your Apple Wallet. Hold your iPhone still with the QR code centered in the frame, and the code will be automatically scanned and added to your wallet.
Once your passes are in Apple Wallet, you can easily access them whenever you need to. Whether it’s a boarding pass for your flight or a ticket to a concert, simply open the app, email, notification, or other communication that contains your pass, and tap “Add to Apple Wallet.” Follow the instructions on the screen, and if necessary, tap “Add” in the upper right corner.
Apple Wallet not only provides a convenient way to store your passes, but it also allows you to use and share them effortlessly. This means you can easily access your passes without fumbling through emails or searching for printouts. Plus, you can easily share your passes with others, making it convenient for group travel or event attendance.
Apple Wallet is a practical tool that simplifies the management of your passes. It offers a seamless experience, allowing you to add, use, and share your passes with ease. So, next time you have a boarding pass or ticket, consider adding it to your Apple Wallet for a hassle-free and organized experience.


