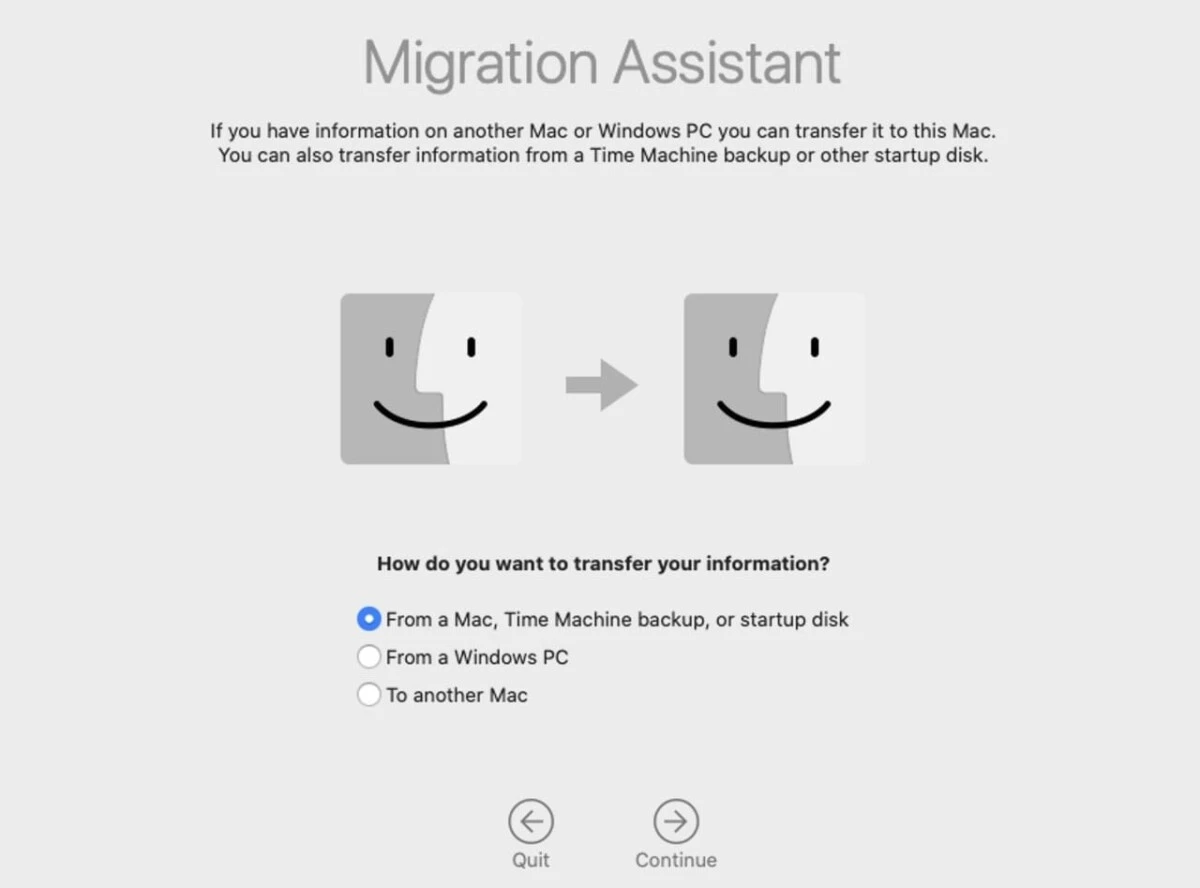
Migration Assistant is a tool designed to simplify the Mac Migration process by enabling users to transfer data from Mac to Mac, including files, settings, and applications.
This utility ensures that when you upgrade to a new Mac, your digital environment remains consistent, minimizing disruptions. By streamlining the transfer of essential data, Migration Assistant facilitates a smooth transition, allowing you to resume your activities seamlessly on your new device.
Factors That Affect Migration Time
There are a number of factors that can affect how long Migration Assistant takes to move data to your new Mac.
Of course, the more data you’re moving, the longer it will take to transfer. Equally important is the transfer method you choose. If you’re using Wi-Fi, that will most likely be the slowest, while a direct connection via Ethernet or a Thunderbolt cable can speed things up.
The speed of your connection also matters, for instance, a high-speed Ethernet connection will help in a faster migration than a Wi-Fi setup. Thinking about these factors carefully helps you make a better estimate of data transfer time and makes sure you enjoy a smooth transition to your new device.
Typical Migration Times for Common Scenarios
The amount of data you are trying to transfer and the way the two Macs are connected will significantly affect the amount of time it will take to transfer data. For example, you can migrate 20–30 GB over a Thunderbolt 3 cable in just a few minutes, whereas you could take several hours to transfer 100–200 GB with Wi-Fi.
A real-world example showed that moving 1.3 TB of data over gigabit Ethernet took about an hour. Using Migration Assistant with a Time Machine backup on an external SSD can also expedite the process, with 250 GB transferring in approximately 40 minutes. It’s important to note that Migration Assistant’s efficiency depends on both the connection type and the hardware capabilities of the Macs involved.
Methods to Speed Up Migration Assistant
It turns out that speeding up the Migration Assistant process is much easier than you think. First, use a Thunderbolt cable or via Ethernet rather than Wi-Fi. That alone can speed up Migration Assistant. After that, cut down the load of data that needs to be migrated by focusing on what is most important.
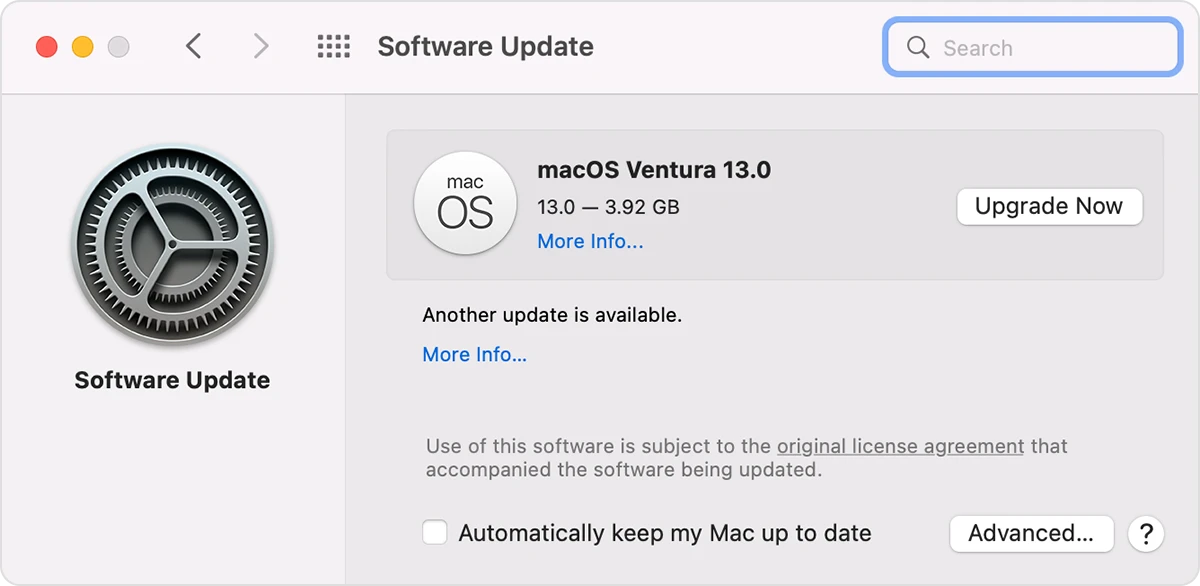
Of course, don’t forget to update both Macs to the latest macOS version, as updates often include performance improvements for a faster Migration Assistant process.
Can Migration Assistant Be Paused or Stopped?
Migration Assistant doesn’t have a pause feature, so once it starts, it’s going to run through until the very end. If the migration needs to be stopped, you can stop it at any point by pressing Command (⌘) + Q on both Macs to exit the application.
Know that if you interrupt the Mac data transfer midway, then you might have incomplete data on your new Mac, which could cause inconsistencies, duplicates etc. If you cancel during the transfer, it is best to restart the migration from scratch to make sure that all data transfers are made.
What to Do if Migration Assistant Takes Too Long
It’s not fun when Migration Assistant is sluggish, but luckily there are a few things you can do to troubleshoot slow Migration Assistant and fix slow data transfer. Check that both Macs are on a solid Wi-Fi connection, or, if that doesn’t fix it, try running a wired connection with a high-performance Ethernet or Thunderbolt cable to expedite the data transfer.
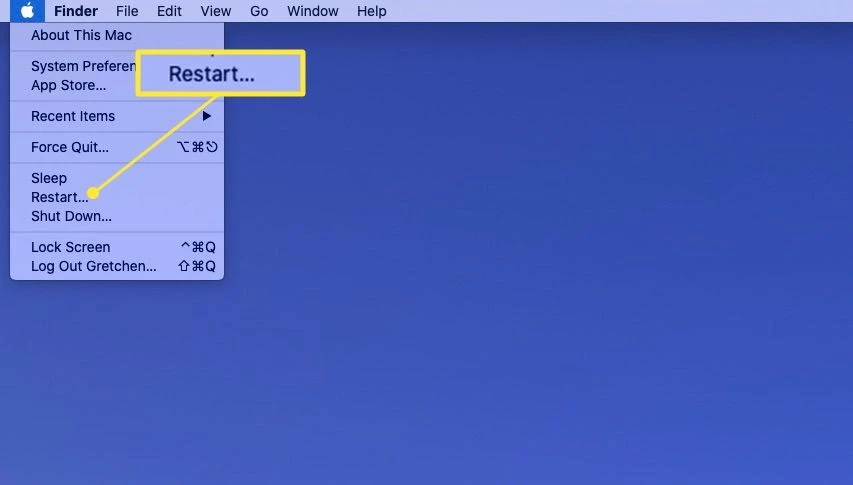
Sometimes, even very small glitches can be fixed by simply restarting both Macs.
If these steps don’t help, you’ll need to explore alternative data migration means, including creating a Time Machine backup on an external hard drive or using AirDrop for smaller files. These approaches often get around some of the roadblocks that cause Migration Assistant to lag.
Differences Between Migration Assistant and Other Methods
There are different ways to move data to a new Mac, with each having its advantages and disadvantages. Migration Assistant provides an easy method of transferring applications, user accounts, and settings, so that your new Mac is the same as the previous one. This method is efficient and very user-friendly (particularly if you aren’t that tech-savvy).
Manual file transfer involves copying files with the help of external drives or network connections. This allows for selective data migration but can be quite time-consuming and increases the chance of forgetting to migrate important files. In addition, system settings and some applications must be reinstalled separately, which increases the setup time.
Apple built in a backup solution, Time Machine, which creates comprehensive backups of your system. If you prefer, Migration Assistant can restore from a Time Machine backup, as it transfers all data and settings. This method works, but it may be slower than direct transfers and also requires a recent backup.
Cloud storage services e.g. iCloud, Dropbox or Google Drive, allow you access your files from all devices. This approach is very useful for some files and documents but does not transfer system settings or applications. The internet bandwidth determines the speed at which data can be transferred, and uploading and downloading larger data volumes can be time-consuming.
Conclusion
How long the whole transfer takes Migration Assistant depends on the amount of data you’re transferring and the method you use.
To boost efficiency, consider these Migration Assistant efficiency tips: Use faster transfer options such as Ethernet or Thunderbolt, ensure that your devices are up to date, and close any unnecessary apps while you’re at it. With proper planning and using the right method, you can greatly improve how Migration Assistant works, so that your data is transferred in a faster way.


