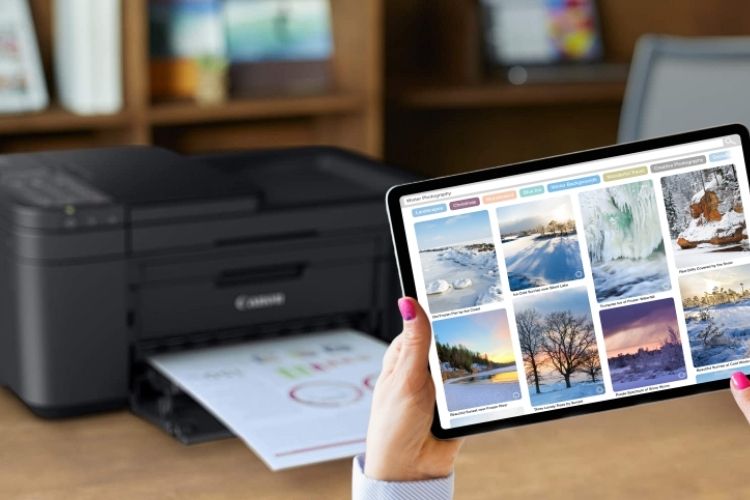
Printing from an iPad can be a convenient way to create physical copies of documents, photos, and other materials. However, setting up a printer on an iPad can be tricky if you’re not familiar with the process. In this article, we’ll discuss the steps you need to take to set up a printer on an iPad and start printing wirelessly.
The first step to setting up a printer on your iPad is to ensure that your printer is compatible with AirPrint. AirPrint is Apple’s wireless printing technology that allows you to print wirelessly from your iPad to a compatible printer without the need for additional software or drivers. Most modern printers support AirPrint, so it’s worth checking your printer’s manual or manufacturer’s website to see if it’s compatible.
Assuming your printer is AirPrint-enabled, the next step is to connect it to the same Wi-Fi network as your iPad. This is important because both devices need to be on the same network in order to communicate with each other. To connect your printer to your Wi-Fi network, consult your printer’s manual or follow the on-screen instructions on the printer’s display.
Once your printer is connected to your Wi-Fi network, it’s time to set up your iPad to communicate with it. To do this, open the app you want to print from and find the print option. This is usually located under the app’s share icon or in the app’s settings menu. Tap the print option and then select your printer from the list of available printers. If your printer is not listed, make sure it’s turned on and connected to the same Wi-Fi network as your iPad.
After selecting your printer, you can adjust the print settings as needed. This includes selecting the number of copies you want to print, the paper size, and other options such as double-sided printing. Once you’ve made your selections, tap the print button to start printing.
Setting up a printer on an iPad requires a few simple steps. First, ensure that your printer is compatible with AirPrint and connect it to the same Wi-Fi network as your iPad. Then, open the app you want to print from, select the print option, and choose your printer from the list of available printers. With these steps, you’ll be able to start printing wirelessly from your iPad in no time.

Connecting an iPad to a Wireless Printer
To connect an iPad to a wireless printer, the following steps can be followed:
1. Ensure that the iPad and the wireless printer are connected to the same Wi-Fi network.
2. Open the app from which you want to print.
3. Tap on the “Share” icon or the “Print” icon within the app.
4. Select the printer you want to use from the list of available printers. If your printer is not showing up, check that it is turned on and connected to the Wi-Fi network.
5. Select the number of copies you want to print and any other options, like double-sided printing or page range.
6. Tap on the “Print” button to start the printing process.
Alternatively, if your printer supports AirPrint, you can directly print from your iPad without needing to install any additional software. To print using AirPrint, follow these steps:
1. Ensure that the iPad and the AirPrint-enabled printer are connected to the same Wi-Fi network.
2. Open the app from which you want to print.
3. Tap on the “Share” icon or the “Print” icon within the app.
4. Select the AirPrint-enabled printer you want to use.
5. Select the number of copies you want to print and any other options, like double-sided printing or page range.
6. Tap on the “Print” button to start the printing process.
By following these steps, you can easily connect your iPad to a wireless printer and print your documents or photos.
Troubleshooting an iPad Not Connecting to a Printer
There could be several reasons why your iPad is not finding your printer. One possible reason is that the iPad and the printer are not on the same network or frequency. In order to connect to the printer, both the iPad and the printer need to be on the same Wi-Fi network.
Another reason could be that the Wi-Fi connection on your iPad needs to be refreshed. This can be done by opening the iPad’s settings, tapping on Wi-Fi in the left-side list, and turning the Wi-Fi off and on again. This forces the iPad to search for available Wi-Fi connections, including the printer.
It is also possible that the printer is not compatible with your iPad. Some printers only work with certain operating systems, so it is important to check the printer’s specifications before attempting to connect it to your iPad.
If none of these solutions work, there may be an issue with the printer’s software or settings. In this case, it may be necessary to consult the printer’s manual or contact the manufacturer for further assistance.
Connecting an iPad to a Printer
It is possible to directly connect an iPad to a printer, but it depends on the type of printer and the connectivity options available. Some printers support a direct connection through a USB cable, while others can be connected through Wi-Fi, Bluetooth, or even a proprietary app. However, it is important to note that most printers may require additional software or drivers to be installed on the iPad to enable direct printing. Additionally, it may not be the most convenient method of printing as it limits mobility and may require the iPad to be in close proximity to the printer. Therefore, it is recommended to explore wireless printing options such as AirPrint for a more seamless and efficient printing experience.
Conclusion
Printers have become an essential tool for both personal and professional use. With the advancement of technology, there are a variety of printers available in the market that cater to different needs and requirements. From inkjet to laser, wireless to portable, there is a printer for every user. It is important to consider factors such as print quality, speed, connectivity, and cost when choosing a printer. Additionally, it is crucial to properly maintain and troubleshoot your printer to ensure its longevity and optimal performance. With the right printer and care, you can produce high-quality prints that meet your specific needs.


