In today’s digital age, email has become an essential part of our lives. Whether it’s for personal or professional use, having a reliable email service is crucial. One popular email service that many people use is Hotmail, which is now known as Outlook.com. Hotmail offers a range of features and settings to enhance your email experience, including the ability to connect to an Exchange Server. In this article, we will explore what Hotmail Exchange Server is and how to set it up on your iPad.
What is a Hotmail Exchange Server?
Hotmail Exchange Server is a feature that allows users to sync their Hotmail email, contacts, calendars, and other data with an Exchange Server. An Exchange Server is a powerful email and collaboration platform developed by Microsoft. By connecting Hotmail to an Exchange Server, users can enjoy enhanced synchronization capabilities, improved security, and access to advanced features such as shared calendars and contacts.
Setting up Hotmail Exchange Server on iPad
To set up Hotmail Exchange Server on your iPad, follow these simple steps:
Step 1: Open the Settings app
On your iPad’s home screen, locate and tap on the Settings app. The Settings app is represented by a gear icon and can usually be found on the first page of your home screen.
Step 2: Access the Mail settings
Within the Settings app, scroll down and tap on the “Mail” option. This will open the Mail settings menu, where you can configure various email-related settings.
Step 3: Add an email account
In the Mail settings menu, tap on the “Accounts” option. Here, you will see a list of all the email accounts currently set up on your iPad. To add a new account, tap on the “Add Account” button.
Step 4: Choose your email provider
On the Add Account screen, you will see a list of email providers. Look for and tap on the “Exchange” option. If you don’t see Exchange listed, you may need to choose the “Other” option and manually enter your Hotmail account details.
Step 5: Enter your Hotmail account details
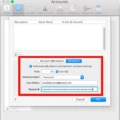
In the Exchange setup screen, you will be prompted to enter your Hotmail email address and password. Make sure to enter these details correctly to ensure a successful setup. Once you have entered your details, tap on the “Next” button.
Step 6: Configure server settings
After entering your email address and password, your iPad will attempt to automatically configure the server settings for your Hotmail account. If this fails, you may need to manually enter the server settings. The server settings for Hotmail Exchange Server are as follows:
– Server: outlook.office365.com
– Domain: leave this field blank
– Username: your Hotmail email address
– Password: your Hotmail password
Once you have entered the server settings, tap on the “Next” button.
Step 7: Choose what to sync
In the final step of the setup process, you will be given the option to choose what data you want to sync with your iPad. This includes Mail, Contacts, Calendars, Reminders, and Notes. Toggle the switches to enable or disable synchronization for each type of data. Once you have made your selections, tap on the “Save” button.
Setting up Hotmail Exchange Server on your iPad is a straightforward process that can greatly enhance your email experience. By connecting Hotmail to an Exchange Server, you can enjoy improved synchronization, enhanced security, and access to advanced features. Follow the steps outlined in this article to easily set up Hotmail Exchange Server on your iPad and start enjoying the benefits it offers.
How Do You Connect Your iPad to Your Microsoft Exchange Server?
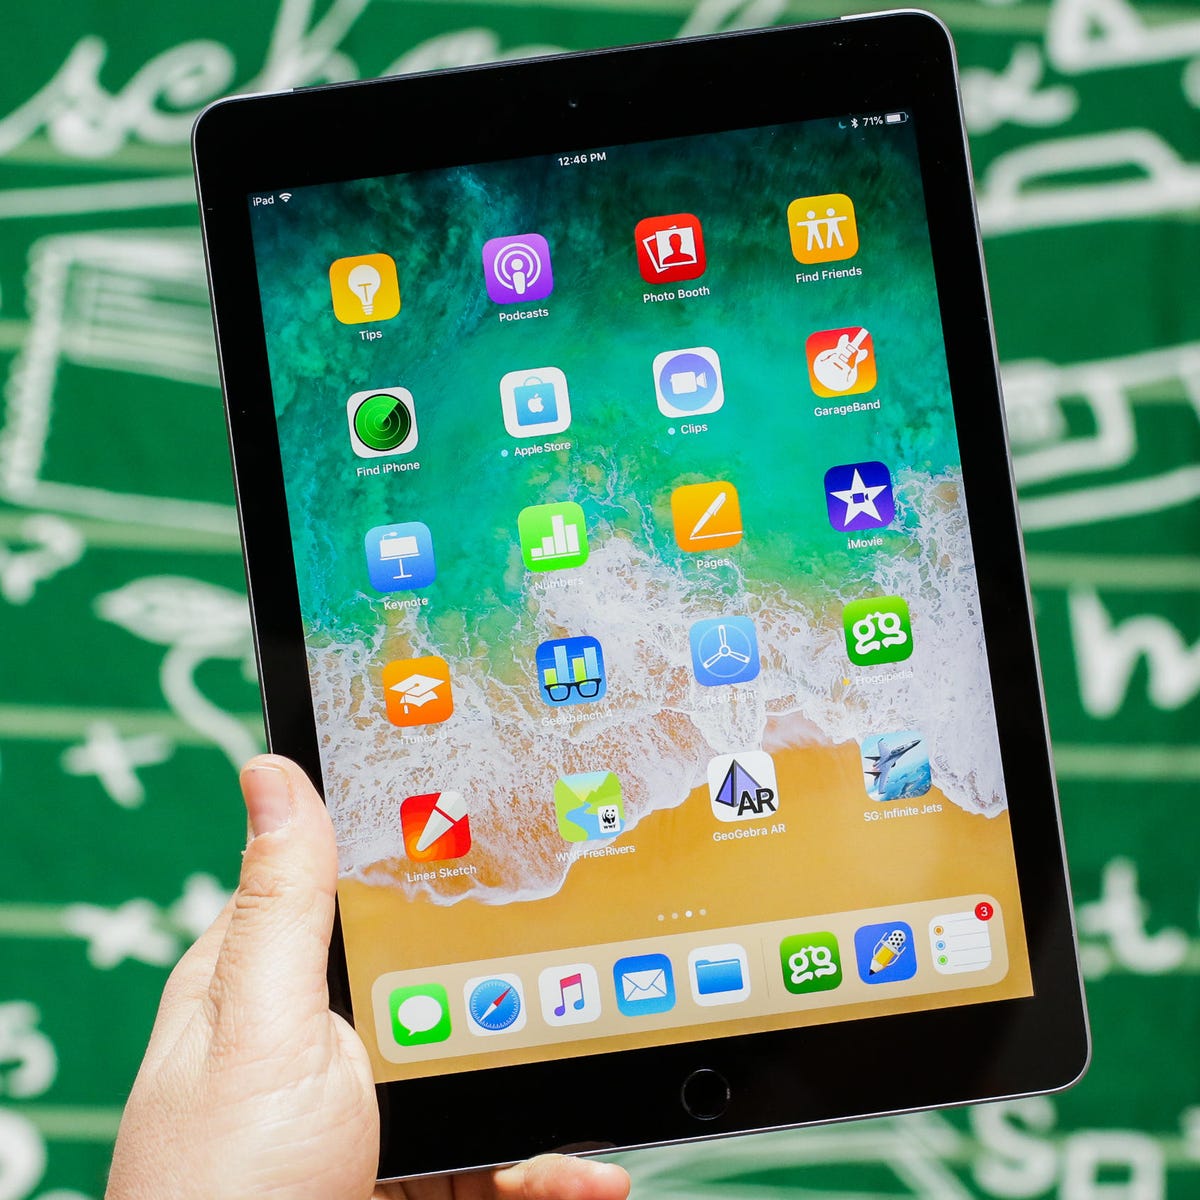
To connect your iPad to your Microsoft Exchange Server, follow these steps:
1. On your iPad, go to the Settings app.
2. Scroll down and tap on “Mail”.
3. Tap on “Accounts”.
4. Tap on “Add Account”.
5. Select “Microsoft Exchange”.
6. Enter your email address and a description for the account.
7. Tap “Next”.
8. If your Exchange Server supports automatic configuration, your iPad will attempt to configure the server settings automatically. If not, you will need to enter the server settings manually.
– If automatic configuration is successful, skip to step 11.
– If not, proceed to step 9.
9. Tap on “Configure Manually”.
10. Enter your Exchange Server details, including the server address, domain, username, and password. You may also need to specify whether to use SSL or not.
11. Tap “Next” to proceed.
12. Choose the content you want to sync with your Exchange Server. You can select Mail, Contacts, Calendars, Reminders, and Notes. Toggle the switches to enable or disable syncing for each item.
13. Tap “Save” to save the account settings.
Your iPad will now attempt to connect to your Microsoft Exchange Server and sync your selected content. Once the syncing process is complete, you should be able to access your Exchange emails, contacts, calendars, reminders, and notes on your iPad.
How Do You Add An Exchange Email Account to Outlook On Your iPad?
To add an Exchange email account to Outlook on your iPad, follow these steps:
1. Open the Outlook app on your iPad.
2. Tap on the “Settings” icon, which is represented by a gear icon at the bottom right corner of the screen.
3. In the Settings menu, scroll down and tap on “Add Account.”
4. On the Add Account screen, choose the option that says “Add Email Account.”
5. Enter your Exchange email address in the provided field. Make sure to type it accurately.
6. Tap on the “Add Account” button to proceed.
7. If prompted, you may see a screen asking you to select your email provider. In this case, choose “Microsoft 365” or “Exchange” based on your organization’s email setup.
8. After selecting your email provider, you may be redirected to a login page where you will need to enter your email password. Provide the correct password and tap on the “Sign In” button.
9. Outlook will then attempt to configure your Exchange email account automatically. It may ask for additional information like your name, description, and server details. Fill in the required fields accurately.
10. Once you have entered all the necessary information, tap on the “Save” or “Done” button to complete the setup process.
Where Are Mail Server Settings on iPad?
The mail server settings on the iPad can be found by following these steps:
1. Go to the “Settings” app on your iPad.
2. Scroll down and tap on “Mail, Contacts, Calendars”.
3. In the next screen, you will see a list of your email accounts. Tap on the account from which you want to send emails. If you want to add a new account, tap on “Add Account” instead.
4. Scroll down to the “Outgoing Mail Server” section and tap on “SMTP”.
5. In the next screen, you will see a list of SMTP servers associated with your email account. Tap on “Add Server” to add a new SMTP server.
6. A window will appear where you can enter the details of the new SMTP server. Fill in the required information such as the server name, port number, and any authentication details if necessary.
7. Tap “Done” when you have finished entering the server details.
Once you have added the SMTP server, you will be able to send emails from your iPad using that account.
How Do You Setup Your Hotmail Account On Your iPad?
To set up your Hotmail account on your iPad, follow these steps:
1. Go to the Settings app on your iPad’s home screen.
2. Scroll down and tap on the “Mail” option.
3. In the Mail settings, tap on “Accounts” to view your existing email accounts.
4. To add a new account, tap on “Add Account” at the bottom of the screen.
5. A list of email providers will appear. Tap on “Outlook.com” or “Hotmail” to continue.
6. Enter your full Hotmail email address in the provided field and tap “Next.”
7. Enter your Hotmail account password and tap “Next” to proceed.
8. The Mail app will attempt to automatically configure your Hotmail account settings. If successful, you will see a green checkmark next to the “Mail” option. Tap “Save” to continue.
9. If the automatic configuration fails, you may need to manually enter the server settings:
– Incoming Mail Server: imap-mail.outlook.com
– Outgoing Mail Server: smtp-mail.outlook.com
– Username: Your full Hotmail email address
– Password: Your Hotmail account password
– Tap “Next” to proceed.
10. Choose which Hotmail data you want to sync with your iPad, such as Mail, Contacts, Calendars, or Notes. Toggle the switches as per your preference and tap “Save.”
11. Your Hotmail account is now set up on your iPad, and you can access it through the Mail app on your home screen.
By following these steps, you will be able to successfully set up your Hotmail account on your iPad and access your emails conveniently.
Conclusion
Setting up Exchange ActiveSync on your iPhone or iPad for Hotmail is a straightforward process. By following the steps provided, you can easily connect to your Hotmail Exchange Server and sync your email, contacts, calendars, reminders, and notes.
To begin, enter your Hotmail email address and tap Next. Then, choose Sign In or Configure Manually, depending on your preference. Once connected to the Exchange Server, you can start syncing your content.
Additionally, if you prefer to use Outlook for iOS, you can add your Hotmail account by going to Settings, selecting Add Account, and then adding your email address. Make sure to choose Microsoft 365 or Exchange, depending on your organization, if prompted.
For sending emails from your iPad, go to Settings, tap Mail, Contacts, Calendars, and select your email account. Under Outgoing Mail Server, choose SMTP and add a new server. Once done, you can start sending emails.
With these simple steps, you can successfully set up Exchange ActiveSync for Hotmail on your iOS device, ensuring efficient communication and synchronization of your important information.

