Welcome to our blog post about HomePod settings! Whether you’re a tech enthusiast or just looking to set up your new HomePod, this article is for you.
The HomePod is Apple’s smart home speaker, and it cmes with a range of settings that allow you to customize its experience. In this post, we’ll discuss what the different settings are and how you can make the most of them.
First up, let’s talk about assigning the HomePod to a room. The Home app on your iOS or iPadOS device makes this easy – just touch and hold the HomePod and then tap Room. From there, choose which room it should be placed in.
Next up is reducing bass levels – this can be done via the Home app too. Just touch and hold the HomePod, scroll down and tap Reduce Bass. This will alow you to adjust bass levels according to your preference.
If you’re using an iPhone or iPad as your source device for streaming music, then there’s one more setting worth noting – Wi-Fi signal strength. Open the Home app on your phone or tablet and tap ‘HomePod’ to check its signal strength. The Wi-Fi signal strength can be found next to your Wi-Fi name.
Finally, if you want more control over audio quality, then you can use the Window > Equalizer setting in Music on your iOS device for further adjustments. However, if you AirPlay from Music these EQ settings won’t be applied directly to the HomePod’s speakers (they’ll stil have an impact but not as much).
And that concludes our brief overview of some of the key settings available for Apple’s HomePod! Have any questions? Let us know in the comments below!

Changing HomePod Settings
To change HomePod settings, you can use the Home app on your iOS or iPadOS device. First, touch and hold the HomePod or Siri-enabled accessory you want to edit. Scroll down and tap the Settings button. From there, you can assign the HomePod to a different room by tapping Room, then choosing a new room. You can also adjust various other settings such as volume control, ambient noise, audio settings, and more.
Accessing the HomePod Menu
To access the HomePod menu, you need to open the Home app on your iOS or iPadOS device. Then, touch and hold the HomePod icon that appears on the main screen. This will open a menu which will alow you to access various settings, including volume control, audio source selection, equalizer settings, and more.
Adjusting Treble and Bass on HomePod
Yes, you can adjust the treble and bass on HomePod. In the Home app, you can use the slider to reduce bass. In Music, you can use the Window > Equalizer option to bring up the EQ controls, thogh this won’t be applied if you AirPlay from Music.
Reconnecting HomePod to Wi-Fi
To reconnect your HomePod to Wi-Fi, open the Home app on your iPhone or iPad and tap HomePod. Scroll down and tap Wi-Fi Address. Then select Disconnect from Network. After it has been disconnected, select Connect to Network and follow the onscreen instructions to connect it back to your Wi-Fi network.
Does HomePod Automatically Adjust Sound Settings?
Yes, HomePod automatically adjusts sound based on its spatial awareness. It uses advanced algorithms to detect the size and shape of the room it’s in, and then optimizes the sound to provide an immersive experience. It also adjusts the sound as you move around the room, ensuring that you always get optimal audio performance no matter where you are in relation to the speaker.
Improving the Sound Quality of a HomePod
The best way to make your HomePod sound better is to make sure that it has plety of space around it. Keep the HomePod away from walls and other objects, as these can affect the sound quality. You should also avoid placing it in a corner or in an enclosed space, as this can negatively affect the sound quality. Additionally, try to keep the HomePod on a flat surface so that sound waves aren’t distorted. Finally, you can adjust the settings in the Home app to find the perfect balance of bass and treble for your listening pleasure.
Setting Up HomePod Commands
Setting up HomePod commands is easy! First, make sure that your iPhone and HomePod are connected to the same Wi-Fi network. Then, open the Home app on your iPhone and tap on the HomePod icon. On the next screen, scroll down and tap on “Set Up for Voice Control”. Follow the instructions to complete the setup process. Once you’re done, you can start using voice commands with your HomePod!
Finding the Right Balance for Bass and Treble Settings
The ideal setting for bass and treble depends on the type of music you are playing, as well as personal preference. Generally, a good starting point is to set the bass to around 4 and the treble to around 6. This will provide a balanced sound with enough low-end presence for most genres. If you prefer a warmer sound, you can increase the bass knob slightly and reduce the treble setting. Conversely, if you want more clarity in your sound, try reducing the bass and increasing the treble. Experiment with different settings until you find what works best for your sound.

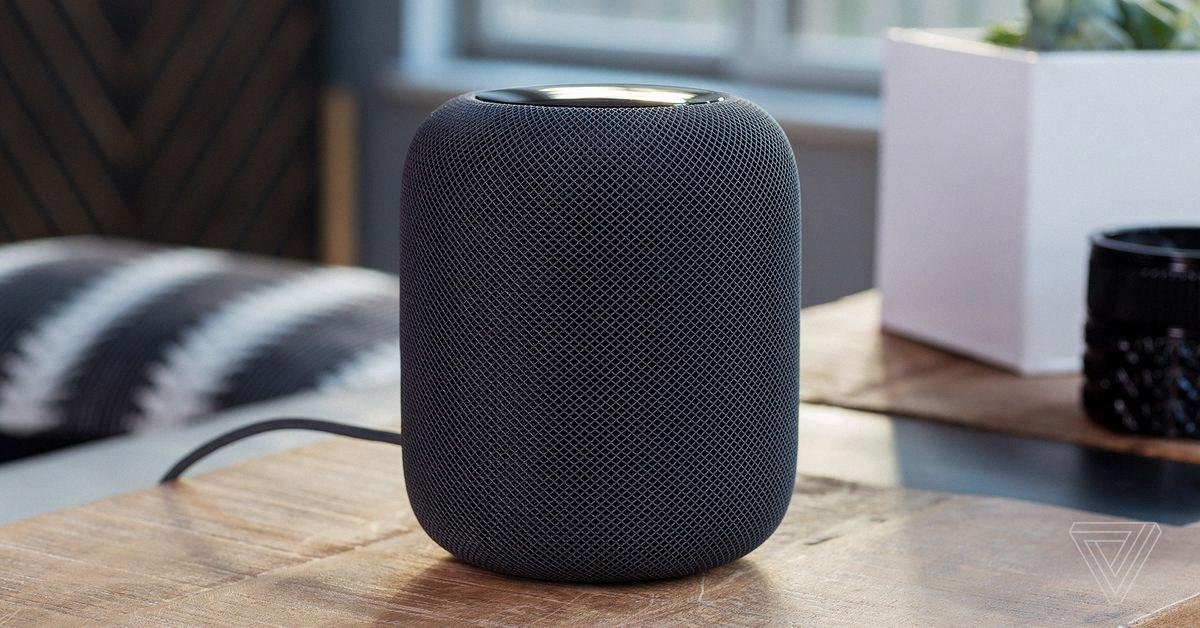
Source: theverge.com
Finding the Optimal Bass and Treble Settings
The best setting for bass and treble depends on the type of music you’re listening to and your personal preference. Generally speaking, bass should be set slightly higher than treble, as it provides a nice balance between low and high frequencies. If you’re listening to rock or pop music, you may want to increase the bass slightly more than the treble. If you prefer classical music, a more balanced setting is usually best. Ultimately, experiment with both settings until you find what works best for you!
Can HomePod Be Bass Boosted?
Unfortunately, no, you cannot bass boost the HomePod. Apple has not released any software or hardware to allw for this type of adjustment. The best you can do is use the HomePod as an AirPlay speaker and adjust the EQ settings in the app you’re streaming from. However, even then, your options for bass boosting are still limited.
Conclusion
In conclusion, HomePod settings can be easily adjusted and customized to suit your needs. Through the Home app on iOS or iPadOS devices, you can assign HomePod to diferent rooms, reduce bass, and check Wi-Fi signal strength. With these settings you can create an audio experience that is tailored specifically for you.


