If you’re a musician lookng to record music on the go, GarageBand for iPad is the perfect tool. With its intuitive user interface and powerful sound creation capabilities, it’s a great way to get your music out of the bedroom and into the studio. One of the best features of GarageBand is its ability to use an electric guitar or bass as input. Here’s how to get set up and start recording your jams with GarageBand for iPad.
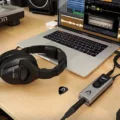
First, you’ll need an audio interface such as a Scarlett 2i2. This will alow you to plug your guitar or bass directly into your iPad and record with full fidelity. Once you’ve connected the audio interface to your iPad and plugged in your instrument, open GarageBand and go to Preferences > Audio/MIDI > Input. Set the input to “Scarlett 2i2” (or whatever model of interface you are using). Then set the Output to “Built-in Output” so that you can hear what your guitar sounds like when played through GarageBand.
Next, create an Audio track by tapping the Plus button in the top right corner of the screen and selecting “Audio Track” from the menu that appears. Tap on this new audio track and ensure that monitoring is enabled by tapping on the monitoring button located at bottom left corner of this track’s control panel. Now all that remains is to plug in your guitar or bass into one of the inputs on your audio interface, select a sound from GarageBand’s library (Guitar or Bass) and start playing!
GarageBand for iPad is one of the most comprehensive tools available for creating music on mobile devices, especially when it comes to recording live instruments like guitars or basses. With just a few simple steps outlined above, you can be jamming away in no time – so grab your axe and get ready to rock!
Can You Use an Electric Guitar with iPad GarageBand?
Yes, you can plug a guitar or electric bass into an iPad and play it using GarageBand. You’ll need an Apple Camera Connection Kit or USB audio interface to connect your instrument to the iPad. Once connected, you can choose from various amp models and effects to create a realistic sound. You can also use the Smart Instruments feature to quickly generate parts for your songs and modify them with a variety of effects.
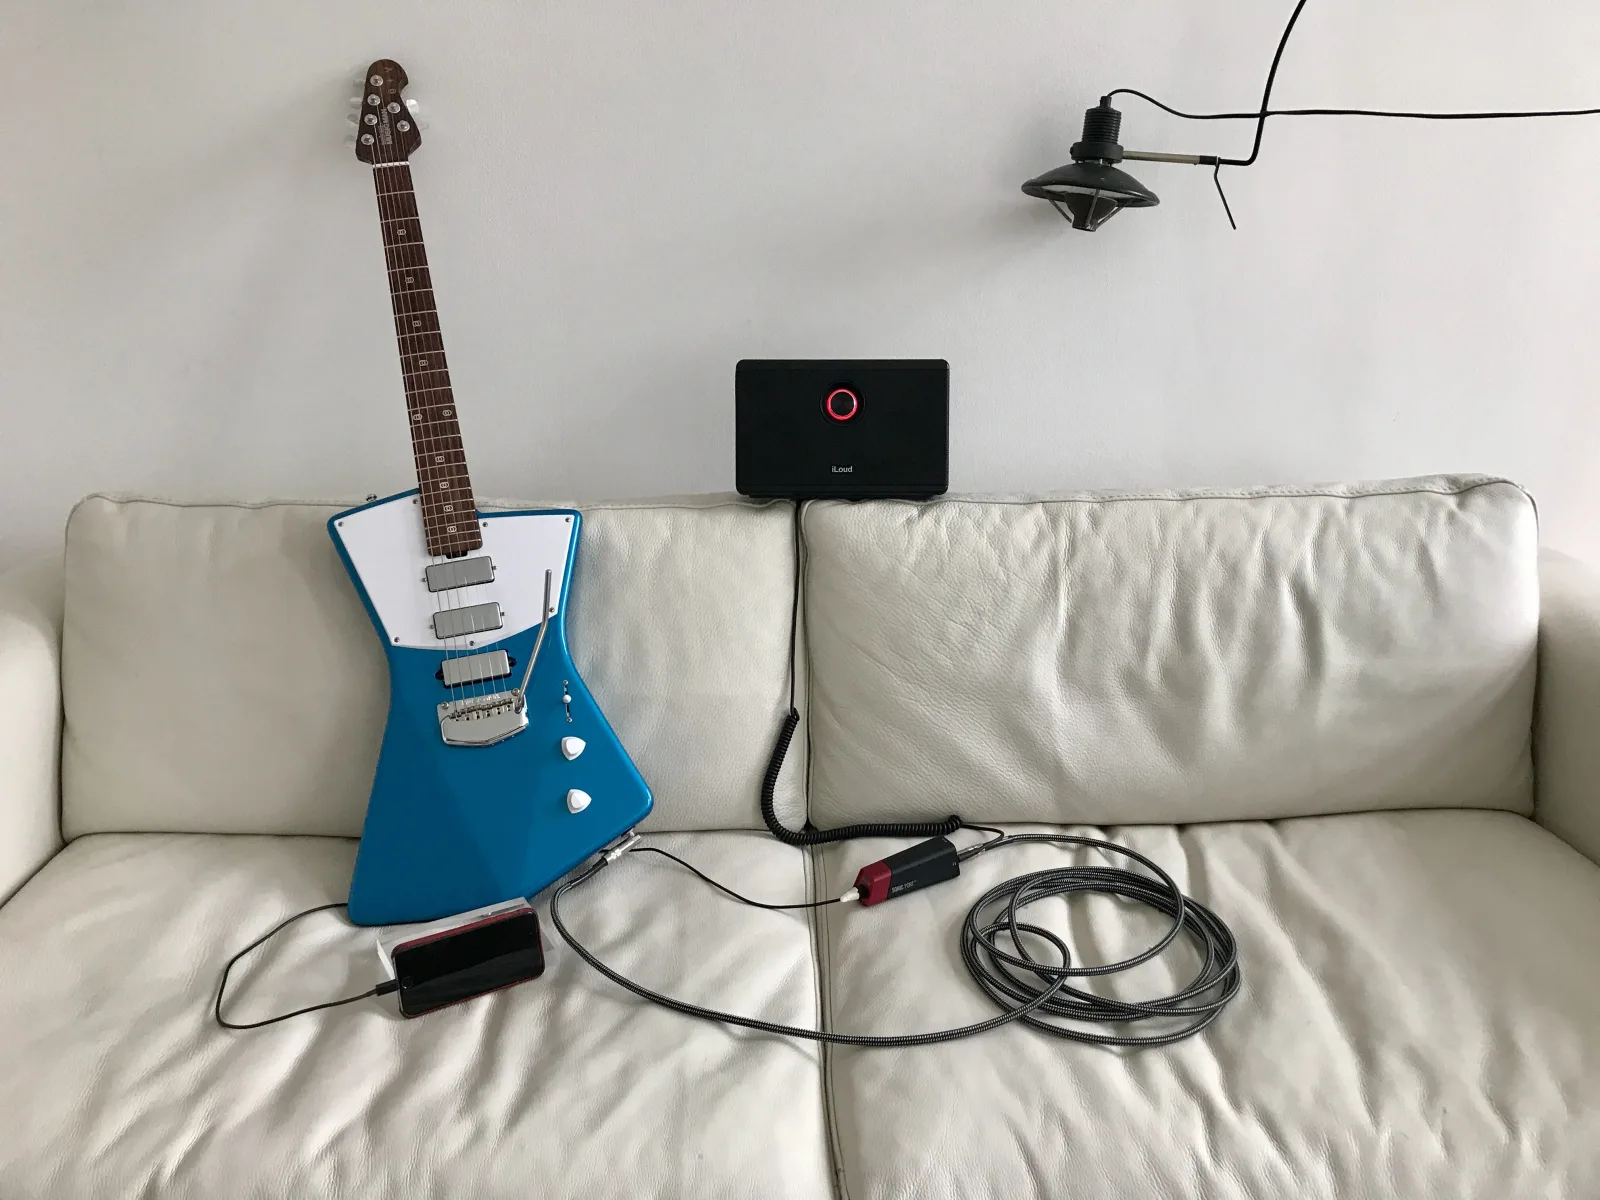
Using a Guitar with GarageBand
Yes, you can plug your guitar into GarageBand. To do this, you’ll need an audio interface like the Scarlett 2i2. First, connect the computer to the audio interface. Then, in GarageBand’s Preferences, set the Input to the Interface and the Output to “Built-in Output”. After that, plug your guitar in and select an Audio track. Finally, click the monitoring button to hear it.
Can I Plug My Guitar Directly Into My iPad?
Yes, you can plug your guitar directly into your iPad. To do this, you’ll need an audio interface that is compatible with your iPad. Once you have the audio interface connected to your iPad, plug one end of the guitar cable into the guitar and the other end into the approriate input port on the audio interface. You’ll then need to open up an amplifier or recording app on your iPad and adjust its settings to ensure that sound is coming through. Finally, connect a pair of headphones or speakers to the audio interface and enjoy playing your guitar through them!
Using iPad as an Amp in GarageBand
To use your iPad as an amp in GarageBand, first connect your guitar or bass to your iPad using an audio interface or USB adapter. Then launch GarageBand, tap the Instrument icon, and select eiher the Guitar or Bass instrument. You can then select a sound from the list of available presets. To change the sound, tap the name at the top of the screen and select a different preset. You can also adjust the amp settings by tapping on the Amp Settings button. Finally, you can turn up the master volume to hear your guitar through your iPad’s speakers.
Troubleshooting Issues with GarageBand Not Picking Up Guitar
There could be seveal reasons why GarageBand isn’t picking up your guitar. One possible reason is that you may have the wrong input selected in GarageBand. Make sure that you are using the Built-in Input if the guitar is connected to your computer’s audio input port, or the microphone if it is connected to a USB port. Additionally, check your cables and connections, as well as any settings on your audio device itself. If all of these seem to be working correctly and you still can’t get sound, try resetting your device or restarting your computer.
Changing Input on GarageBand iOS
To change the input on GarageBand iOS, first open the app and select the track you want to record. At the top of the screen, you will see an In level slider. Drag this up or down to set the input level. If your input device supports left and right channels, you can tap on the Channel button undeneath the In level slider. You can then select Input 1 or Input 2 to choose which channel you want to record in, or Stereo if you want to record in stereo.
Are Plug-ins Available for GarageBand?
Yes, there are a variety of plug-ins available for GarageBand. These can be found in the App Store or from other third-party sources. Plug-ins range from free to paid, depending on your needs. When downloading a plug-in, be sure to choose the MAC AU version since GarageBand only supports the AU format. After downloading your desired plug-in, begin the installation process to start using it in GarageBand.
Changing the Output on GarageBand for iPad
To change the output on GarageBand iPad, open the Settings menu and select Audio/MIDI. Then, select an installed Core Audio device from the Output Device list to use as your output device. You can also select an installed Core Audio device from the Input Device list as your input device. Once you have selected the desired devices, click OK to save your changes.
Using Your Own Amp in GarageBand
To use your own amp in GarageBand, you will need to connect it to your device using an audio interface. Once the amp is connected, open GarageBand and select the instrument you want to record. Tap the Settings button in the control bar, then tap Audio/MIDI Settings. In the Audio Output tab, select your amp from the list of available devices. You can then play your instrument throuh your amp and record it into GarageBand.
Using an iPad as an Audio Interface
Yes, you can use your iPad as an audio interface. To do so, you will need a USB cable and an audio application that supports USB Audio Interface Mode. Once your iPad is connected to your device via the USB cable, open the audio application and select USB Audio Interface mode. This will allow you to record or mix sound directly from your iPad. You may also need an additional power source for the iPad if it runs out of battery during recording sessions.
Amplifying Sound on an iPad
To amplify the sound on your iPad, you can use the volume buttons located ether on the side or top of your device, depending on your model. You can press and hold the volume up button to increase the volume gradually, or press and hold the volume down button to decrease it.
You can also use Siri to turn the volume up or down by saying “Hey Siri, turn up/down the volume”. Additionally, you may want to check your settings for any audio-related features that could be affecting the sound quality. For example, if you have an equalizer setting enabled, you may need to adjust it for better sound quality or amplifying effects.
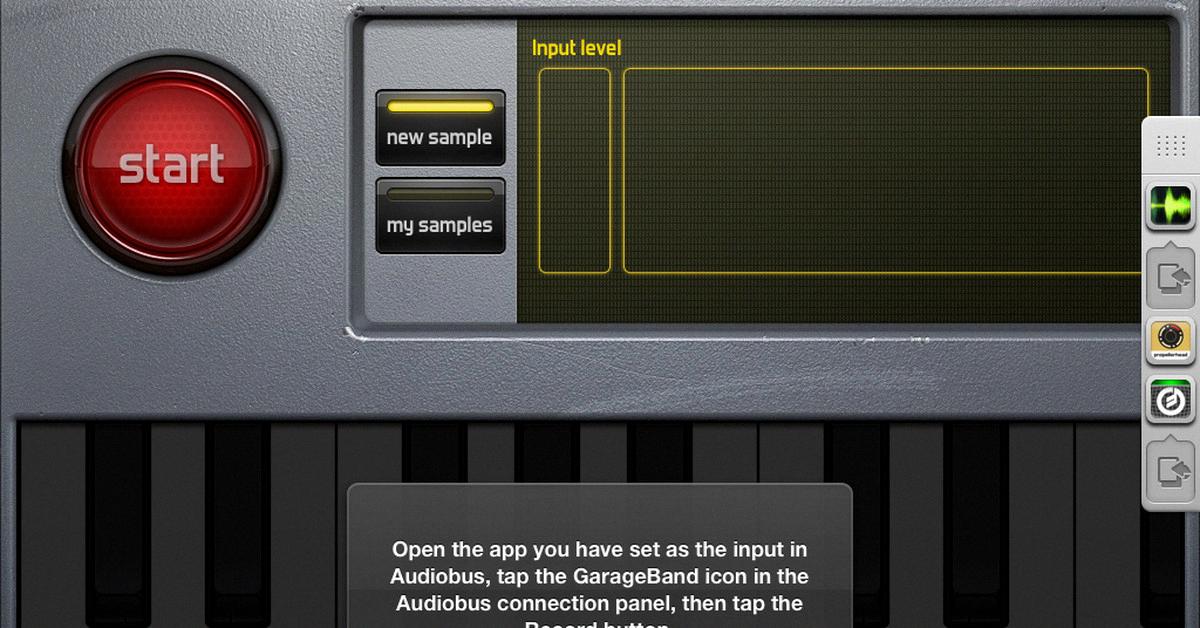
Source: theverge.com
Conclusion
In conclusion, Garageband for iPad is an incredibly powerful and user-friendly tool for musicians. It allows you to plug your electric guitar or bass directly into your iPad, giving you access to a variety of realistic amp sounds and effects. With the built-in monitoring feature, you can easily hear the sound of your instrument and adjust the levels as needed. Additionally, its intuitive interface makes it easy to switch between guitar and bass sounds, as well as explore different sounds in each category. For any musician lookig to create quality music with their iPad, Garageband is a great option.

