Are you looking for a way to export your iPhone calendar? Don’t worry, you’ve come to the right place! In this blog post, we’ll explain how to export your calendar from your iPhone with ease.
At times, it may be necessry to export your calendar from your iPhone. For example, if you are switching phones or just want backup copies of your appointments and events. Fortunately, it is very easy to do this and can be done in just a few steps.
First of all, you will need the latest version of iTunes or Finder installed on your computer. You will also need an updated version of iOS on your iPhone. Once thee two requirements are met, you can begin the exporting process.
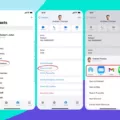
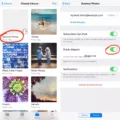
To begin, connect your iPhone to your computer and open iTunes/Finder. Then click on the ‘info tab’ and check mark ‘Sync Calendars’ before clicking the ‘Sync’ button at the bottom right corner of the window. Make sure that iCloud is turned off during this process as this can interfere with syncing.
Once completed, all calendars on your phone will have been exported onto iTunes/Finder as well as any future events that were marked on those calendars prior to sync-ing them. You can also choose to export individual calendars by opening up Calendar app on your phone and selecting the calendar from which you wish to export information from. Then select File > Export > Export and choose where you want it saved before hitting “Export” at the bottom right corner of the window that appears next.
And there you have it! Exporting calendars from an iPhone has never been easier than this! We hope this article has helped make exporting a breeze for anyone looking for help in doing so!
Exporting an Apple Calendar
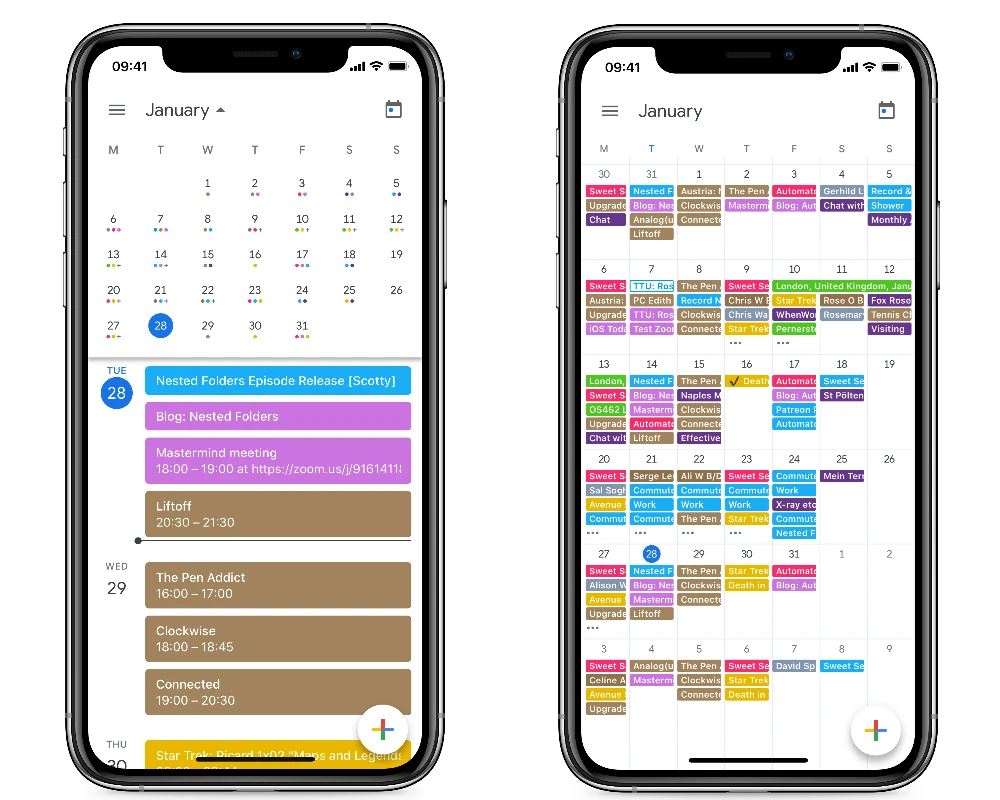
To export your Apple calendar, open the Calendar app on your Mac and click the calendar’s name in the calendar list on the left. If you don’t see the calendar list, choose View > Show Calendar List to display it. Then choose File > Export > Export to save the calendar. Select where you want to save it, then click Export. Your calendar will now be exported and saed in your chosen location.
Transferring an iPhone Calendar to a Computer
To transfer your iPhone calendar to your computer, you will need to connect your iPhone to your computer with a USB cable and open iTunes (or Finder for Mac users). Once your device is detected, click on the ‘Info’ tab and make sure the ‘Sync Calendars’ option is checked. Finally, click on ‘Sync’ at the bottom of the screen and wait for your calendar items to be transferred from your iPhone to your computer. Please note that iCloud needs to be disabled for calendar syncing to work.
How Do I Export My IPhone Calendar To Google Calendar?
Exporting your iPhone calendar to Google Calendar is a simple process. First, open the Calendar app on your iPhone or iPad. Tap the Calendars button at the bottom of the screen and select the iCloud section. Then tap the Info button to the right of the calendar you’d like to export. On this page, you will find an “Export” option at the bottom. Select this option and you will be given two options: Export to File or Export to Google Calendar. If you choose “Export to File”, your calendar will be saved as an .ics file whch can be imported into other calendar apps such as Google Calendar. If you choose “Export to Google Calendar”, a prompt will appear asking for your Google account information. Enter your email address and password and then click “Sign In”. Once logged in, you can choose which calendar in your Google account you would like to sync with your iPhone calendar and click “Export”. Your calendars should now be synced!
Can I Share My Whole IPhone Calendar?
Yes, you can share your whle iPhone Calendar with other iCloud users. To do so, open the Calendar app on your device and select the calendar you want to share. Then tap the three dots in the upper right-hand corner and select Share Calendar. You will be prompted to enter the iCloud email address of the person or group you want to share with. You can then choose whether they can edit or just view your calendar and hit Send Invitation. Once they accept, your calendar will be shared with them!
Can I Export My ICloud Calendar?
Yes, you can export your iCloud Calendar! To do this, open your iCloud Calendar on your Mac and select “File” > “Export” > “Export.” From there, choose a location for the file and click “Export.” Your calendar will then be exported to the specified location. You can also export your iCloud Calendar usig the Apple Calendar app on iOS devices. Simply open the app and select the calendar you wish to export from the list of calendars. Then, tap on the “Share” button in the upper right corner of the screen and select “Export.” Finally, pick a location for the file and tap “Export.” Your calendar will then be exported to that location!
Transferring an iPhone Calendar to a New Phone
To transfer your iPhone Calendar to your new phone, you will need to first log into iCloud using your previous Apple ID and password that was used to create the backup on the cloud. Once you have logged in, tap on the ‘Accept Terms and Services’ option. This will start the process of transferring all calendars from your old iPhone to the new one. Depending on the amount of data being transferred, this culd take anywhere from a few minutes to a few hours. During this time, make sure that both devices are connected to a stable internet connection. Once the process is completed, you should be able to see all your calendar entries present in both devices.
How Do I Transfer Calendar From Phone To Computer?
To transfer your Calendar events from your phone to your computer, you’ll need to use a cloud-based service such as Google Calendar. First, download the Google Calendar app on your Android phone or tablet from Google Play. Once the app is open, all of your events will be synced with your computer. You can then access them on any device that has the same account logged in. You can also use the desktop version of Google Calendar in your web browser to manage and view your events.
Exporting an iPhone Calendar to Outlook
To export your iPhone Calendar to Outlook:
1. First, open iTunes on your computer and connect your iPhone or iPod touch to it.
2. In the source list, under Devices, click the entry for your iPhone or iPod touch.
3. Click the Info tab. Under Calendars, click Sync calendars from, and then click Outlook.
4. Select whih calendars you would like to sync between Outlook and your device and then click Apply at the bottom of the window.
5. You will now have a copy of all of your selected iPhone calendar events in Outlook!
Exporting iCloud Calendar to Gmail
To export your iCloud Calendar to Gmail, start by opening your iCloud Calendar in the Calendar app on your Mac. Then, go to the Preferences window (found uder the Calendar menu) and check the box next to “Sync with iCloud.” Once synced, click on the iCloud calendar in the sidebar, then use File > Export… to export to an ICS file. After exporting, go to your Google calendar. Use File > Import… and select the ICS file you just created. Select the radio button to use an Existing calendar, and select your Google calendar. This should complete the process of exporting your iCloud Calendar into Gmail!
Comparing Google Calendar and iPhone Calendar
No, Google Calendar and iPhone Calendar are not the same. Although they both offer the ability to create events, manage your schedule and share your calendar with others, there are some key differences between the two.
One of the biggest differences is that Google Calendar requires you to use a web app in order to access it on Apple devices, while Apple Calendar is native to all Apple devices. This makes it simpler and more intuitive to set up and use Apple Calendar on any device—including your Apple Watch.
In addition, Apple Calendar offers features such as location-based reminders, real-time group notifications, travel time integration when setting up events, natural language input for creating events quickly, and more. These features are not available on Google Calendar.
Overall, while both calendars offer similar features for managing your schedule and events, thre are some important differences that may make one or the other better suited to your needs depending on how you plan to use it.
Understanding Why You Cannot Share Your iPhone Calendar
If you’re havig trouble sharing your iPhone calendar, it could be because your calendar accounts are not turned on. To make sure your calendar accounts are enabled, open the Settings app and select Calendar > Accounts. Select an account and make sure that the Calendar is turned on.
Additionally, check that you have granted access for oher people to view your calendar in the app’s settings. To do this, open the Settings app, tap on Calendar > Accounts > [your account] > Permissions and make sure that everyone is selected under “Access” under “Events”.
If you’re still having trouble sharing your iPhone calendar, contact Apple Support for further assistance.
How Do I Link All My Calendars On My IPhone?
To link all your calendars on your iPhone, go to Settings > Calendar > Accounts and tap Add Account. Here, you can choose from popular mail services like iCloud, Microsoft Exchange, and Google. If you use another type of service, tap Other and then choose either Add CalDAV Account or Add Subscribed Calendar to enter your server and account information. Once you’ve added all the accounts you want to link, just turn on the toggle switch next to each one in the list to make sure they’re linked up correctly.
Conclusion
In conclusion, exporting your iPhone calendar can be a simple and efficient process. By following the steps outlined above, you can easily export your calendar to be viewed on Google Calendar or shared with other iCloud users. You can even export a read-only version that anyone can view but not change. With these steps, you can ensure that your calendar is accessible wherever you go and whatever device you use.


