If you’re making music with GarageBand, you know how important it is to have clean sound. But often times, background noise can creep in and ruin your recordings. Fortunately, there are a few ways to reduce or even eliminate background noise in GarageBand.
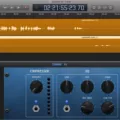
The easiest way to reduce background noise in GarageBand is by using the Noise Gate feature. This allows you to set a threshold level for the sound, so if any sound falls below this level it will be dampened or eliminated. To use this feature, select the desired track, click on the headphone icon to solo the track, open the Track Info window and expand it so that you can see “details”. Then click on the Gate checkbox and start playing the song.
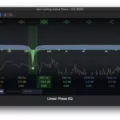
Another way to reduce background noise in GarageBand is by using an equalizer or filter effect. This allows you to adjust certain frequencies of your audio so that they are more prominent or less audible. For example, if your background noise has a lot of high-frequency content, you can use a high-pass filter to reduce those frequencies while leaving other parts of your audio intact. To use an equalizer or filter effect, open the plug-in window and select either EQ or Filter from the dropdown menu. Then adjust the frequency sliders until you get the desired sound.
Finally, another way to reduce unwanted background noise in GarageBand is by using ducking effects. This effect works by reducing all other audio tracks when one of them is playing so that it stands out more clearly without having any other sounds competing with it for attention. To use ducking effects in GarageBand, open up a new track and set its input type as “ducking” then add it as an insert effect on each of your existing tracks that have background noise present in them (you can also add this as a master effect). Once enabled, whenever one of these tracks plays all other tracks will be reduced in volume until their original volume is reached aain once they stop playing (or until the ducking track stops playing).
These are just a few ways that you can reduce unwanted background noise when working with GarageBand – but hopefully this gives you some ideas on how to clean up your recordings and make them stand out!
Removing Background Noise in GarageBand
Yes, you can remove background noise in GarageBand by using the noise gate feature. The noise gate dampens sound below a designated volume across your entire track, whch can help reduce background noise and keep your audio sounding clear. To use the noise gate, just set up the threshold at which the gate should take effect and any sound below that level will be reduced.
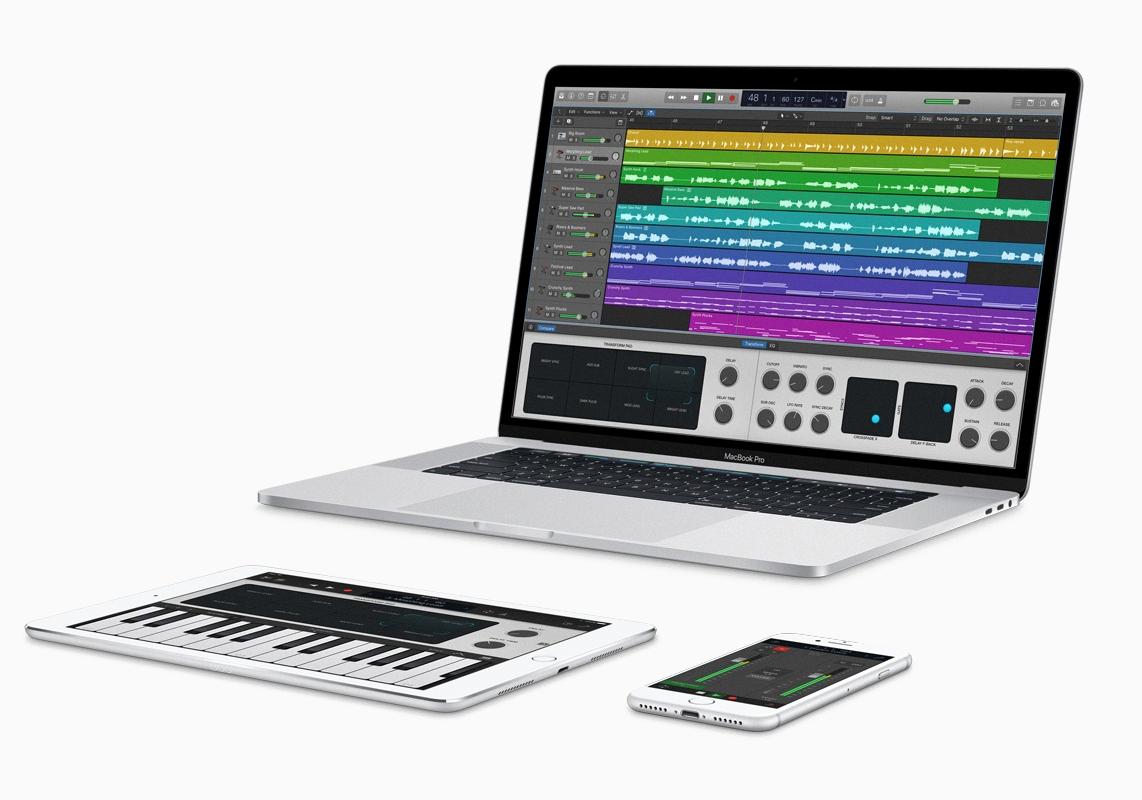
Source: macstories.net
Removing Noise in GarageBand
To remove noise in GarageBand, you will need to use a noise gate. A noise gate is a tool used to filter out any unwanted background noises or sounds that are not part of the main audio track. To apply a noise gate, start by selecting the desired track in the timeline. Then click on the headphone icon to solo the track. Open the Track Info window and expand it so you can see “details”. Finally, click on the Gate checkbox and start playing the song. The noise gate will then automatically filter out any unwanted background noises or sounds that are not part of the main audio track.
Improving Audio Quality in GarageBand
Improving audio quality in GarageBand involves sveral steps. First, make sure that you are using high-quality audio files for your project. Second, use the equalizer (EQ) effect to shape the sound of individual tracks in the project as well as the overall mix. Third, use compression to even out the dynamic range of your track and make it sound fuller. Finally, use reverb and other effects to enhance certain elements of your project and create a professional sound. With these steps, you should be able to improve the audio quality of your GarageBand projects significantly!
Locating the Noise Gate Feature in GarageBand
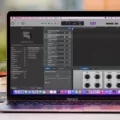
Noise Gate can be found in GarageBand by pressing ‘B’ on your keyboard to bring up Smart Controls. From there, click on Audio Units and then select Bob Perry > BPA Noise Gate. This will open the plugin and enable you to adjust the settings to reduce noise or hum in your recordings.
Understanding the Role of Compressor in GarageBand
A compressor in GarageBand is an audio effect used to adjust the volume of a patch or track. It helps to smooth out sudden level changes, add punch and definition to a track, and make it sound btter when played on audio equipment with a narrow dynamic range. Compressors can be applied to individual instruments or tracks, as well as entire songs.
Conclusion
In conclusion, eliminating background noise in GarageBand can be a simple process with the right tools. By using the noise gate feature, you can dampen sound below a designated volume across your entire track. This will reduce any sound that is below the noise gate threshold and give you a clear, professional-sounding recording. Additionally, using an online audio cleaning tool such as VEED can further reduce background noise and give you an even cleaner sound. With these tips, you’ll be able to create high-quality recordings without any background noise getting in the way.

