The Macbook Pro is a popular and powerful laptop that is loved by many users for its sleek design and impressive performance. However, like any electronic device, it is not immune to issues that may arise from time to time. One such issue is when a disk gets stuck and won’t eject from the Macbook Pro.
If you find yourself in this frustrating situation, there are a few methods you can try to safely eject the disk. One of the simplest methods is to restart your computer while holding down the mouse or trackpad button. This can often force the disk to be ejected as the computer restarts.
Another option is to use the Option key while restarting your Mac. By holding down the Option key, you can access the Startup Manager, which allows you to choose a different startup disk. This may help in ejecting the stuck disk.
If these methods don’t work, you can also try ejecting the disk manually. To do this, you will need a business card or a similar thin object. Gently insert the card into the slit of the disk drive and slide it across while the drive is attempting to eject the disk. Be careful not to force it too much, as you don’t want to cause any damage to the drive.
If all else fails, you can reboot or turn off your computer. This will close all programs and processes, ensuring that no programs are using the files on the external hard drive. Once your computer restarts or turns off, you can then try to eject the external hard drive again.
On a Windows computer, the process of safely ejecting an external USB hard drive is slightly different. You need to navigate to the bottom right corner of the bottom toolbar and locate the USB icon. Click on the icon and find your external hard drive. Then, click on the “Eject” option and wait for a message stating that it’s safe to disconnect. You may also hear a bell noise indicating that the disk has been ejected successfully.
A disk getting stuck and not ejecting from a Macbook Pro can be a frustrating issue. However, there are several methods you can try to safely eject the disk. From restarting your computer to manually ejecting the disk with a business card, these methods can help you resolve the issue and regain full access to your Macbook Pro.
How Do You Force Eject A Disk On A Mac?
To force eject a disk on a Mac, you have a few options:
1. Restart your computer: Click on the Apple menu in the top left corner of your screen and choose “Restart.” While your Mac is restarting, press and hold the mouse or trackpad button until the disk is ejected. This method utilizes the restart process to trigger the disk eject mechanism.
2. Use the Option key: Another method is to hold down the Option key on your keyboard while restarting your Mac. This will bring up the Startup Manager, which allows you to choose a different startup disk. Selecting a different disk can sometimes trigger the ejection of the stuck disk.
3. Force quit applications: If the disk is being used by an application and won’t eject, you can try force quitting the application. Go to the Apple menu and choose “Force Quit” or press Command + Option + Escape on your keyboard. Select the application that is using the disk and click “Force Quit.” This should release the disk and allow you to eject it.
4. Terminal command: If the above methods don’t work, you can use a Terminal command to force eject the disk. Open Terminal (you can find it in the Utilities folder within the Applications folder) and type the command “drutil eject” followed by a space. Then, drag the icon of the stuck disk from your desktop or Finder window and drop it onto the Terminal window. Press Enter to execute the command and force eject the disk.
Remember to exercise caution when using Terminal commands, as they can have unintended consequences if used incorrectly.
By following these steps, you should be able to force eject a disk on your Mac and resolve any issues with stuck or unresponsive disks.
Why Isn’t My Hard Drive Ejecting?
There could be several reasons why your hard drive is not ejecting. Here are some possible explanations:
1. File or program in use: If any files or programs on the external hard drive are currently in use by your computer, it may prevent the drive from being ejected. Make sure to close any open files or programs that are accessing the drive before attempting to eject it.
2. Background processes: Sometimes, there may be background processes running on your computer that are using the files on the external hard drive. These processes can prevent the drive from being ejected. To resolve this, you can try restarting your computer, as it will close all running processes and free up any locks on the drive.
3. System error or glitch: Occasionally, there may be a system error or glitch that is causing the issue. In such cases, restarting your computer can often resolve the problem. If the issue persists after a restart, you can try troubleshooting the external hard drive using your computer’s built-in diagnostic tools or seek technical assistance.
4. Device driver issue: Outdated or faulty device drivers can sometimes interfere with the ejection process. Ensure that you have the latest drivers installed for both the external hard drive and your computer’s USB ports. You may need to visit the manufacturer’s website to download and install the appropriate drivers.
5. Physical connection: Check the physical connection between the external hard drive and your computer. If the connection is loose or faulty, it may prevent the drive from being recognized properly. Try unplugging and re-plugging the USB cable or using a different USB port to see if that resolves the issue.
6. Software conflict: In some cases, conflicts between different software or security programs installed on your computer can interfere with the ejection process. Temporarily disabling any antivirus or security software before ejecting the drive may help resolve the issue.
7. Hard drive malfunction: If none of the above steps work, there is a possibility that the external hard drive itself is experiencing a hardware malfunction. In such cases, you may need to consult a professional or contact the manufacturer for further assistance.
Remember, it is important to safely eject your hard drive to avoid data corruption or loss. If you encounter any difficulties or are unsure, it is always best to seek technical support to ensure the proper handling of your external hard drive.
How Do You Force Eject Apple Superdrive?
To force eject an Apple Superdrive, you can try the following steps:
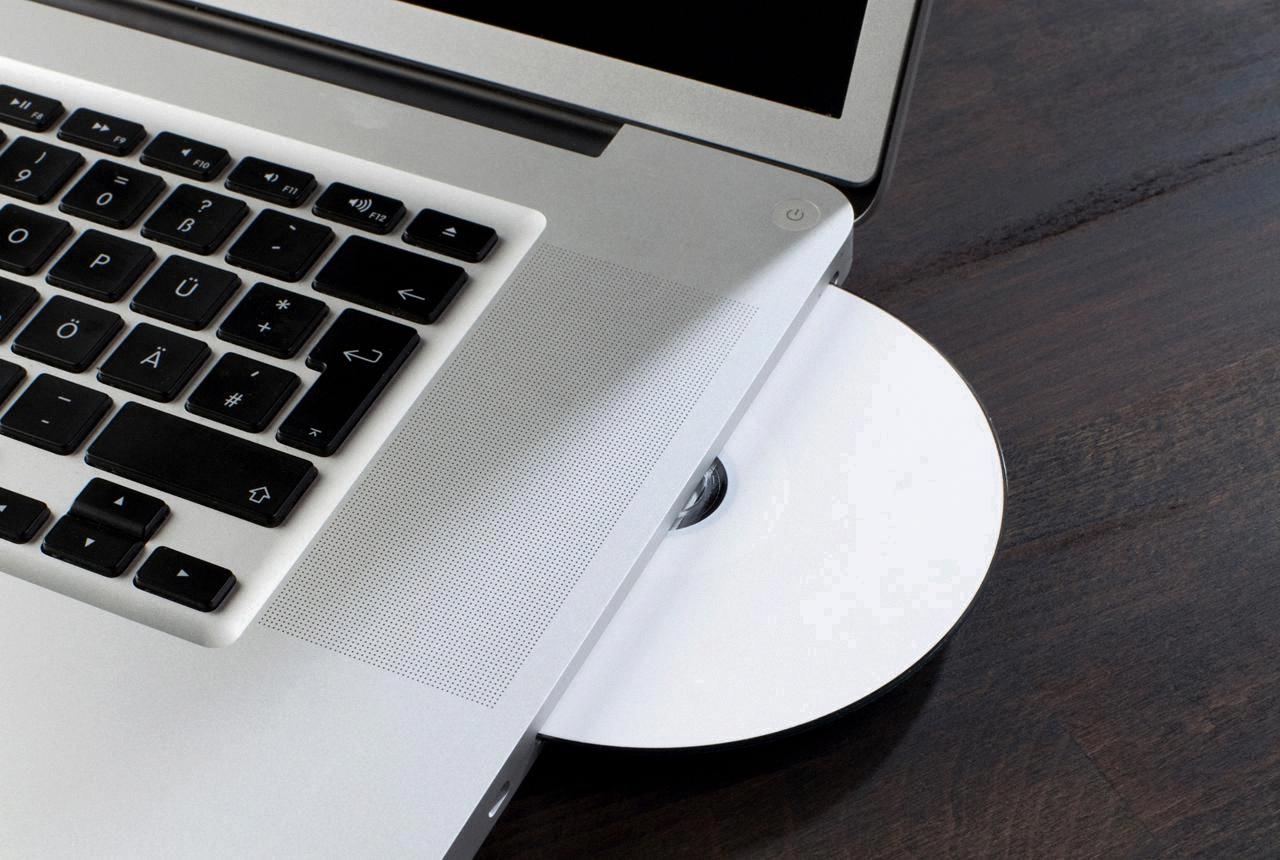
1. Press and hold the “Eject” key on your keyboard. This key is usually located at the top right corner of the keyboard, labeled with an upward arrow or a triangle pointing up.
2. If that doesn’t work, you can try using the Finder to eject the Superdrive. Open a new Finder window by clicking on the desktop and selecting “New Finder Window” from the File menu. In the sidebar, you should see the Superdrive listed under the “Devices” section. Click on it once to select it, and then click on the eject button (an upward arrow) next to its name.
3. If neither of the above methods work, you can try using Terminal to force eject the Superdrive. Open Terminal by going to Applications > Utilities > Terminal. Type in the following command: “drutil eject” (without the quotes) and press Enter. This will send a command to the Superdrive to eject the disk.
4. If the Superdrive is still not ejecting the disk, you can try restarting your Mac while holding down the trackpad button or mouse button. This will force the Mac to eject any stuck disks during the startup process.
5. In case the disk is physically stuck and the Superdrive is audibly trying to eject it but can’t, you can try a trick using a business card. Take a business card and push it slightly into the slit of the Superdrive. Slide the card across the opening while the Superdrive is attempting to eject the disk. This can help to dislodge any obstructions and allow the disk to be ejected.
It’s important to note that forcing the eject of a disk may cause data loss or damage to the disk or Superdrive. Therefore, it’s always recommended to try the standard eject methods first and only resort to forced eject as a last resort.


