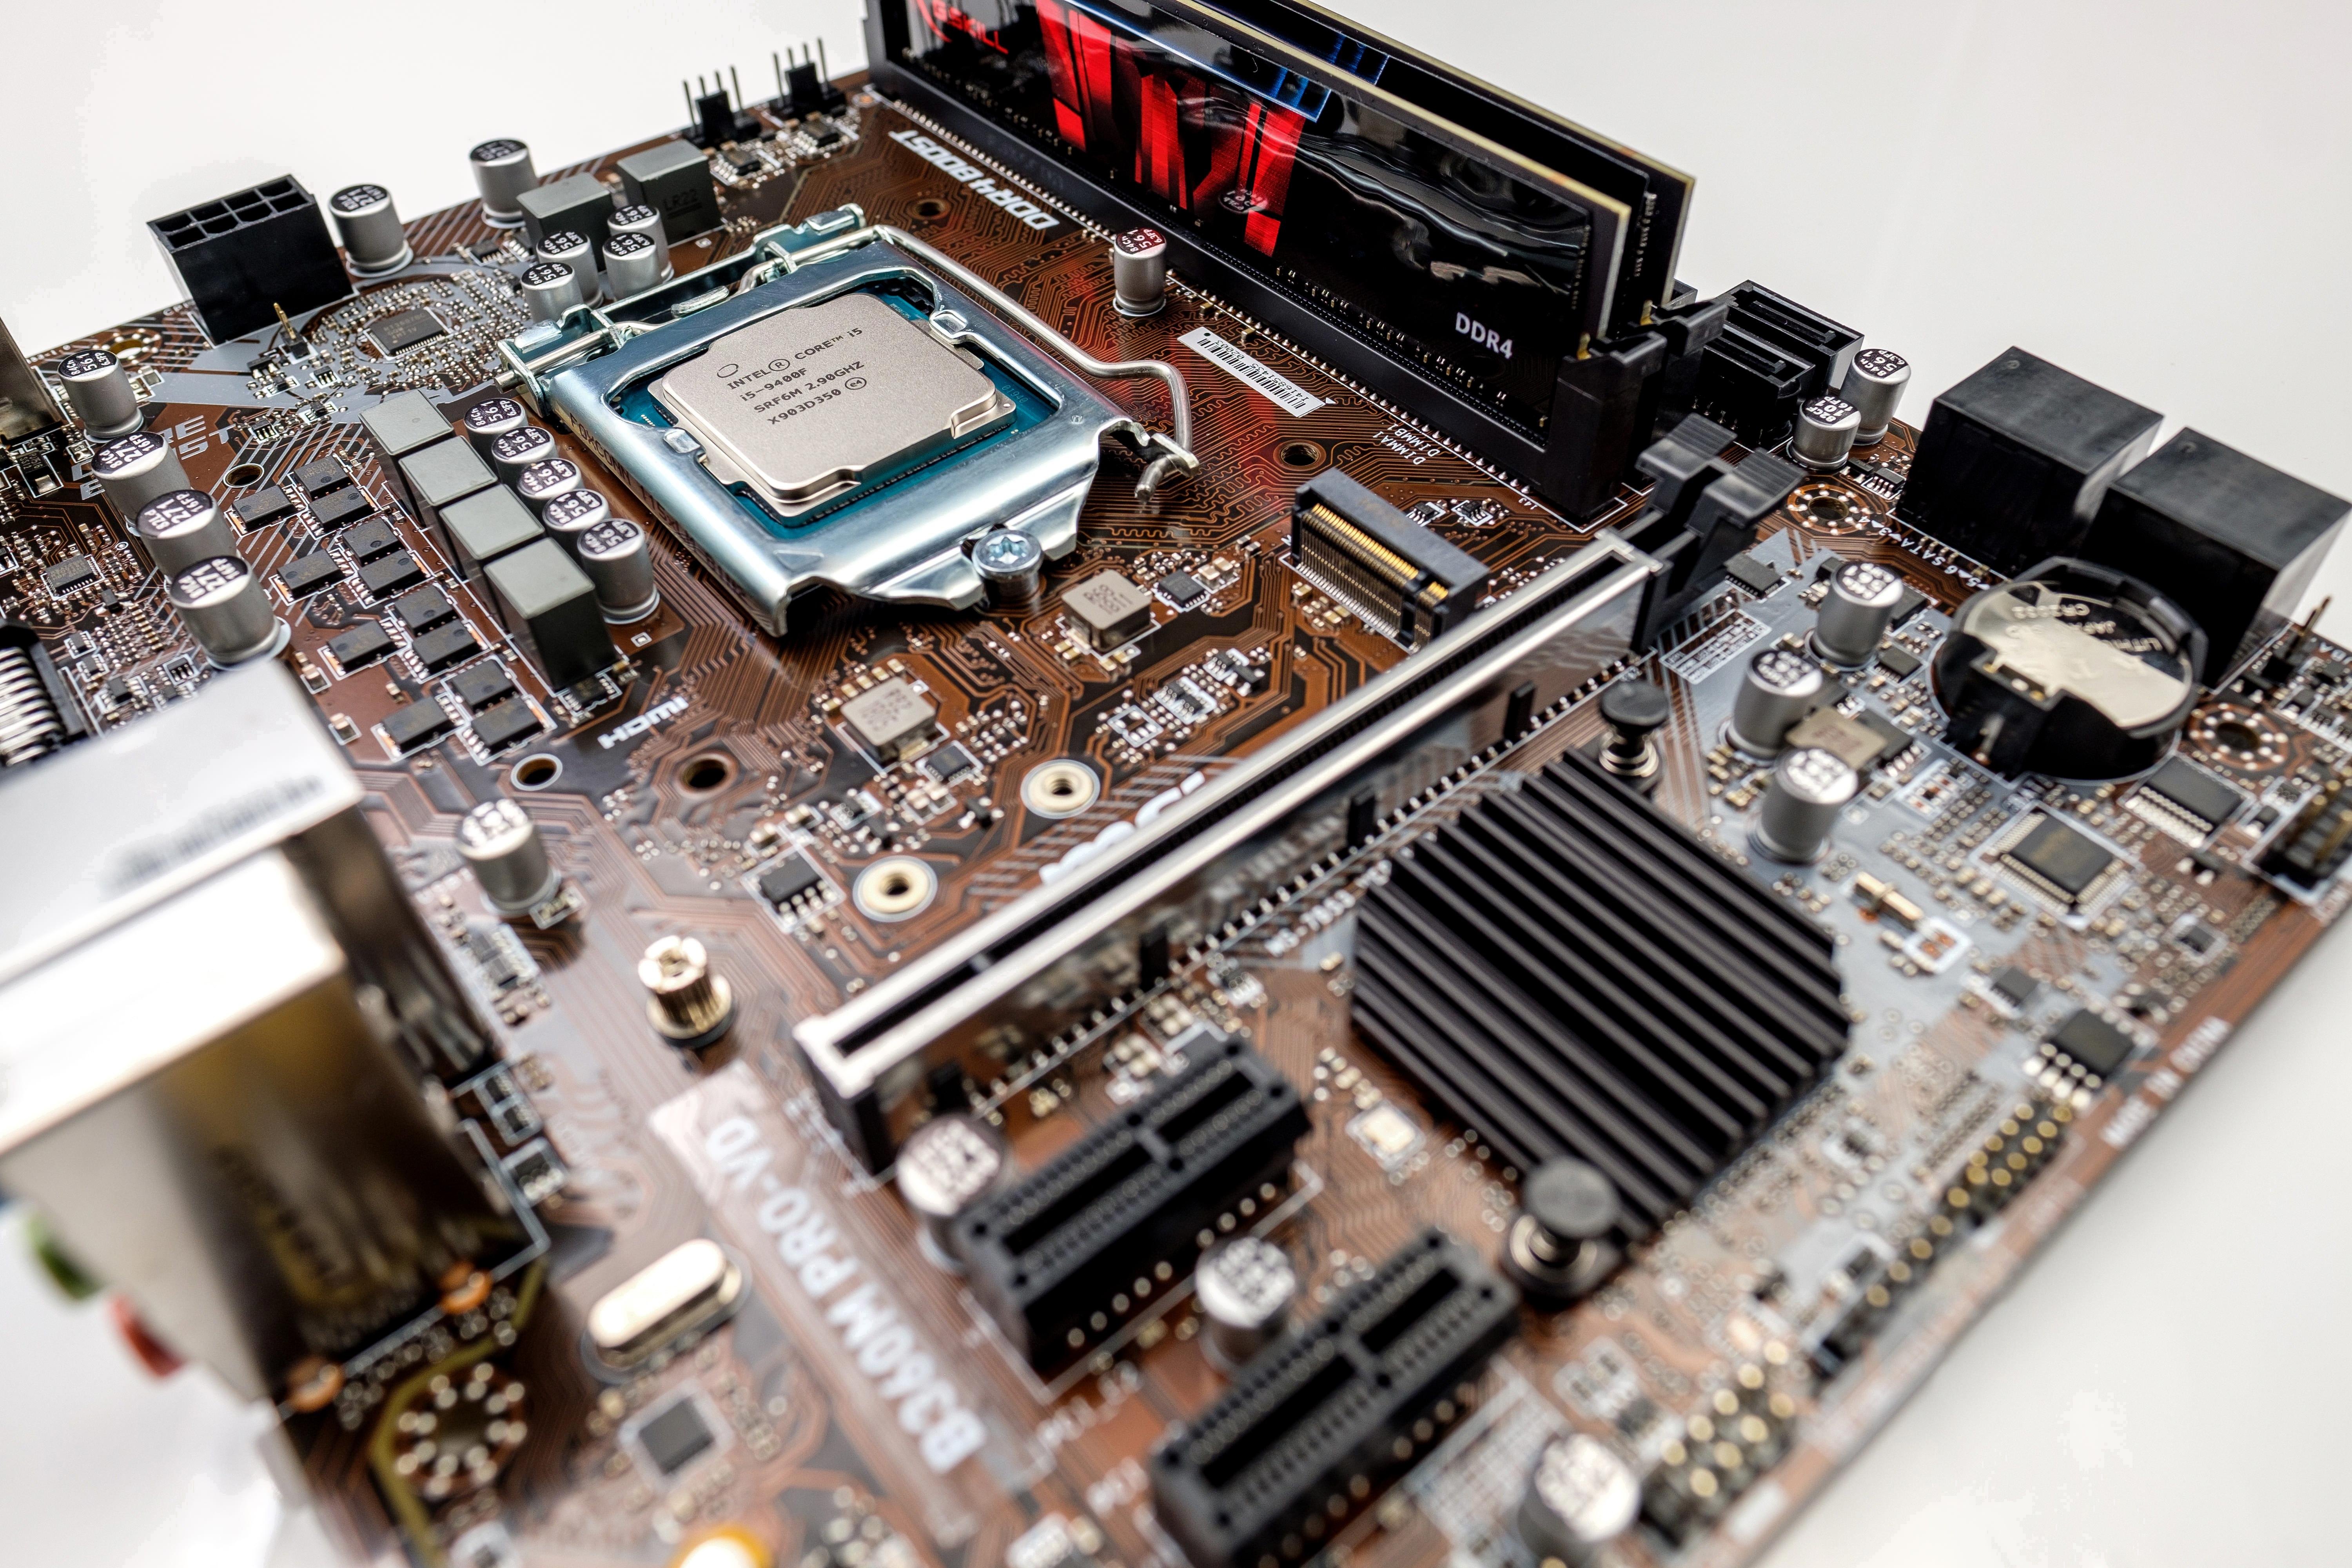
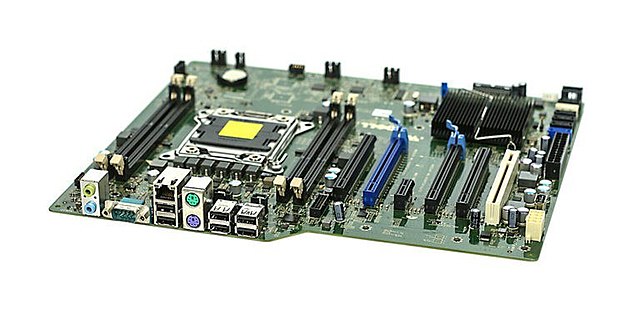
When dealing with a CPU that is stuck in a motherboard, it can be a frustrating experience. However, with a few simple steps, you can safely remove the CPU and potentially salvage it for use in a new motherboard.
Firstly, you should try twisting the CPU and removing it after unclipping it or removing the screws holding it in place. This is the easiest and least risky method of removing the CPU, but it may not work if the CPU is firmly stuck.
If the CPU doesn’t come out easily, the next step is to soak the CPU and the cooler in isopropyl alcohol of at least 91% concentration for five minutes. This won’t damage the processor, but it will soften the thermal paste and make it easier to remove the CPU.
Once the CPU and cooler have been soaked, firmly hold the heatsink and gently turn the CPU back and forth. If the CPU does not turn, apply more heat to the heatsink to further soften the thermal paste. Be careful not to apply too much heat, as this can damage the CPU.
If the CPU is socketed, as opposed to being soldered to the motherboard, you could pull the CPU and use it in a new motherboard. However, if the CPU is stuck due to soldering or other permanent attachment methods, attempting to remove it may damage the CPU beyond repair.
It’s important to remember that there is a cooler involved here. If the cooler comes unattached from the CPU, you will have to clean both surfaces, cooler, and CPU, and lay down a new layer of thermal paste before reattaching the cooler.
Removing a CPU that is stuck in a motherboard can be a delicate process that requires patience and care. By following the steps outlined above, you can safely remove the CPU and potentially use it in a new motherboard. As always, make sure to take every precaution to avoid damaging the CPU or other components during the removal process.
Removing a Stuck CPU from a Motherboard
To remove a stuck CPU from a motherboard, you can follow these steps:
1. Unclip or remove the screws holding the CPU in place.
2. Try twisting the CPU gently to loosen it from the socket.
3. If the CPU doesn’t come out easily, avoid using force or pulling it out abruptly as this can damage the motherboard or CPU.
4. Instead, try soaking the CPU and cooler in isopropyl alcohol of at least 91% concentration for five minutes. This will help dissolve any thermal paste that may be holding the CPU in place.
5. After soaking, gently twist the CPU again while holding the cooler in place to prevent damage to the motherboard.
6. If the CPU still won’t come out, try using a small amount of heat to expand the metal and break the seal. A hairdryer or heat gun set to low heat can be used for this purpose. Be careful not to overheat the CPU or motherboard, as this can cause damage.
7. Once the CPU is removed, clean the socket and CPU with a lint-free cloth or alcohol wipes before installing a new CPU.
Note that the above steps should be followed carefully and only by someone who is experienced with computer hardware. If you’re unsure about any of the steps, or if the CPU is still stuck, it’s best to seek professional help to avoid damaging your hardware.

Removing a Stuck CPU Cooler
If your CPU cooler is stuck, you can follow the below steps to remove it:
1. Turn off your computer and unplug it from the power source to ensure safety.
2. Use a screwdriver to remove any screws or fasteners that are holding the CPU cooler in place.
3. If the CPU cooler is still stuck, you can try applying heat to the heatsink. This will soften the thermal paste and make it easier to remove the cooler. You can use a hairdryer or a heat gun to apply heat to the heatsink.
4. Once the heatsink is warm, try turning the CPU cooler back and forth gently. This should help loosen it from the CPU.
5. If the CPU cooler is still stuck, you can try using a plastic or rubber tool to pry it loose. Be careful not to damage the CPU or any other components while doing this.
6. Once the CPU cooler is removed, clean the CPU and heatsink thoroughly before installing a new cooler.
By following these steps, you should be able to safely remove a stuck CPU cooler without causing any damage to your computer.
Can You Reuse a CPU on a Different Motherboard?
It is possible to remove a CPU from one motherboard and install it on another, provided that the CPU and the new motherboard are compatible. However, it is important to note that the process of removing a CPU can be delicate, and it is essential to take proper precautions to avoid damaging the CPU or the motherboard.
To remove a CPU from a motherboard, you will need to first disconnect the cooler from the CPU. Once the cooler is removed, you can unlock the CPU from the socket and carefully lift it out. It is essential to be gentle when handling the CPU, as it can be easily damaged by static electricity or physical force.
Before installing the CPU onto the new motherboard, it is important to check that the socket is compatible with the CPU. Most CPUs are designed to fit into specific sockets, and using a CPU with an incompatible socket can cause damage to both the CPU and the motherboard.
Once you have confirmed that the CPU is compatible with the new motherboard, you can carefully align the CPU with the socket and gently lower it into place. It is important to ensure that the CPU is properly seated and that all locking mechanisms are engaged.
You will need to reattach the cooler to the CPU, taking care to apply a new layer of thermal paste to ensure proper heat transfer. Once the cooler is securely attached, you can power on the computer and confirm that the CPU is functioning properly.
Removing a CPU from one motherboard and installing it on another is possible, but it requires careful handling and attention to compatibility. It is important to take proper precautions to avoid damaging the CPU or the motherboard during the process.

Removing a CPU Cooler
To remove the CPU cooler, you need to follow these steps:
1. Release the retention clips on each side of the heatsink from the motherboard socket mounting lugs. This can be done by pushing the clips away from the lugs, which will allow them to release.
2. Lightly twist the CPU cooler clockwise and counterclockwise to loosen the seal between the heatsink and the lid of the CPU. This will help to break any adhesion that may have formed between the CPU and the cooler.
3. Carefully lift the CPU cooler from the CPU. Be sure to do this slowly and gently, as the cooler may still be attached to the CPU by thermal paste or adhesive.
4. Once you have removed the CPU cooler, you will need to clean the thermal paste or adhesive from the surface of the CPU and the heatsink. This can be done using isopropyl alcohol and a lint-free cloth.
5. If you need to reapply thermal paste or adhesive, be sure to follow the manufacturer’s instructions carefully to ensure proper application.
By following these steps, you can safely and effectively remove the CPU cooler from your computer.
Conclusion
A CPU stuck in a motherboard can be a frustrating situation for any computer user. It is important to approach the problem carefully to avoid damaging the processor or motherboard. By following the steps outlined above, such as twisting the CPU and soaking it and the cooler in isopropyl alcohol, it is possible to safely remove the CPU from the motherboard. However, it is important to keep in mind that if the CPU cooler comes unattached, it will require additional steps such as cleaning and applying new thermal paste. with patience and caution, it is possible to successfully remove a stuck CPU from a motherboard.


